In this tutorial I will show you how I created a colorful photo manipulation using Photoshop brushes, different adjustment layers, and more. Let’s get started!
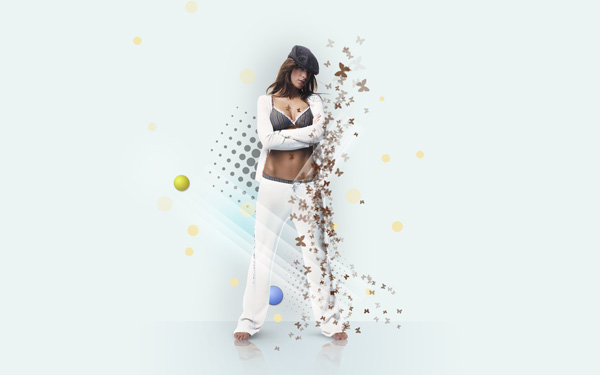
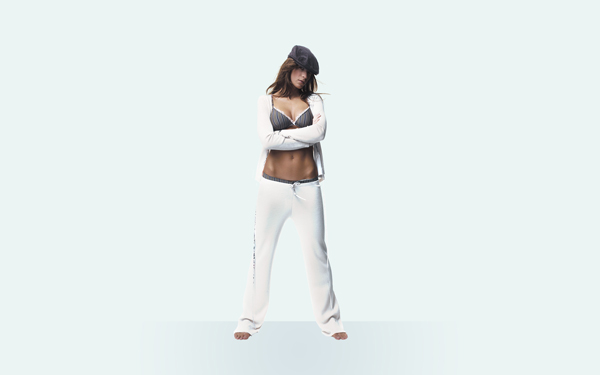
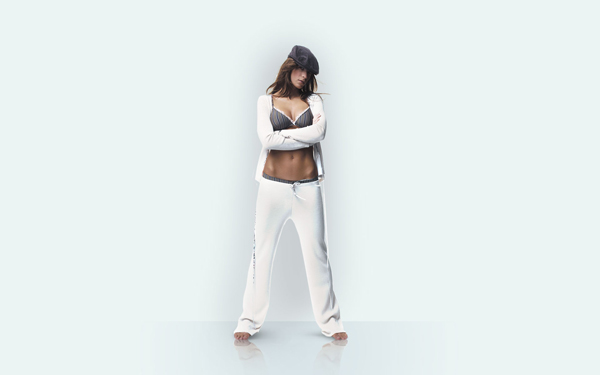
Final Image Preview

Then choose the Rectangle Tool (U) to draw a rectangle, like the next one:

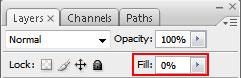
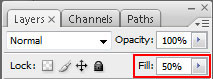
Set Fill to 0% for this layer in Layers panel:
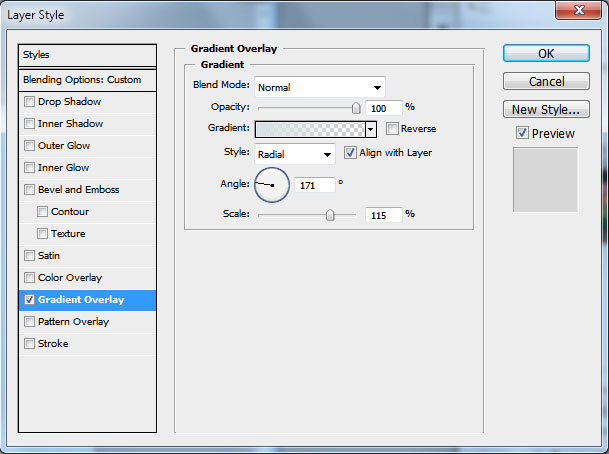
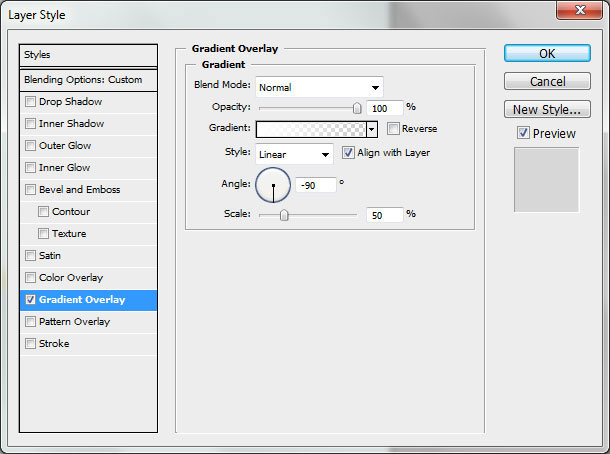
Select Add a layer style from bottom part of the Layers panel and click to Gradient Overlay:
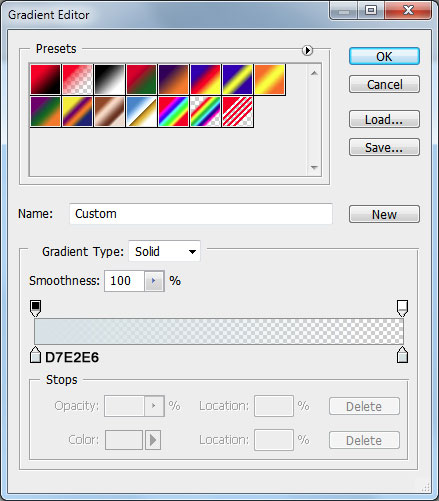
Click in the color bar to open the Gradient Editor and set the color stops as shown. Click OK to close the Gradient Editor dialog box.
We’ve got the next floor:

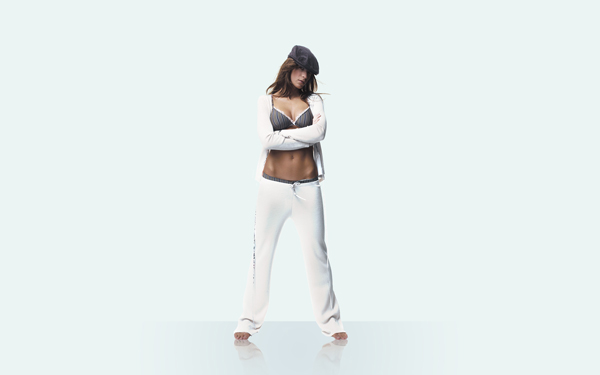
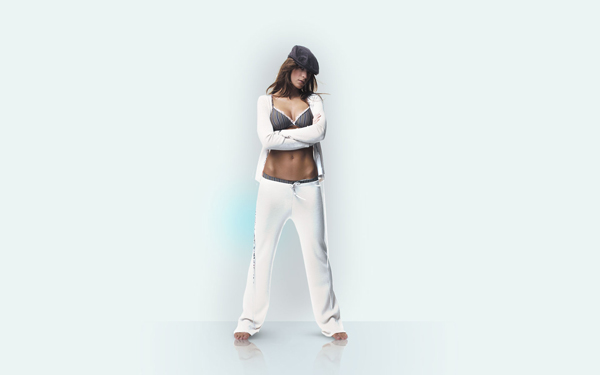
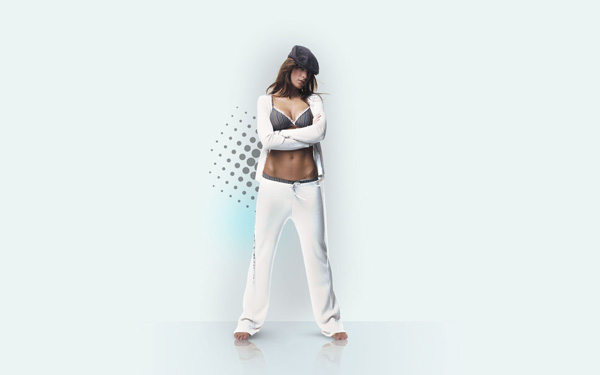
Find a stock photo with a model represented on it, I used this photo from deviantart. I would like to thank the author of this photo:
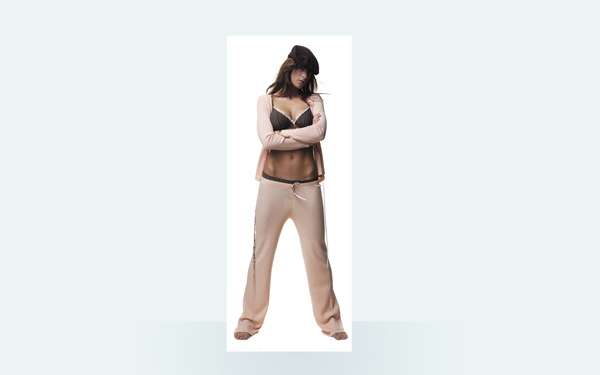
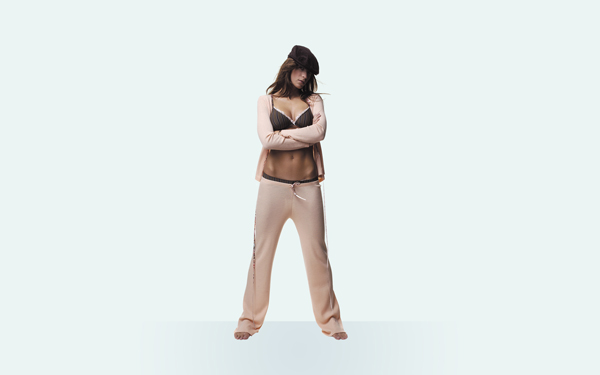
Remove the background using your favorite tools like Pen Tool (P), Magic Wand Tool (W), Magnetic Lasso (L) or even a simple Filter>Extract. Make a copy of this layer (Ctrl+J), click the visibility button on this copy, we’ll need this layer later:
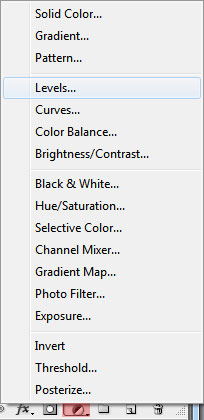
Click on the bottom part of the Layers’ panel on the next icon Create new fill or adjustment layer and select Levels to make some color corrections
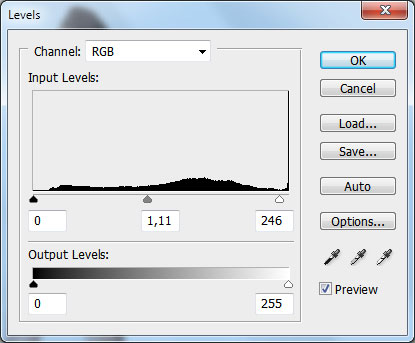
Raise the contrast of the picture:
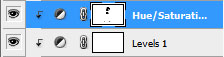
Put the mouse cursor between the layers and hold on the Alt button while clicking on the left button. The top layer will be transformed into a mask:

Next we’ll add another adjustment layer. Click on the bottom part of the Layers’ panel on the Create new fill or adjustment layer and select Hue/Saturation:
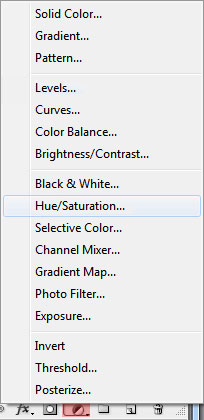
Reduce the color saturation:

Transform it into a mask too. Click on this layer on the Layers’ panel, select the mask and using a brush from the Brush Tool (B) of black color paint the opened zones (skin) on the girl’s body:
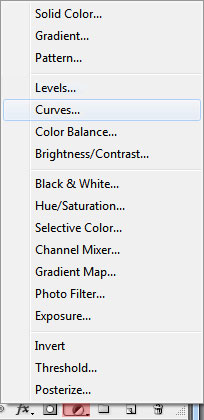
Add another adjustment layer. Click on the bottom part of the Layers’ panel on the Create new fill or adjustment layer and select Curves:
Set the options for raising the contrast. Paint the body’s zones in the mask too and a little on the girl’s clothes, only on those places with a high contrast.
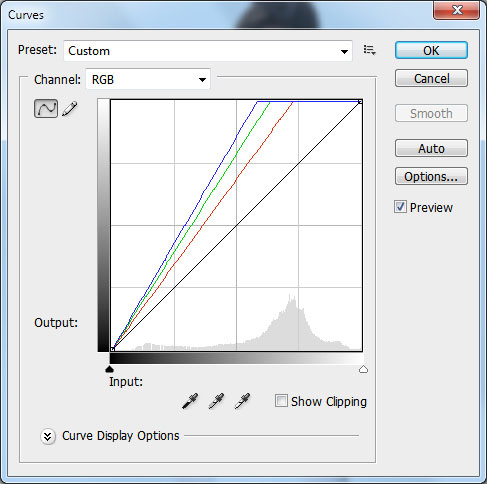
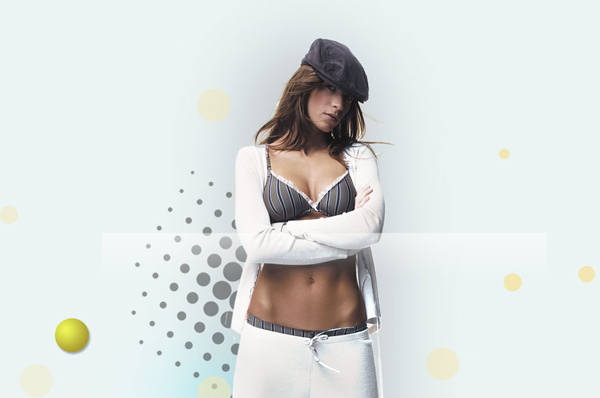
This is the result we should get:
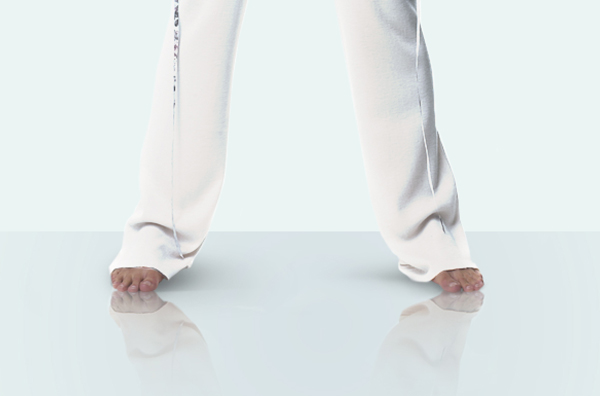
Make the girl’s reflection on the floor. Let’s activate the copy of the girl’s layer and turn it around, applying Free Transform (Ctrl+T). Choose the Eraser Tool (E) to erase the same places demonstrated below:
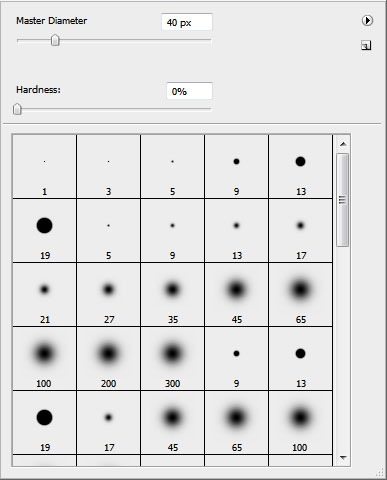
Then select a Soft Round brush of black color with the Opacity of 20% and represent a shadow on a new layer:
The brush’s settings:
Create a new layer, representing here the shadow around the girl. Choose the same options applied before for the Soft Round brush, but enlarge the brush’s size, using the button ].
Create a new layer select a Soft Round brush and insert here a spot of the color #6DCFF6. Opacity - 20%.
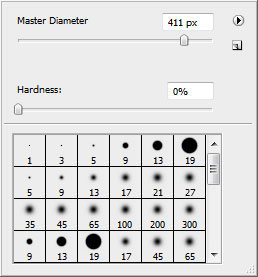
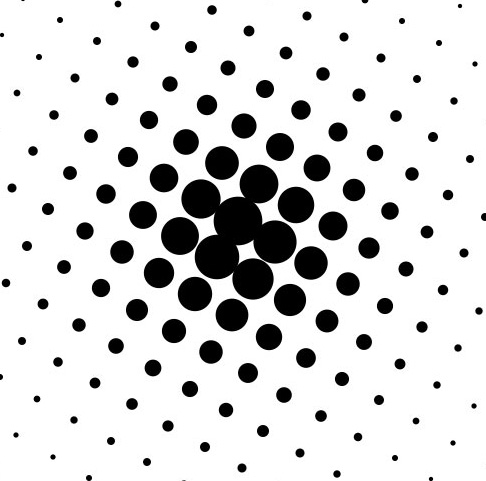
Create a new file with the size 500px by 500px (RGB color mode) at a resolution of 72 pixels/inch. Select the Soft Round brush of black color and set the next shown options for it:
Let’s put a brushstroke, like the next one:

Then choose Filter>Pixelate>Color halftone and set the next demonstrated settings:
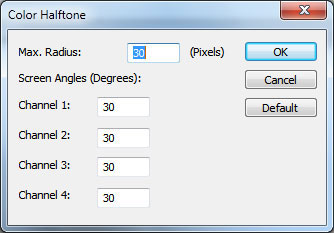
It’s the result we’ll get on this stage:
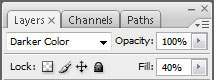
Select this layer and place it on a new layer on our basic document, changing the Blending Mode to Darker Color and set Fill to 40%.
Make a copy of this layer, placing it as below:

Then take the Ellipse Tool (U) and represent a circle:

Select Add a layer style from bottom part of the Layers panel and click to Drop Shadow:

Set also the Gradient Overlay
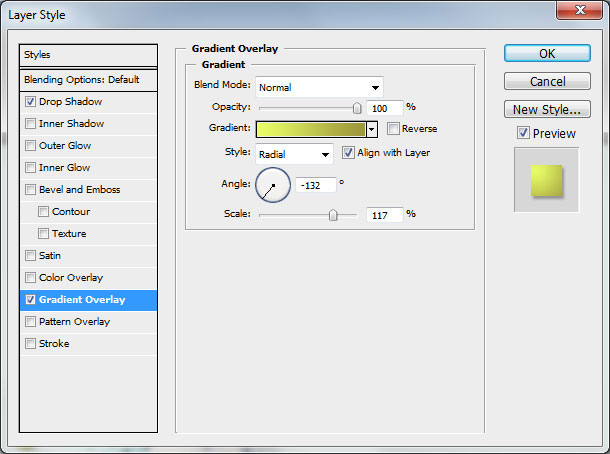
Click in the color bar to open the Gradient Editor and set the color stops as shown. Click OK to close the Gradient Editor dialog box.

We’ve got a voluminous circle:

Make another one:

… applying the next Layer Style > Drop Shadow for it:

Set the Gradient Overlay

Click in the color bar to open the Gradient Editor and set the color stops as shown. Click OK to close the Gradient Editor dialog box.

Click on Stroke options

We’ve got the next circle:

Let’s represent the circles of different sizes and placement. The color’s is #F3E6B2. We need to change in some cases the Fill to 50%.
Let’s represent one more rectangle, as it is shown below:

Set Fill to 0% on the layer:

Select Add a layer style from bottom part of the Layers panel and click on Gradient Overlay. Set Foreground color to white and select from Gradient Editor the Foreground to Transparent gradient.
We’ve got the next line. Create a new layer, select both with the line’s layer, pressing Ctrl+left mouse click. Then Merge Down pressing Ctrl+E.
The new layer should be turned over using Free Transform (Ctrl+T), as it is indicated below:

Make a copy of it and place it the same way shown below, moving it with the Move Tool (V).

Put together the layers by Merge Down (Ctrl+E) and make a copy of it. The copy should be made smaller and placed the same way demonstrated below:

Next represent a new layer, choosing the Butterfly brush from Special Effect Brushes set:

We need to customize our brush in Brushes panel (F5), select the Brush Tip Shape. Click and drag any of the sliders to change the size, the roundness and brush angle as show. The Preview window displays the changed brushstroke.

Go to Shape Dynamics:

Set also the Scattering settings:

Other Dynamics settings:

The Foreground and Background colors on the tools’ panel should be the same with those indicated below:

Let’s make a line of butterflies:
Changing the brush’s sizes with the buttons [ and ], represent one more line:

… and one more:
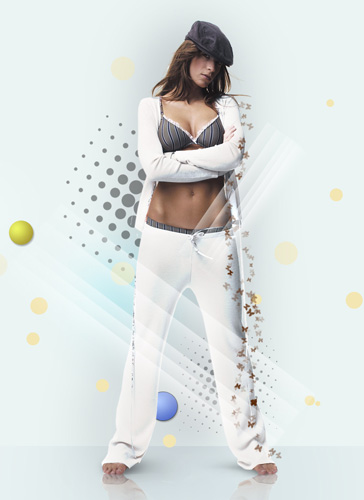
The final result!

Tidak ada komentar:
Posting Komentar