
Tired of old boring prints? Try out this fun photo effect on your photos that you can print out to impress your friends. From a distance, it will look like a normal photo but view the printed image up close and you'll see an abstract mosaic pattern that resembles a disco floor. This Photoshop effect is also great for enlarging low resolution photos into poster-size prints.
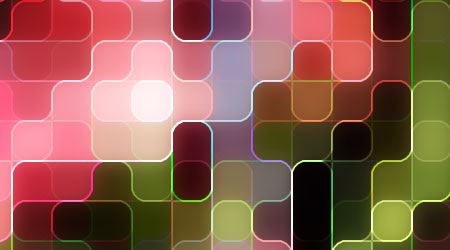
Preview of Final Results

Disco Tiles Photoshop Tutorial
Step 1
Run Photoshop and open the photo you would like to add this effect to into Photoshop.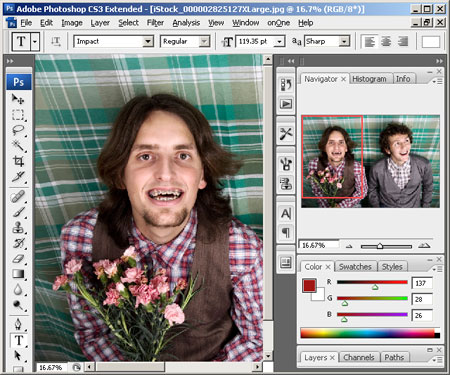
Step 2
Next, we need to resize the image to the final output size that we would like to print at. Enter the width and height for the document size and specify the resolution. You can set the resampling method to Nearest Neighbor to speed up this process.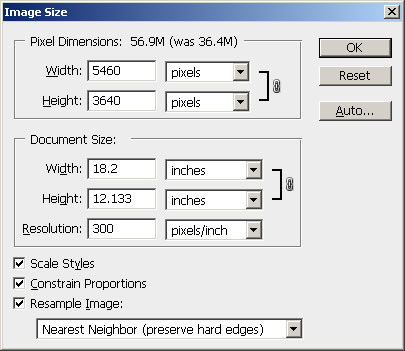
Step 3
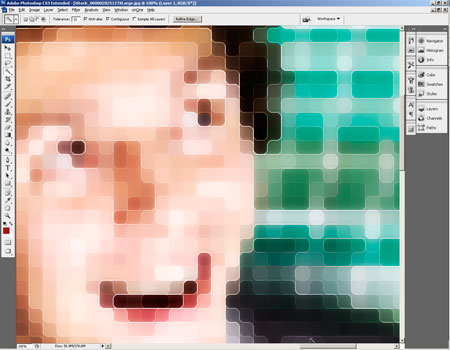
Before we continue, zoom out so that you can see the whole image. Now open the Filter> Pixelate menu and select Mosaic. In the Mosaic filter tool, adjust the cell size to the largest possible that will retain important details. If you are working on a portrait, you can simply look at the eyes as you adjust the cell size.Step 4
The image is pixelated, but it doesn't look very special. So before we continue, we'll curve the edges for a more contemporary effect. To do this, open the Filter> Noise menu and select Median. Adjust the radius of the filter until you get the rounded corners that you like.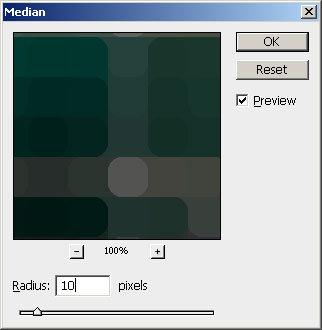
Step 5
We're done creating the tile pattern, so we'll work on creating the outline now. Duplicate the layer by pressing Ctrl+J or opening the Layer menu and selecting Duplicate. Next, change the blending mode of the new layer to Screen.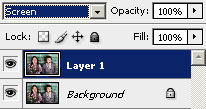
Step 6
Apply a find edges filter by opening the Filter> Stylize menu and selecting Find Edges. This filter draws an outline of the edges.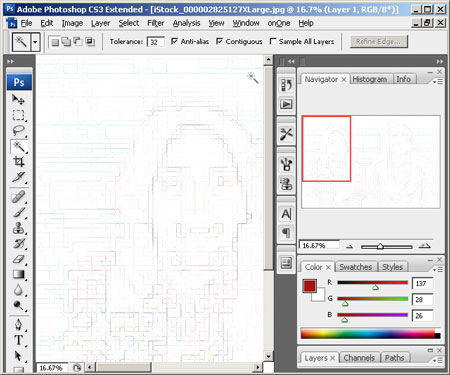
Step 7
Press Ctrl+I or open the Image> Adjustments menu and select Invert. The outline should be blended into the photo.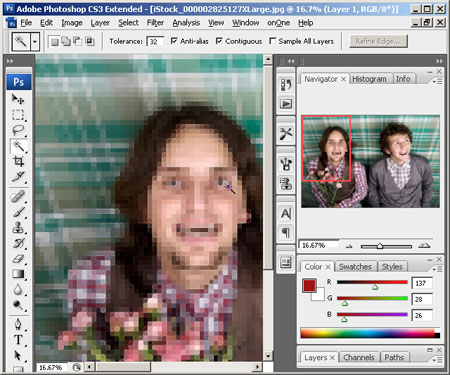
Step 8
The tiles and outline effect is now complete. But the effect looks flat and boring. In the next steps, we'll enhance it using a new layer that will add depth and a glow effect to the tiles. First, press Shift+Ctrl+E or open the Layer menu and select Merge Visible. This will create a duplicate of the image as a single layer. Change the blending mode to Overlay. By adding a duplicate of the image with an Overlay blending mode, we can increase the contrast which will enhance the appearance of depth in the tiles.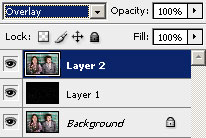
Step 9
Now we'll add a dramatic glow to the tiles. Before we begin, zoom in to 100% so that you can see the individual tiles. Open the Filter> Blur menu and select Gaussian Blur. In the Gaussian Blur filter tool, adjust the radius so that the tiles create a soft glow effect.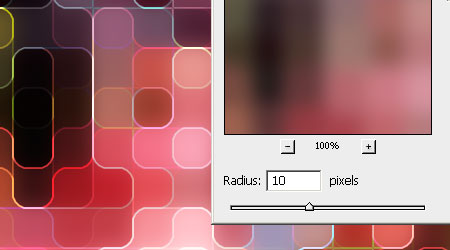
Step 10
We're done! But here's one more step in case you feel that the outline is too thin and you would like to thicken it. Open the Filter> Other menu and select Maximum. Adjust the radius slightly to increase the size of the outline. Click OK when done.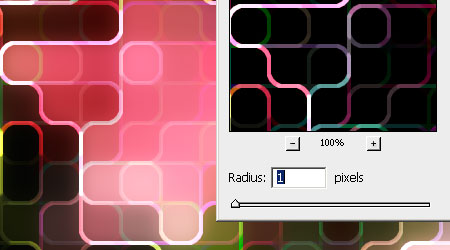
Final Results
Original Photo

Disco Tiles Photoshop Tutorial


Tidak ada komentar:
Posting Komentar