
In this tutorial, you’ll learn how a magician’s hat can be designed in Photoshop. The tutorial involves a simple use of the Pen Tool and other Shape Tools. It shows a distinct use of different blending modes and focuses on other lighting techniques. Shadows are also explained in the tutorial and we’ll reveal some great beginner techniques. Let’s get started!
In this tutorial, you’ll learn how a magician’s hat can be designed in Photoshop. The tutorial involves a simple use of the Pen Tool and other Shape Tools. It shows a distinct use of different blending modes and focuses on other lighting techniques. Shadows are also explained in the tutorial and we’ll reveal some great beginner techniques. Let’s get started!
Final Image Preview
Take a look at the image we’ll be creating. Want access to the full PSD files and downloadable copies of every tutorial, including this one? Join Psd Plus for just $9/month. You can view the final image preview below.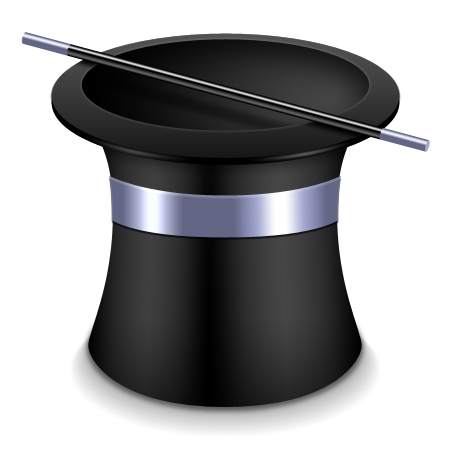
Tutorial Details
- Program: Photoshop CS or Newer
- Difficulty: Beginner
- Estimated Completion Time: 30 to 50 mins
Step 1
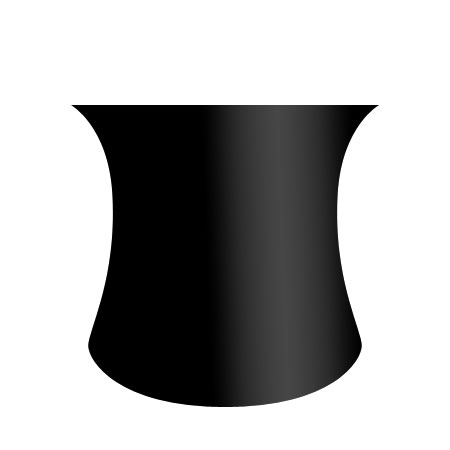
Create a 450 px by 450 px document with a white or transparent background. Drag out two guides at the center of the document (for your own convenience). Now use the Pen Tool to make a shape like the one shown below.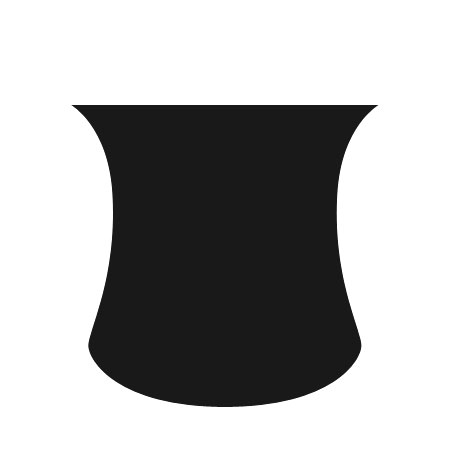
While creating an irregular shape like the one above, it’s hard to keep symmetry on both sides. The easier way is to create half of the shape first.
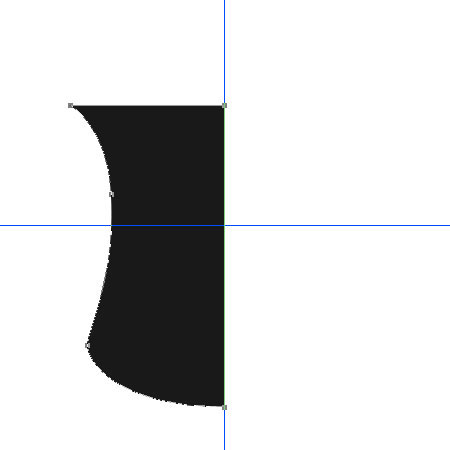
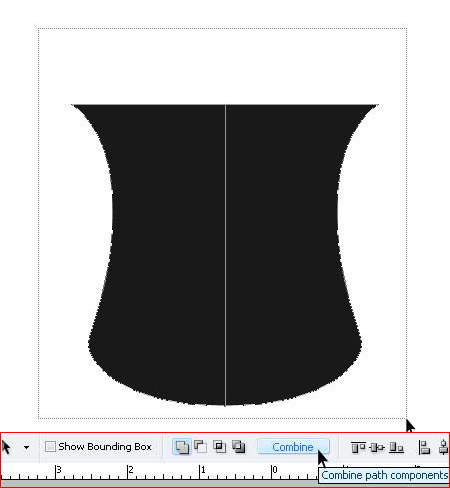
With the Path Selection Tool (A) still selected, go to Edit > Transform > Flip Horizontal and move the path rightward until you get the required shape. Click and drag a selection to select the two paths simultaneously then click the Combine button located in the Options bar.
Step 2
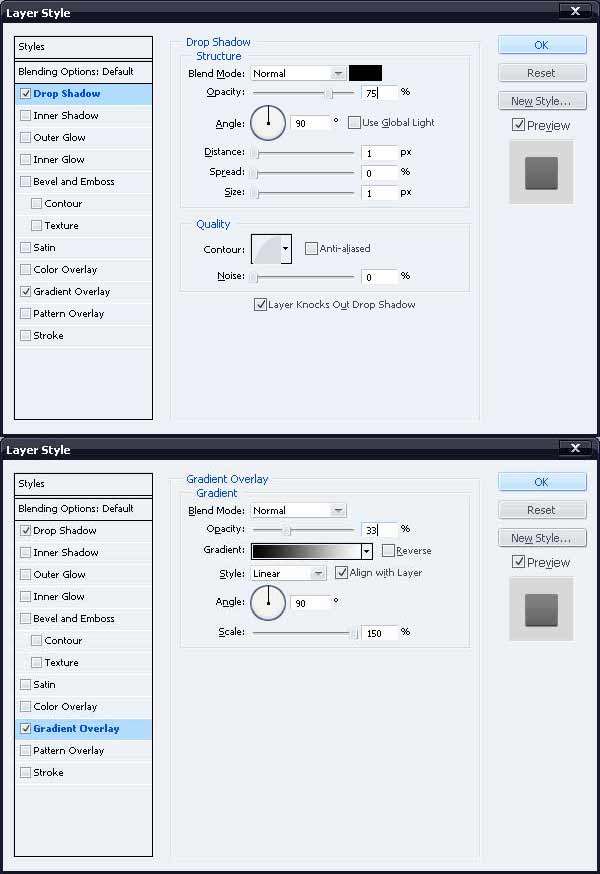
You can now add some reflections to the “body” layer. To do so, duplicate the “body” layer (Command + J) and reduce it’s fill to 0%. Go to it’s Layer Style and give it a Gradient Overlay.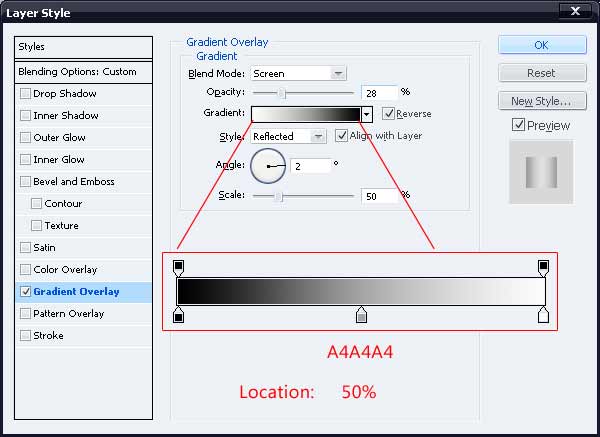
Step 3
With the duplicate “body” layer selected, go to Layer > Add Layer Mask > Reveal All. Grab the Gradient Tool (G) and drag a black to white gradient as directed.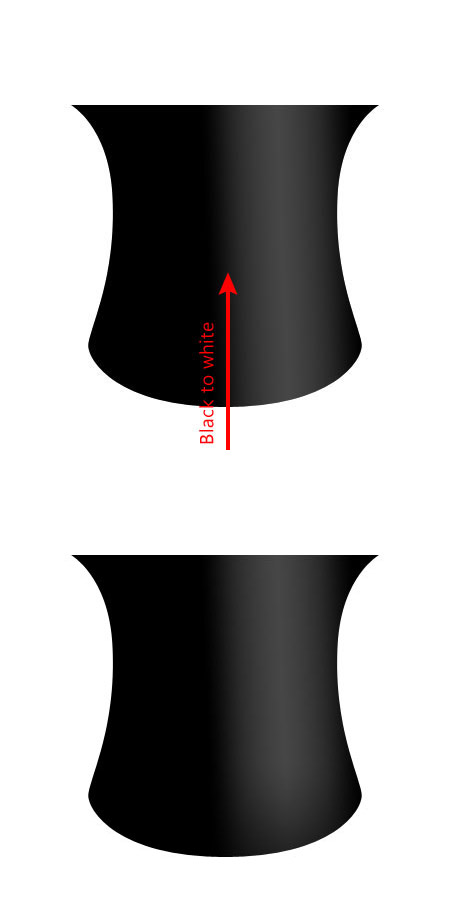
Step 4
Duplicate the “reflection” layer and go to its Layer Style. Move the Gradient leftwards while applying the following changes.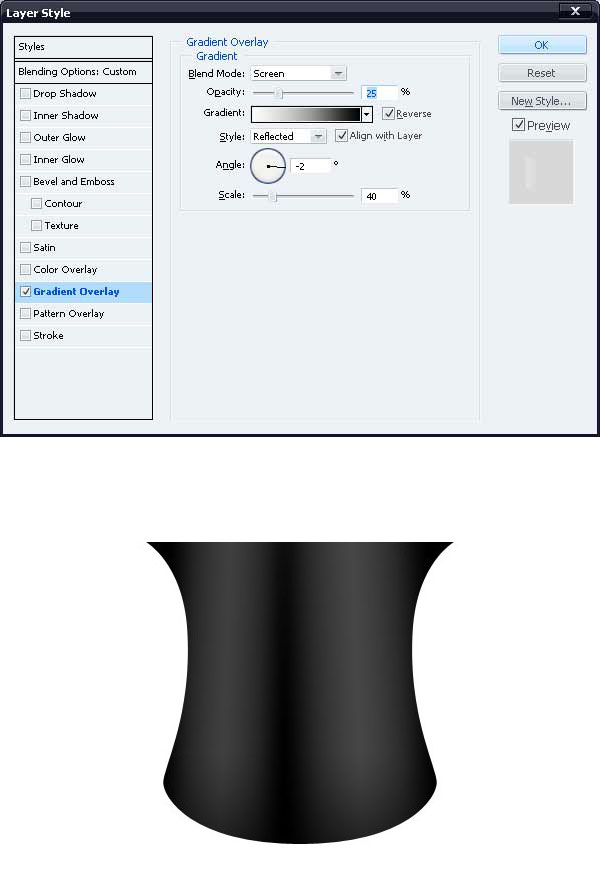
Step 5
It’s time to add a shiny band on the hat. Create a shape of any color using the Pen Tool.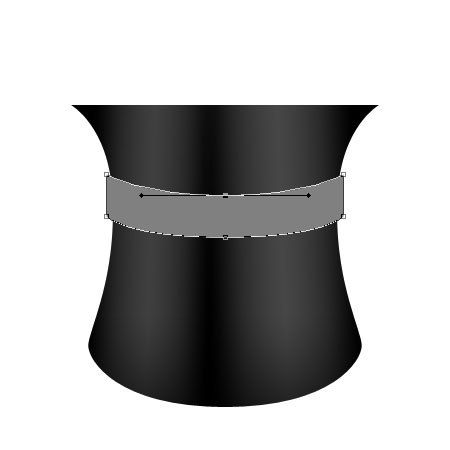
Step 6
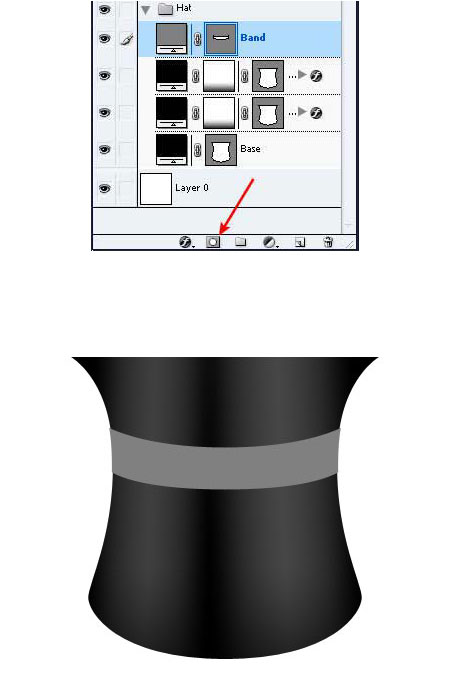
Give the “band” layer the layer styles shown below. Move the gradient rightward before closing the Layer Style window.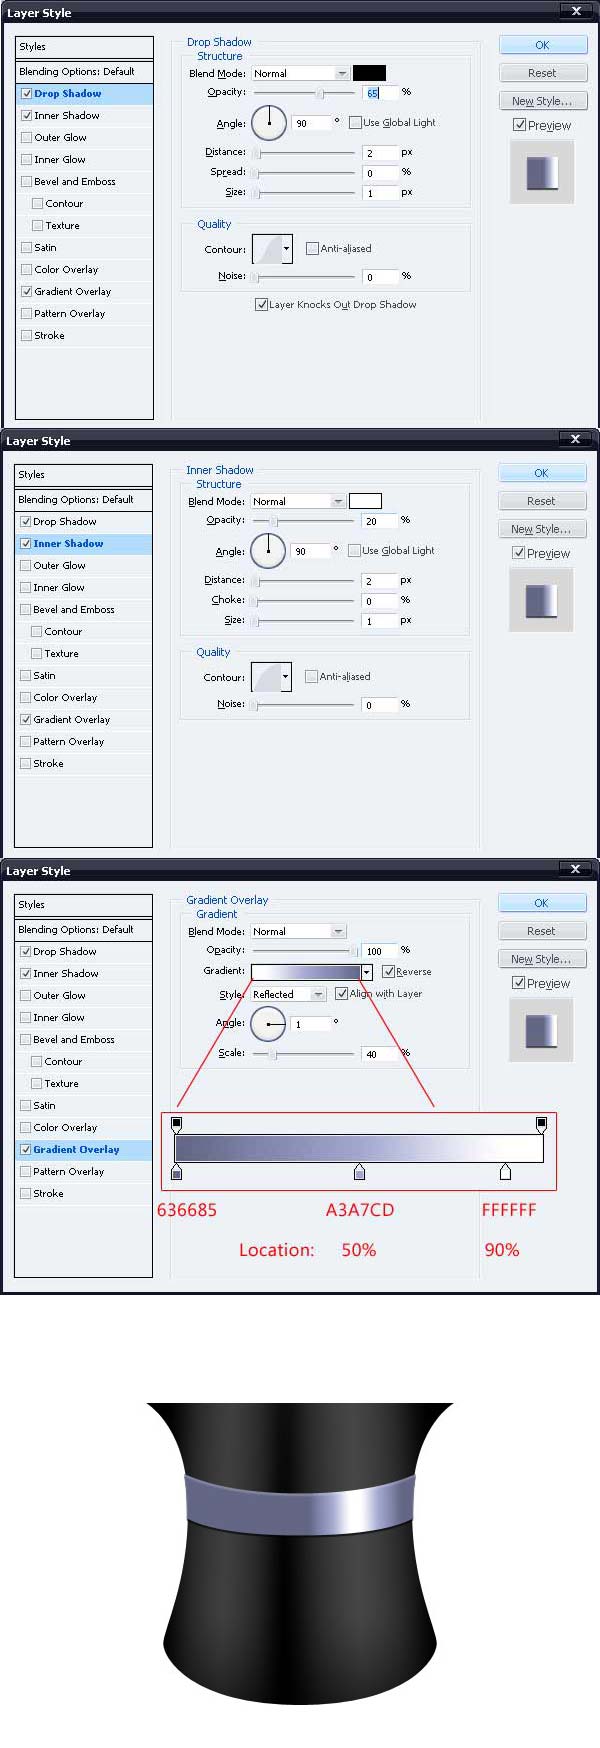
Step 7
Duplicate the “band” layer and remove all its layer styles except the Gradient Overlay. Reduce its fill to 0% and make the following changes to the Layer Style. Note that this gradient is placed leftward.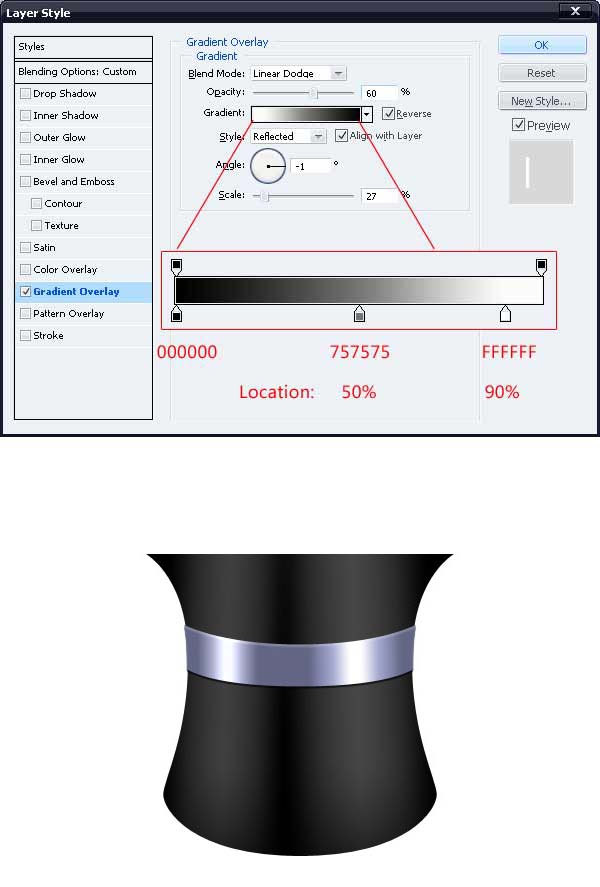
Step 8
It’s time to make the top part of the hat. Use the Ellipse Tool (U) to make an ellipse like the one shown below and name it “top.”
Step 9
Duplicate the “top” layer and place the duplicate layer below the “top” layer in the layers palette. Move the duplicate layer 7px down then give it these Layer Styles.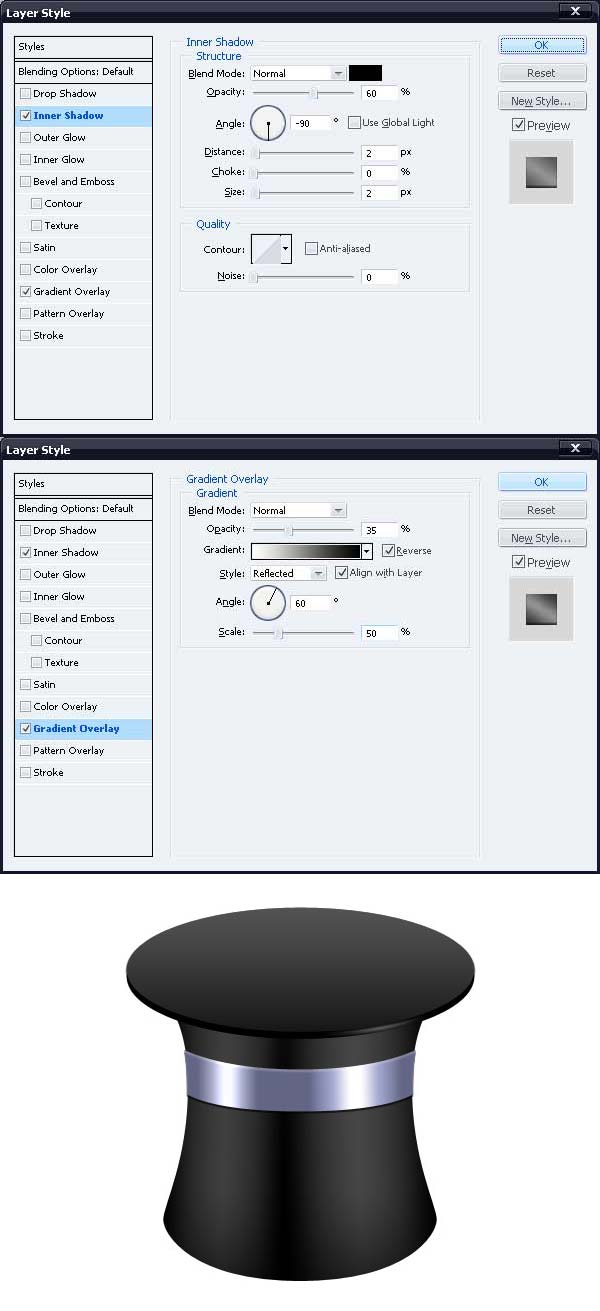
Step 10
Make another copy of the layer and reduce its fill to 0%. Just make these changes in its Gradient Overlay settings.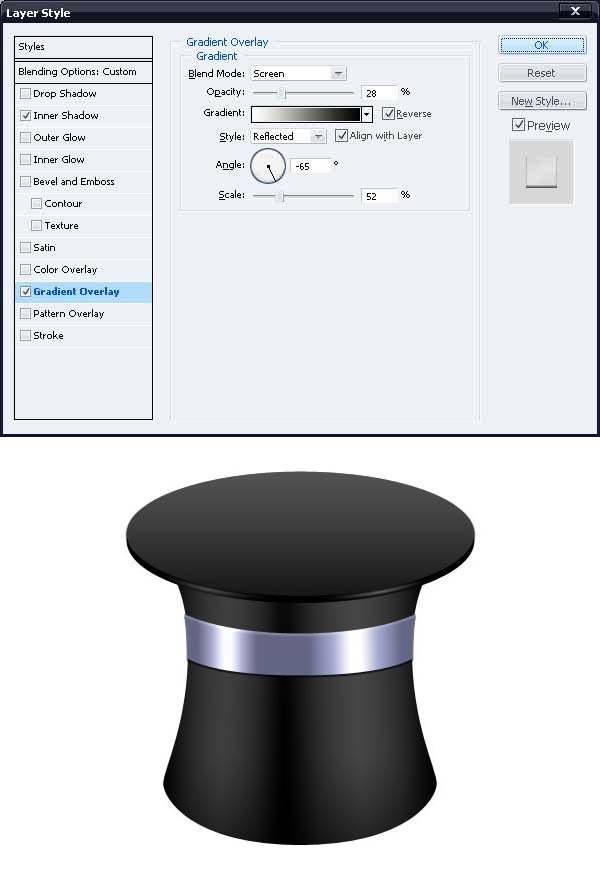
Step 11
With the Ellipse Tool (U), make a black ellipse over the “top” layer.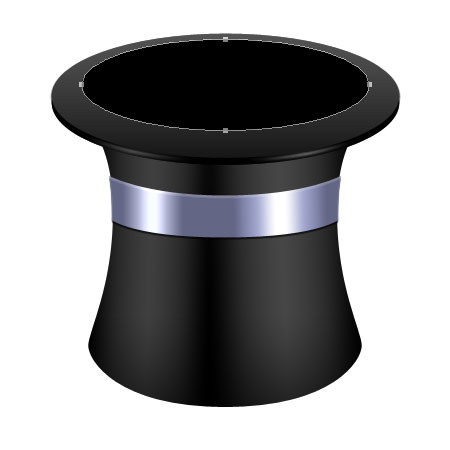

Step 12
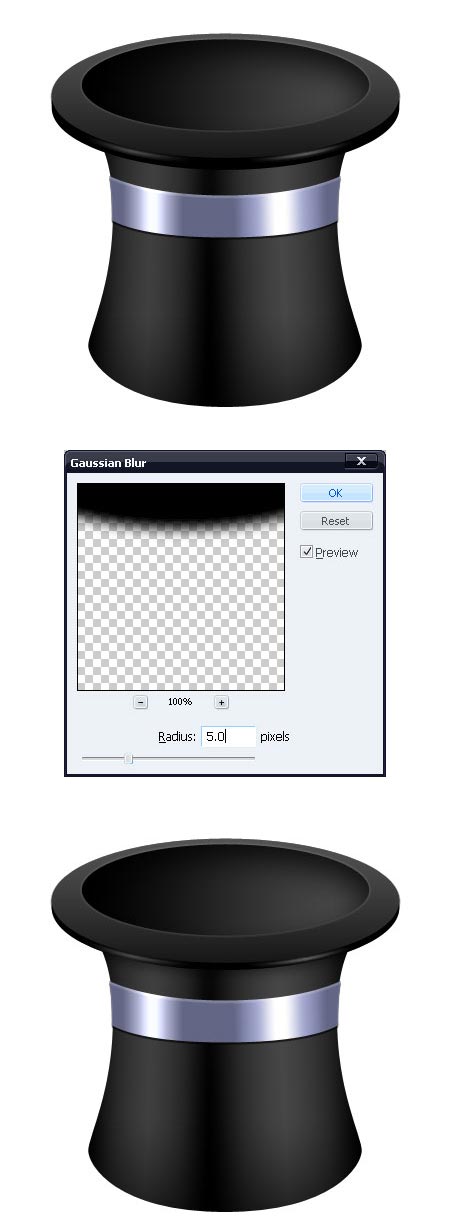
Now you need to add shadows at the required places. Create a new layer below the “top” and it’s duplicate layers. Command-click on the “top” layer and move the selection a few pixels down, then fill it with black. Go to Filter > Blur > Gaussian Blur, enter 5px and click OK. You’ll clearly notice that the shadow is flowing outside the hat’s body.To fix it, Command-click on the “body” layer and with the “shadow” layer selected, click on the Add Layer Mask button in the Layers Palette (as you did in Step 4). Set the Opacity of the layer between 30% to 50%.
Step 13
A shadow can also be placed beneath the base. To do so, fill an elliptical selection with black on a new layer, reduce the Opacity of the layer to 30%. This layer must be placed below the “body” layer. Go to Filter > Blur > Radial Blur, make the settings as shown in the image below before clicking OK.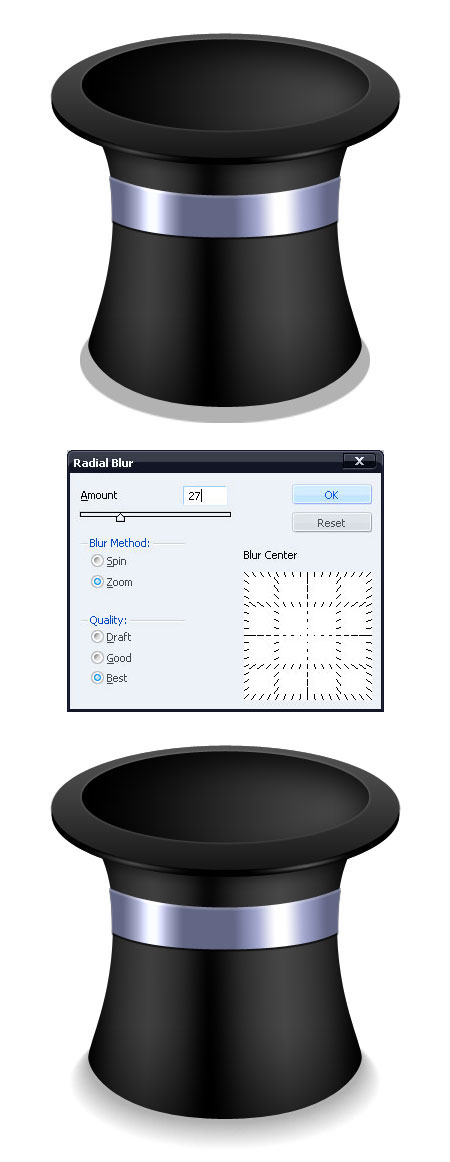
Step 14
On a new layer, fill an elliptical selection with black and set the Opacity of layer to 50%. Go to Filter > Blur > Gaussian Blur, enter 2.5 px and click OK.
Step 15
The hat is done. You can now add a wand to the hat. Create a new layer set (name it “Wand”) and hide the “Hat” layer-set by clicking on the eye to the side of it’s name in the layers palette. Use Rectangle Tool (U) to draw a rectangle and give it a Gradient Overlay.
Step 16
Add two strips at the end of the wand while giving them a Gradient Overlay of purple shades.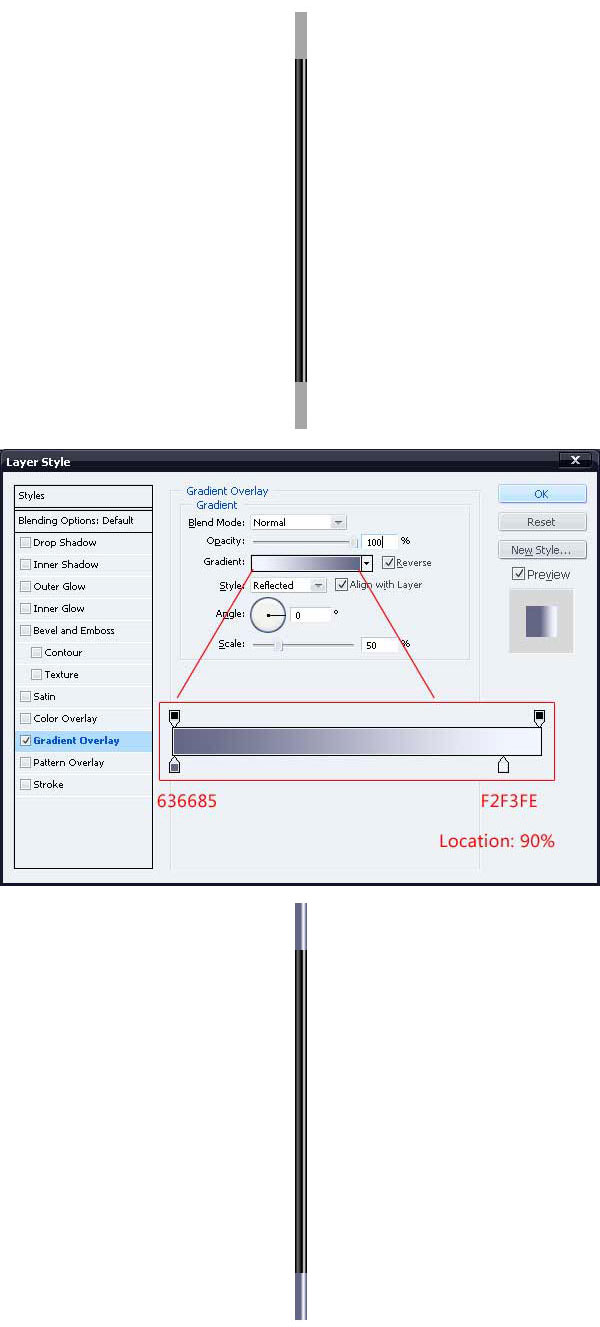
Step 17
To reduce the flatness of wand, add anchor points to the strips using the Add Anchor Point Tool. Move them some pixels up. Along with that, add an ellipse at the end of the lower strip as shown.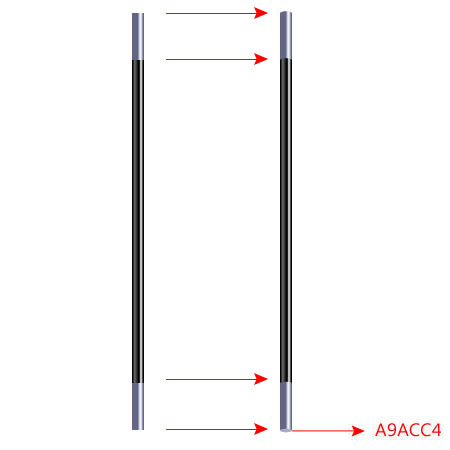
Step 18
Duplicate the “Wand” layer-set and press Command + E to merge the duplicate set into a single layer. You can now hide the original “Wand” layer-set.With the merged “wand” layer selected, go to Edit > Transform > Rotate and rotate the wand 75 degrees CCW. Place it in a suitable location.

Conclusion
A shadow of the wand, falling inside hat’s body, can also be added to complete our image.
Tidak ada komentar:
Posting Komentar