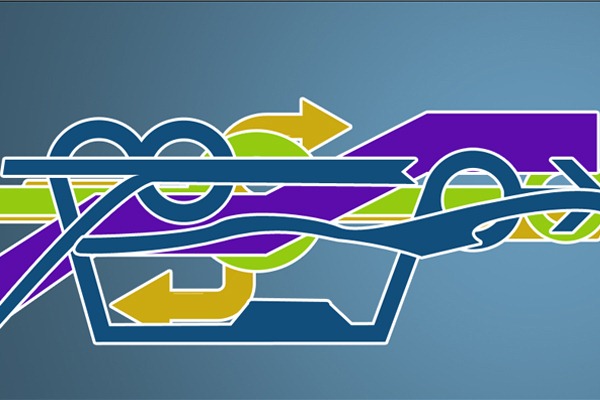
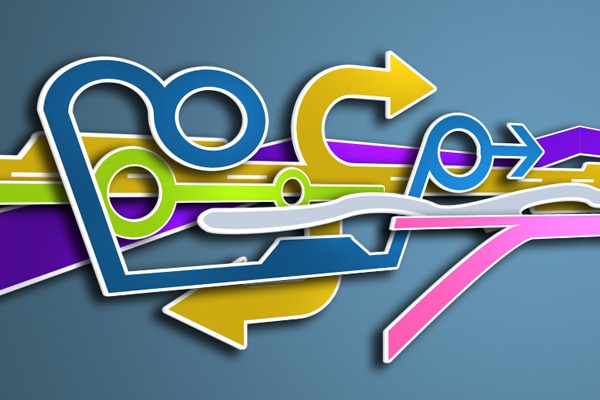
In this tutorial, you will learn how to create your own abstract graffiti wallpaper using the Pen tool and custom shapes. You’ll also learn how to make it stand out by adding shadows and changing the perspective of the graffiti.
Preview of Final Result
Graffiti Wallpaper Photoshop Tutorial
Step 1 - Create a New Document
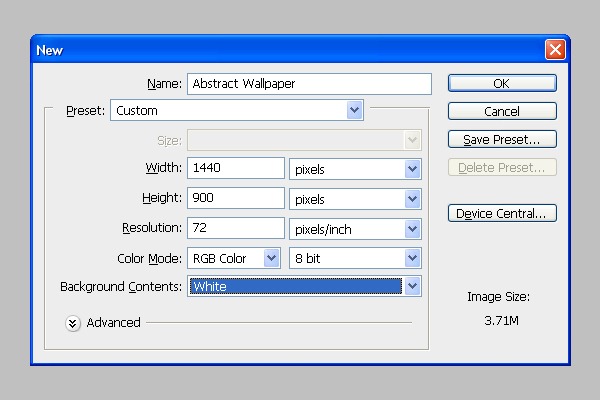
Choose File > New or press Ctrl/Command + N to create a new document. Set the size of the document. I'm using 1440 px (width) X 900 px (height) but feel free to use any size you want.
Step 2 - Background
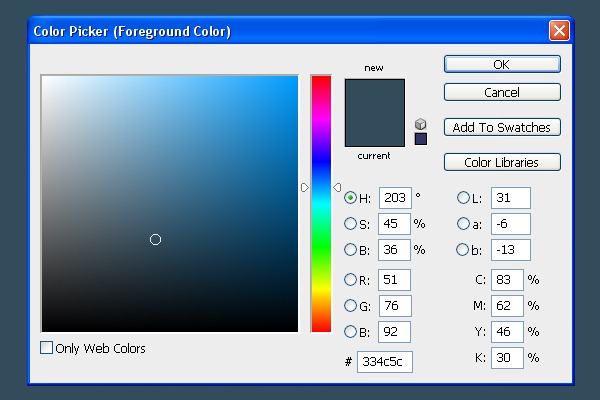
Grab the Gradient Tool (G), pick blue color (#334C5C) and fill the background with it.
Step 3 - Placing Spot Light
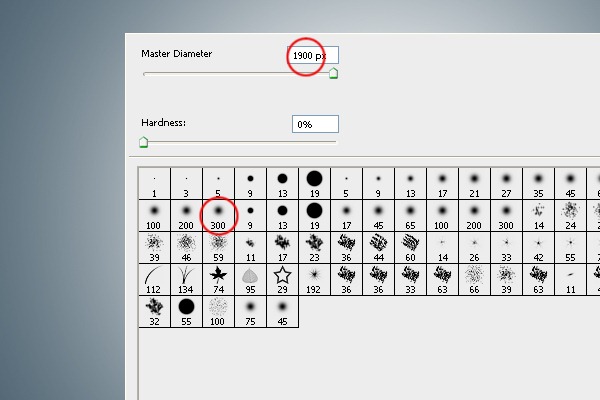
In this step you're going to add a spot light to the background. It creates a focus on the main object. Create a new layer and name it "Highlight". Select the Brush Tool (B) from the tools. Select some soft round brush and set Master Diameter on 1900 px.
Step 4 - Changing the Blending Mode
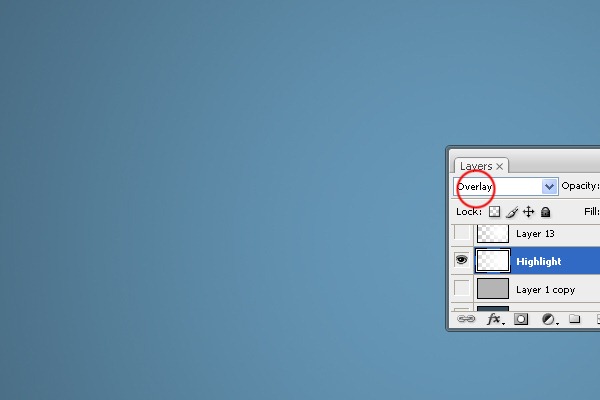
Change the Blending Mode of this layer on Overlay. It blends the spot light with the background properly.
Step 5 - Placing a Shape
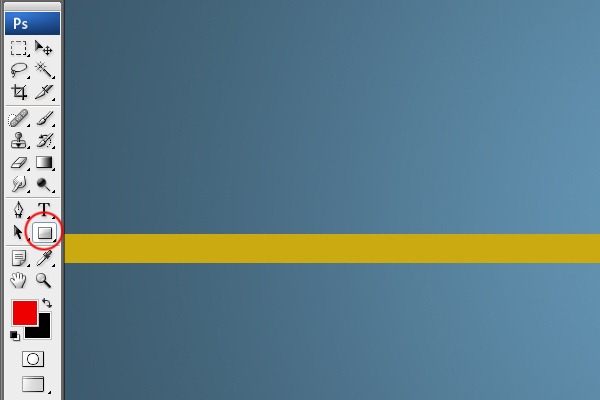
Create a new layer. Select the Rectangle Tool (U) from tools. Pick yellow color (#CBAA11) and create a shape similar as on the picture below.
Step 6 - Adding Shape #1
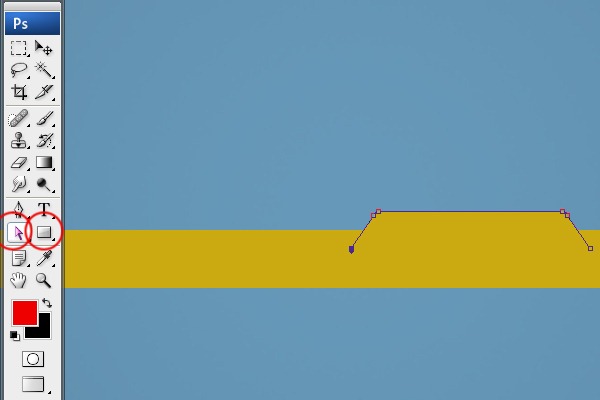
In this step you're going to add rounded rectangle shape on the right side of the shape you've created in previous step. Select the Pen Tool (P) and create a shape similar as on the picture below.
Step 7 - Adding Shape # 2
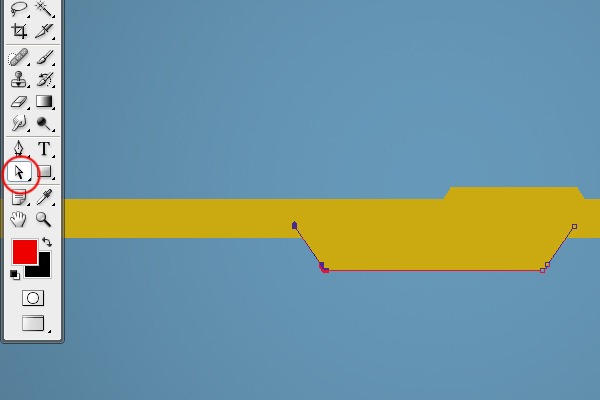
Duplicate the shape from previous step. Grab the Direct Selection Tool (A) and increase the width by dragging the corner points.
Step 8 - Duplicating Shape #2
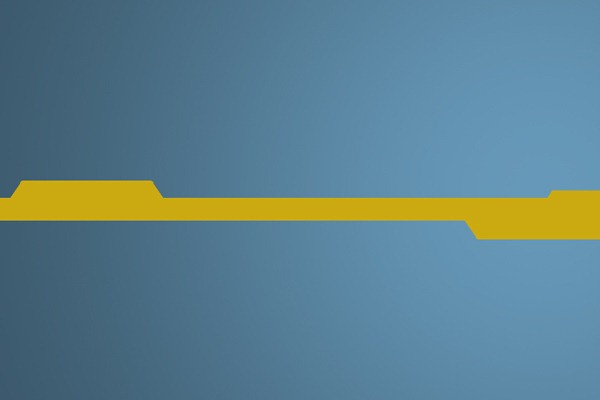
Duplicate the shape #2 and place it in the top left corner.
Step 9 - Placing Custom Shape # 1
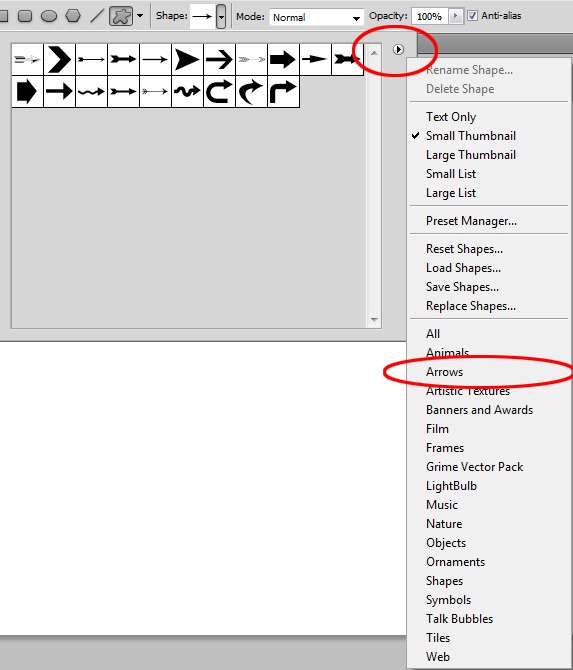
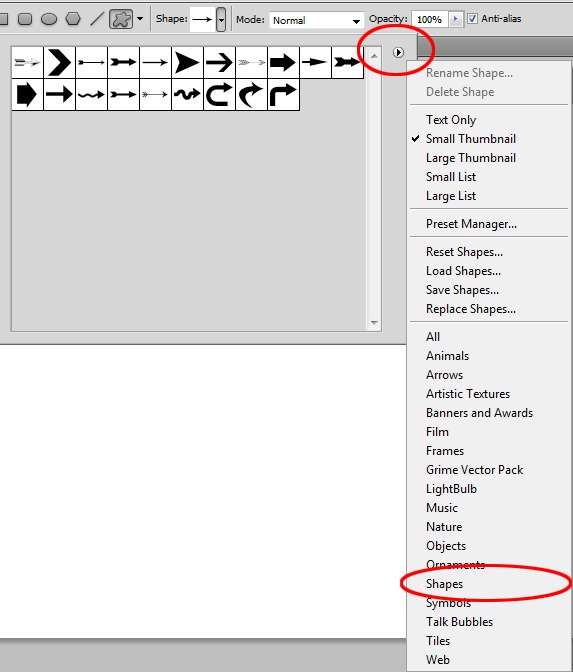
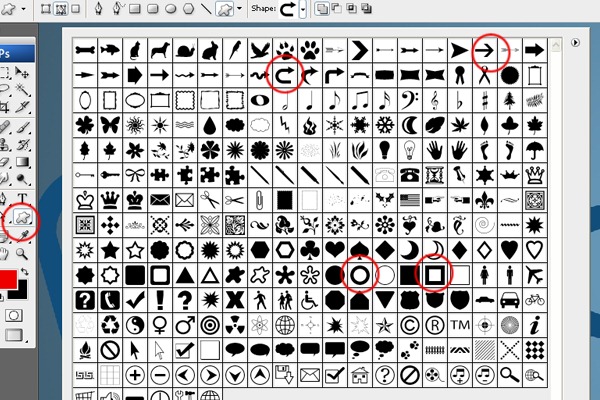
Select the Custom Shape Tool (U) and open the preset shapes. Click on the small button on the right and select option Arrows. See image bellow.
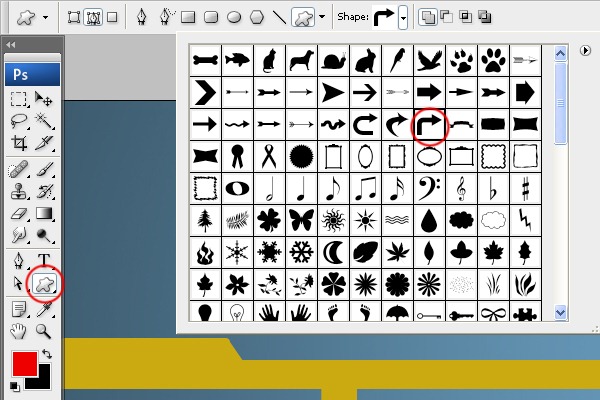
Select the direction arrow shape.
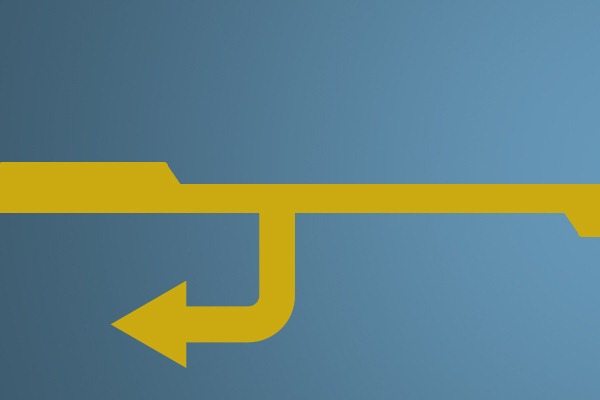
Place the shape as you can see below.
Step 10 -Placing Custom Shape # 2
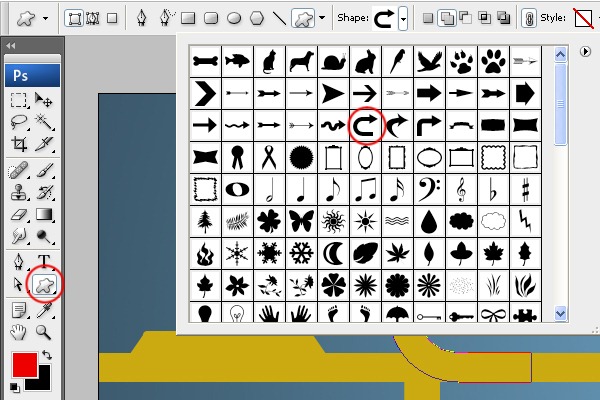
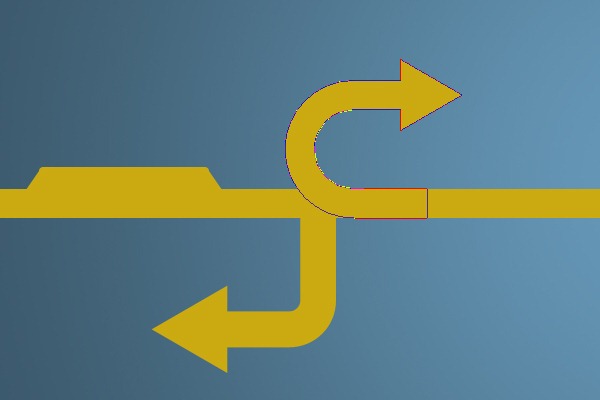
Place the arrow named Arrow 18.
Your wallpaper should look like the one below so far.
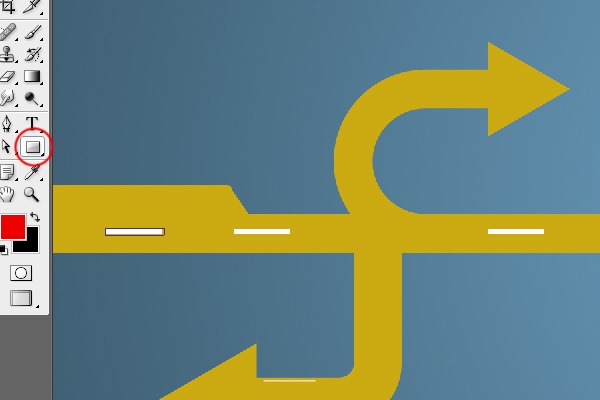
Step 11 - Creating Lines
It would be great if the shape looks like a road. To make that select the Rectangle Tool (U) and create shapes like on the picture below.
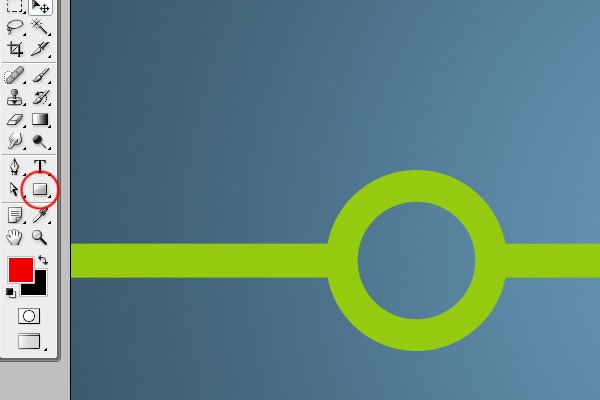
Step 12 - Creating a Circle Shape
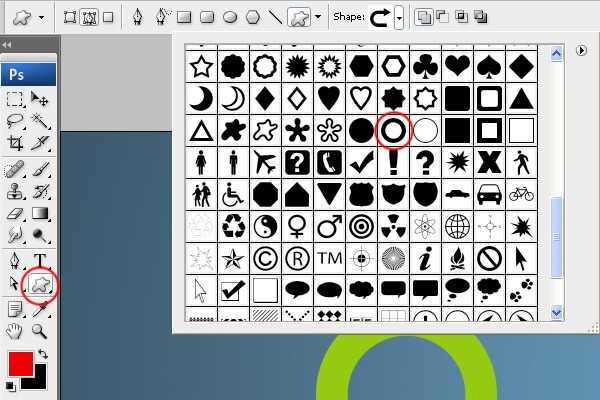
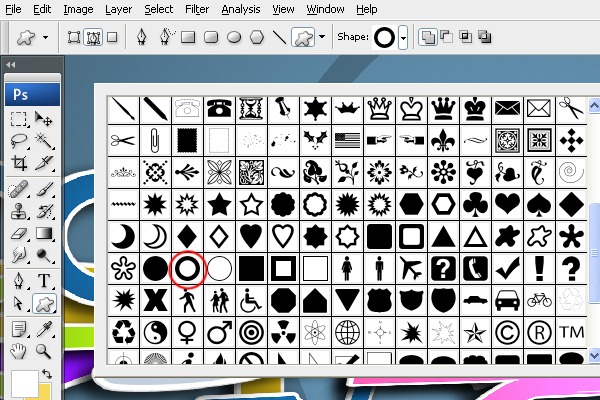
Select the Custom Shape Tool (U). Open the preset shapes and load the collection of shapes named Shapes.
Select the circle shape named Circle Frame. Select green color (#94cb11) and make the shape.
Step 13 - Adding Rectangle Shape
Once you've created the circle shape it's time to add the rectangle shape to the left and right side.
Step 14 - Duplicating the Circle Shape
Select the circle and rectangle shape. Press Alt and drag the shapes to right side of the screen (it duplicates the object). Then select the circle, press Ctrl + T and scale it down.
Step 15 - Creating Shape 3
Select the Line Tool (U) from tools. Pick purple color (#5b0cab) and set the Weight on 60 px.
Create a shape as in the image below.
Step 16 - Another Shape
To create next shape you will need these shapes.
Choose them one by one and create the shape you can see below. Change the color of the shape on blue (#114E7B).
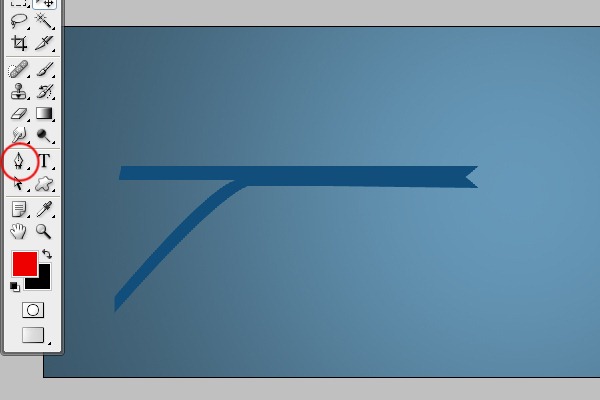
Step 17 - Creating Random Shape
Select the Pen Tool (P) and create a shape as on the picture below.
Step 18 - Random Shape 2
Select the Pen Tool (P) and create some random shape again. It can be similar to the one bellow but it's completely on your imagination.
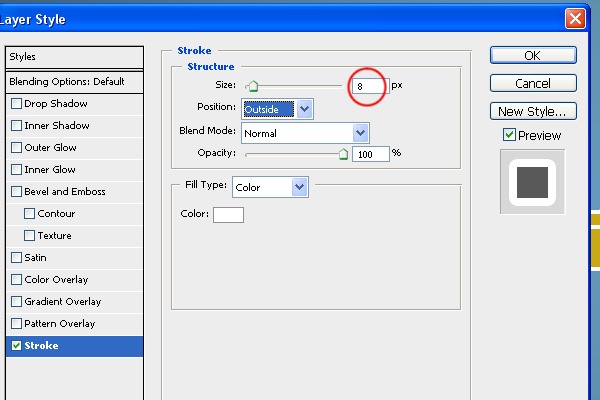
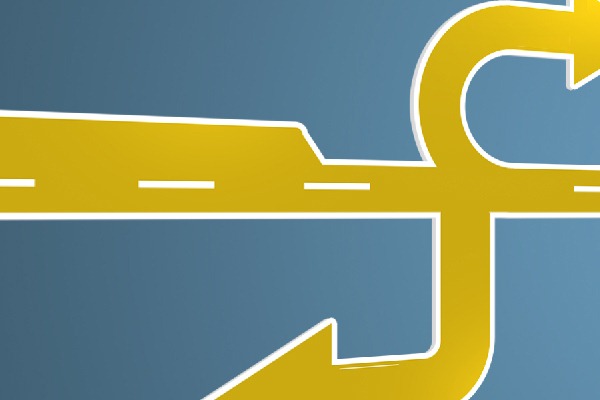
Step 19 - Adding Stroke to Yellow Shape
All the basic shapes are already created. Now you're going to start adding some details to them. Lets focus on the yellow shape. Select all layers which create this shape and merge them together. Add layer style to this layer. To do that click on the button. Add a layer style which can be found on the bottom part of your Layers palette. Select the option Stroke and apply settings shown below. Press OK.
Yellow shape should look like the one bellow.
Step 20 - Adding Stroke to the Green Shape
Select all layers which create the green shape and merge them together. Add stroke to the shape as you did it in previous step.
Step 21 - Adding Strokes to All the Shapes
Do the same process with all shapes. After you're finished you should get image similar to the one below.
Step 22 - Adding Perspective to Yellow Shape
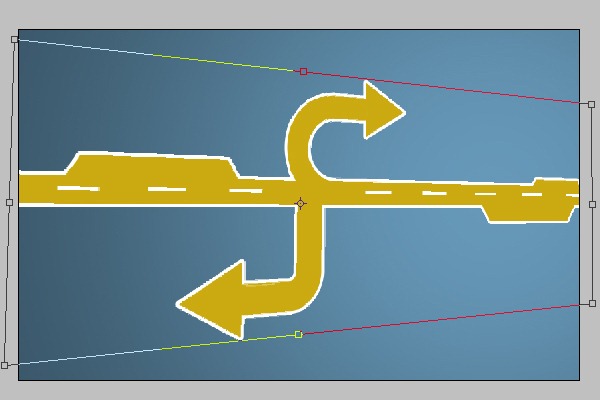
In this step you're going to add perspective to the yellow shape. To do that go to Edit > Transform > Perspective and move with the corners to get the shape similar to the one on the picture below. Press Enter.
Step 23 - Adding Perspective to Other Shapes
Repeat the previous step on all shapes.
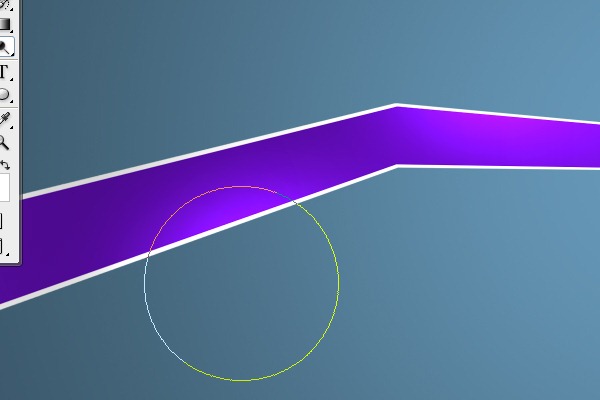
Step 24 - Dodge the Shapes
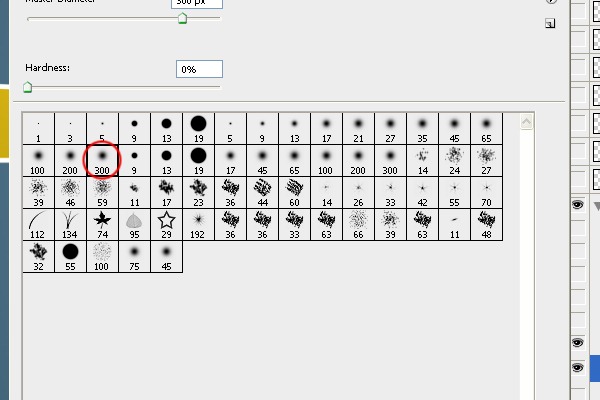
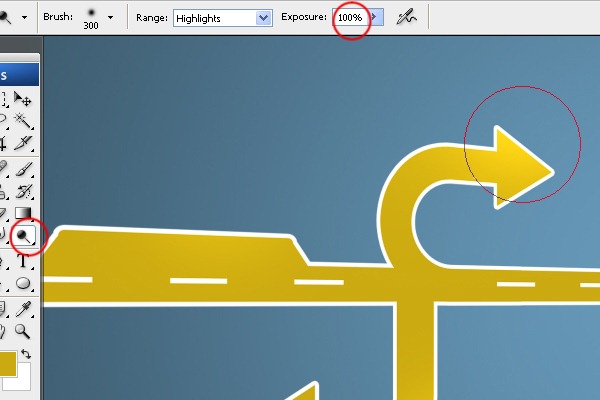
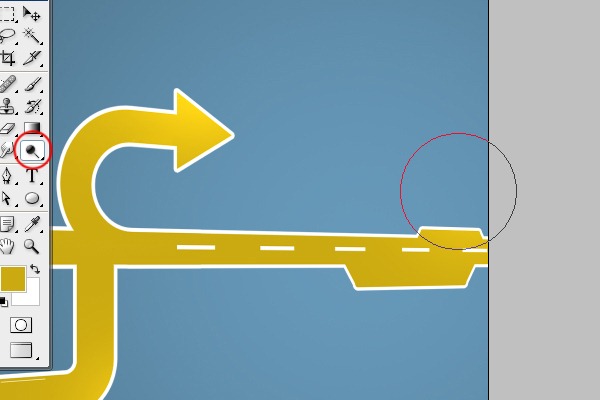
It's time to add some plasticity to the shapes. Select the Dodge Tool (O). Choose some soft round brush and set Master Diameter on 300px.
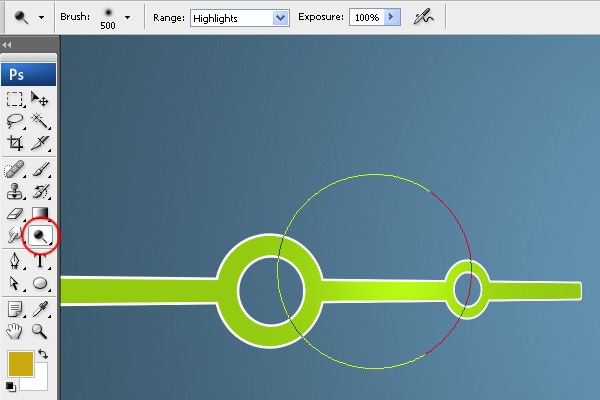
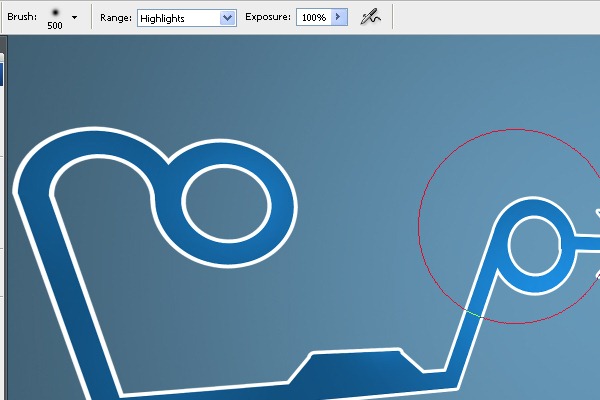
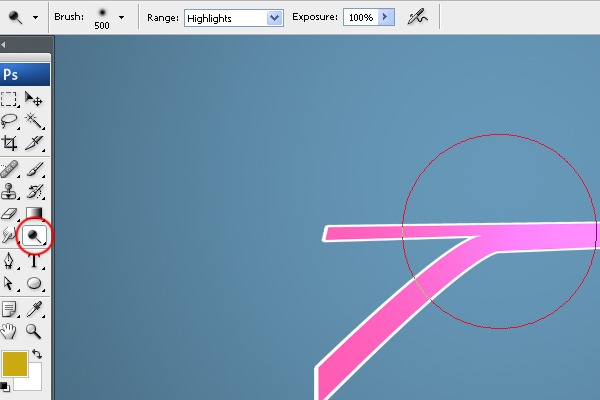
Paint over the areas of yellow shape you want to highlight. See images below for inspiration.
Step 25 - Adding Highlights to Other Shapes
Follow the step 24 but change the brush size to 500px. See images bellow.
Step 26 - Adding 3D Effect
To create 3D effect on the yellow shape duplicate the shape and move it 4 pixels left. Fill this new shape with light grey color (#D9D9D9).
Step 27 - 3D to All Shapes
Repeat the step 26 on all the shapes. Bellow you can see how the image looks so far.
Step 28 - Adding Shadows
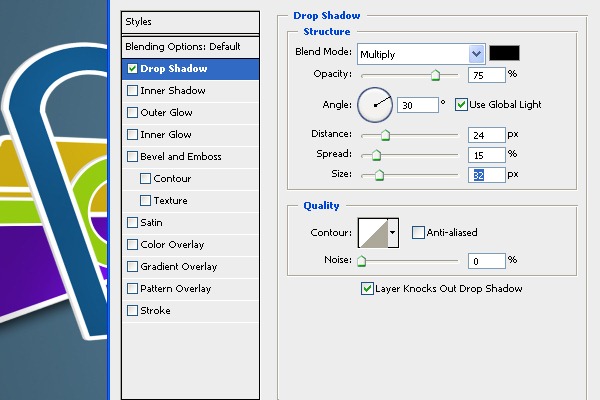
In this step you're going to add shadow under the yellow shape. Click on the layer with the shape and then click on the button Add a layer style. Select the option Drop Shadow and make following setting. Press OK.
Step 29 - Shadows to All Shapes
Repeat the step 28 on all shapes you have in the image.
Step 30 - Adding Red Shape
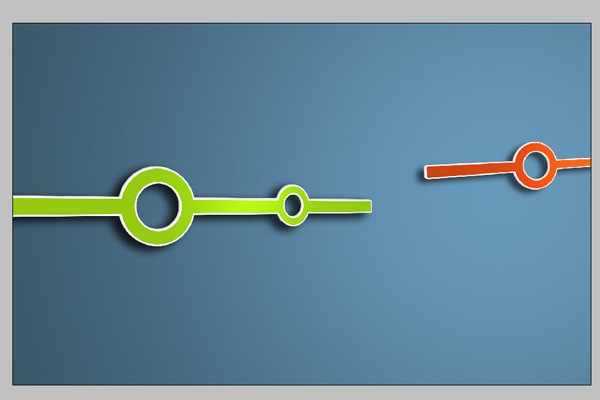
Duplicate the green shape and move it on the right side. Grab the Gradient Tool (G) and fill this new shape with red color (#D44811).
Step 31 - Adding Details To Yellow Shape
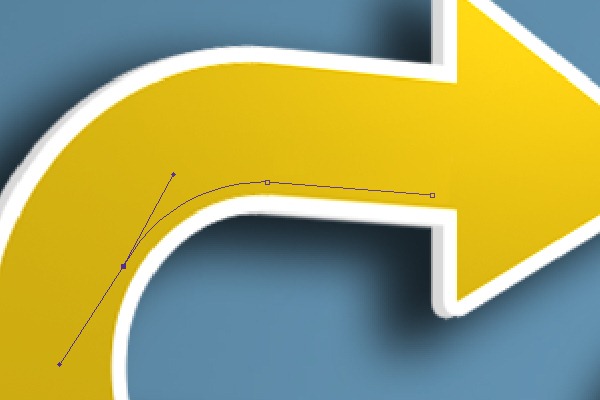
In this step you're going to add some details to the yellow shape. To do that select the Pen Tool (P) and create a path as you can see below.
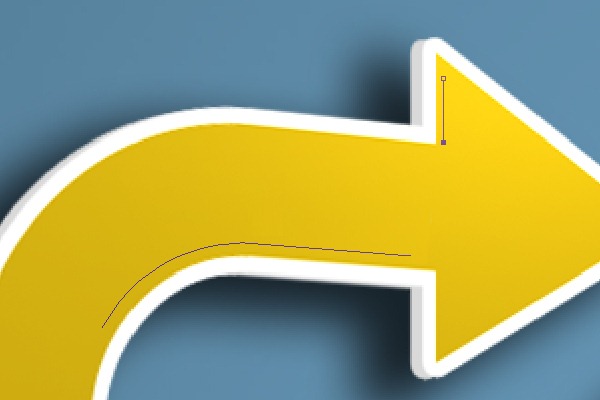
Then add one more path as on the following picture.
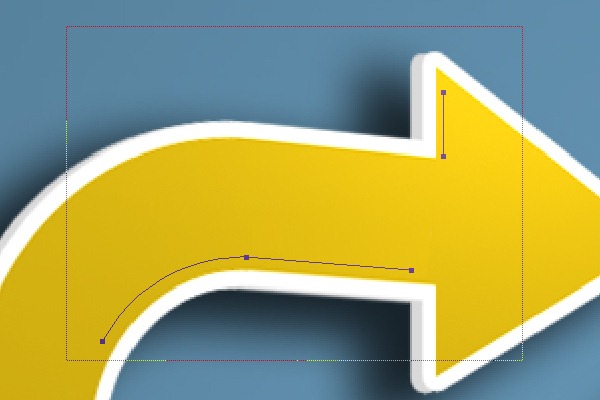
Select both paths with the Direct Selection Tool (A).
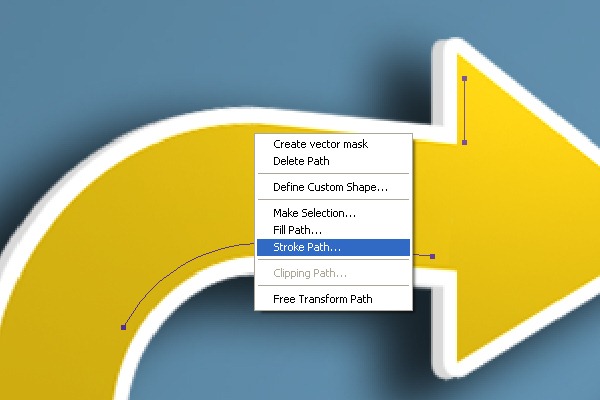
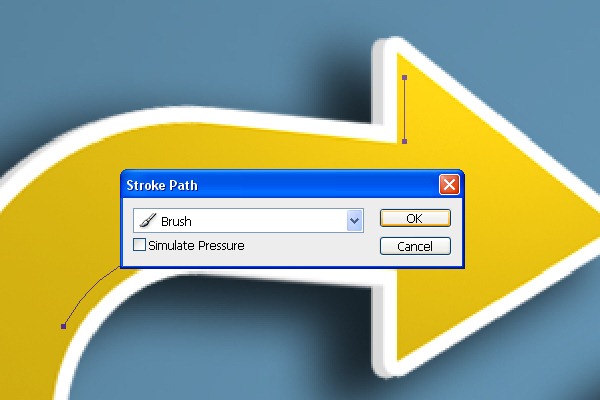
Select the Brush Tool (B) and choose hard round 3px brush. Select the Pen Tool (P) again. Right click on the screen and choose the option Stroke Path... Select the option Brush and click OK.
Step 32 - Adding More Lines
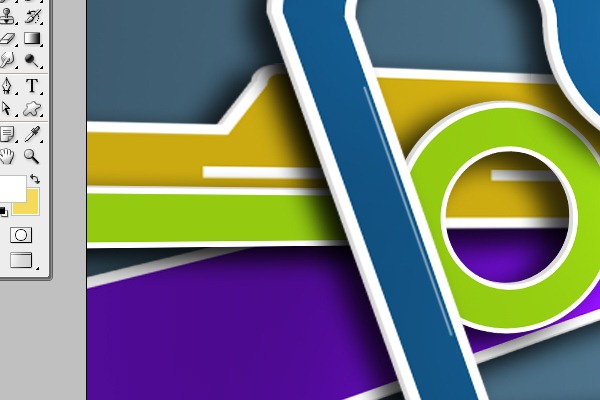
Follow the previous step to add more strokes also on another shapes. See images bellow for inspiration.
Step 32 - Adding Arrow Shape
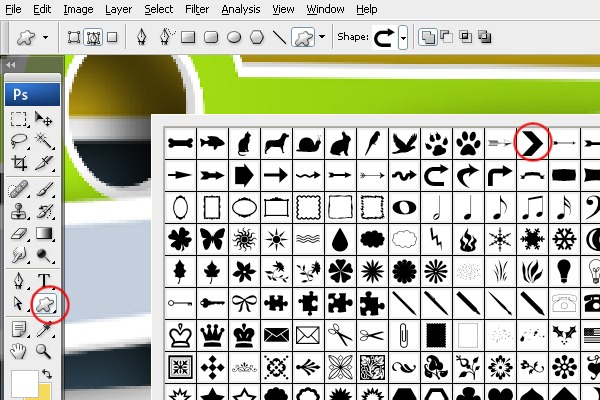
Select the Custom Shape Tools (U) and choose the arrow shape named Arrow 2.
Place the arrow into the shape and duplicate it to get similar shape as on the picture below.
Step 34 - Adding Circle Shape
Select the Custom Shape Tools (U) and select the shape named Circle Frame.
Pick blue color (#486B82) and create the shape similarly as on the picture bellow.
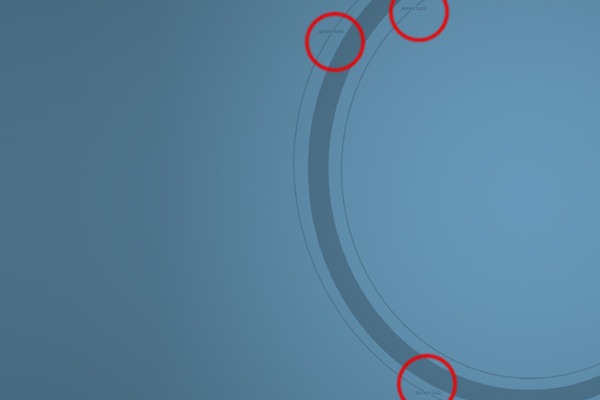
Step 35 - Smaller Circle
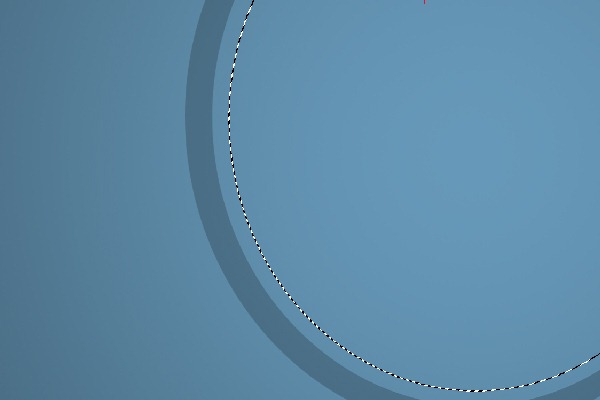
In this step you're going to create smaller circle inside the shape you've created in previous step. Select the Elliptical Marquee Tool (M) from tools and make a selection as on the picture below.
Go to Edit > Stroke... Choose the blue color from the previous step and set Width on 2 px. Press OK.
Step 36 - Adding Bigger Circle
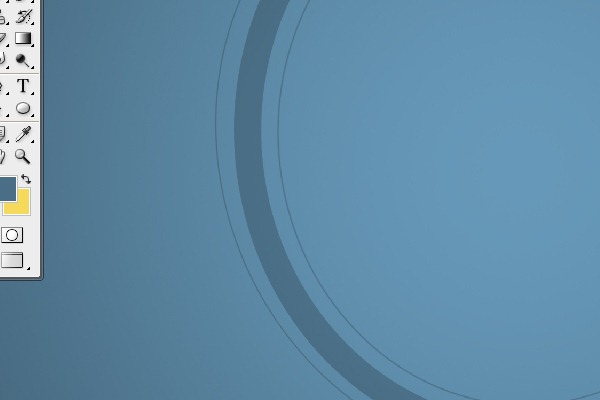
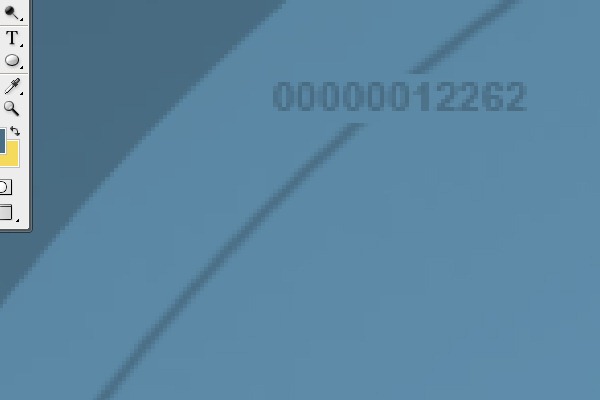
Select circle from previous step and duplicate it. Press Ctrl + T and make it bigger. Grab the Eraser Tool (E) and erase some small part of the circle. Type some name or number there.
Do the same with the smaller circle too.
Step 37 - Duplicating the Circle
Click on all the layers which create the blue circle and duplicate them. Move these new layer to the left and make them bit smaller.
Final Result
















Tidak ada komentar:
Posting Komentar