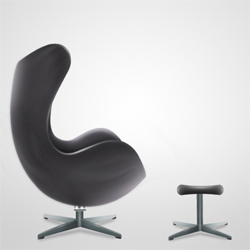
 Learn how to create this realistic modern chair using the Pen and Smudge tools. This tutorial will show you several useful painting and drawing techniques that can be used in other Photoshop drawings.
Preview of Final Results
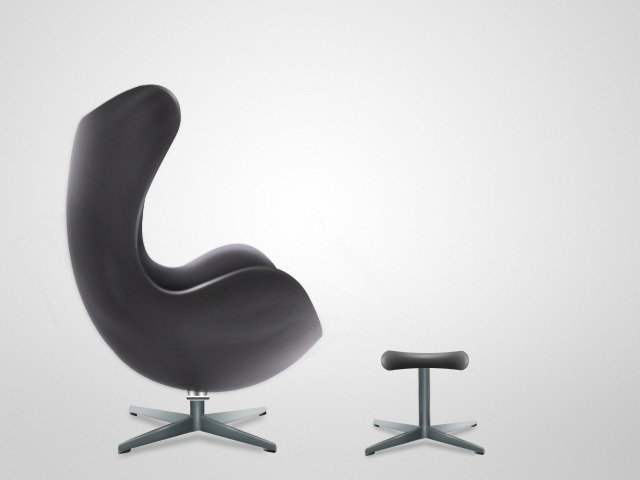
How to Paint a Realistic Modern Chair Photoshop Tutorial
Step 1
Start by making a new image (File->New) with 640 px (Width) X 480 px (Height) dimension. You can see the exact settings bellow.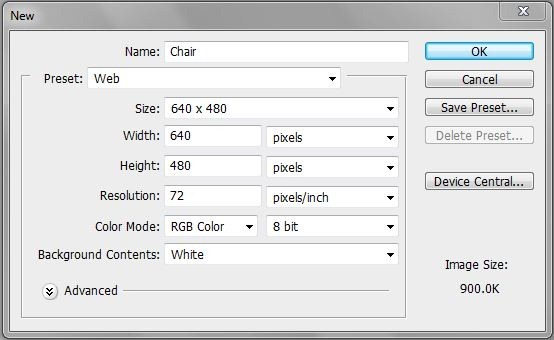
Step 2
Select the Gradient Tool (G) from the tools.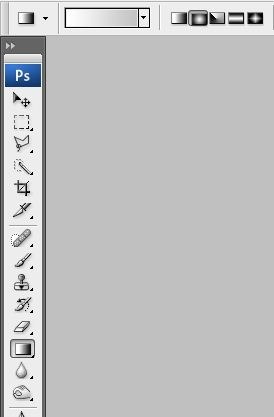
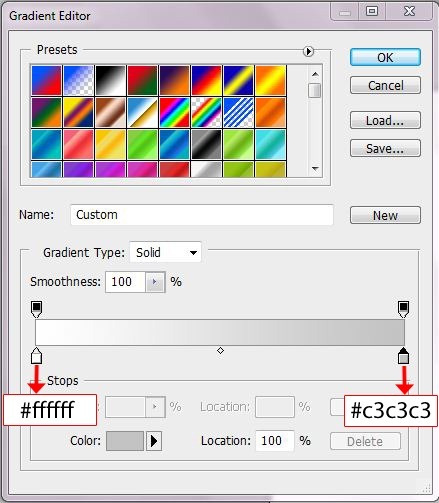

Step 3
Select the Pen Tool (P) and make a path like in the picture below.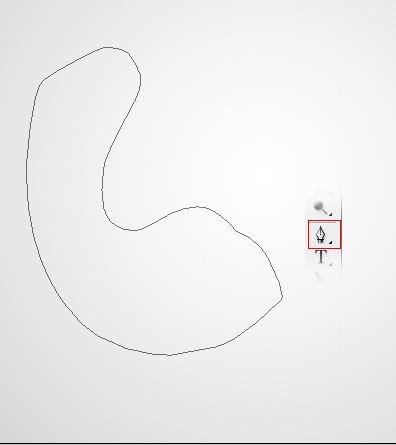
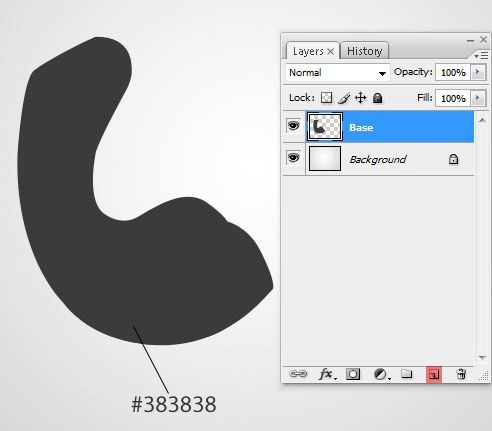
Step 4
Go to Filter > Noise > Add Noise... and set the dialogue as you can see below.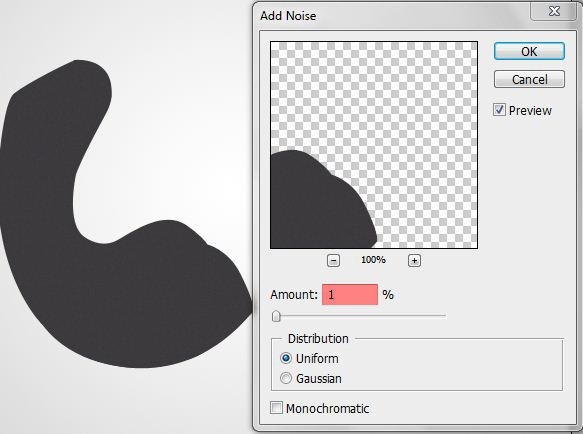
Step 5
In the "Base" layer , make a selection like in the following picture using the Lasso Tool (L).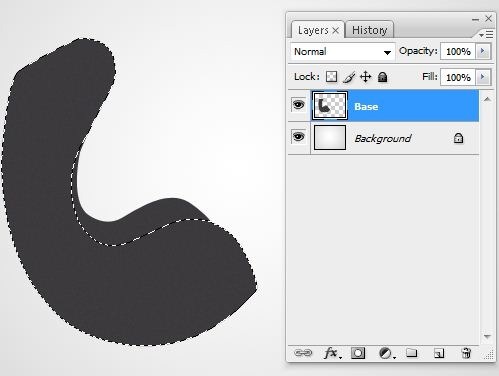
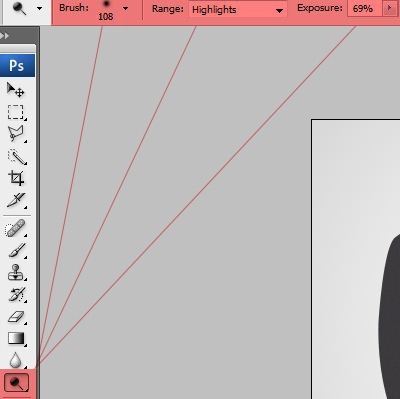
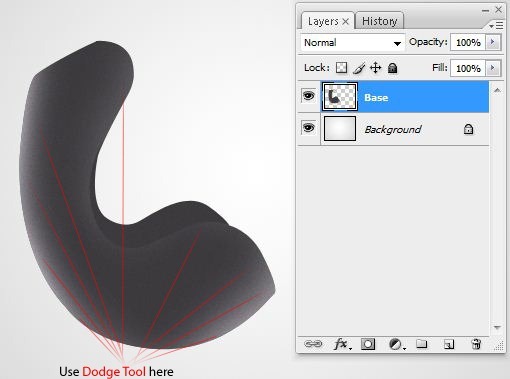
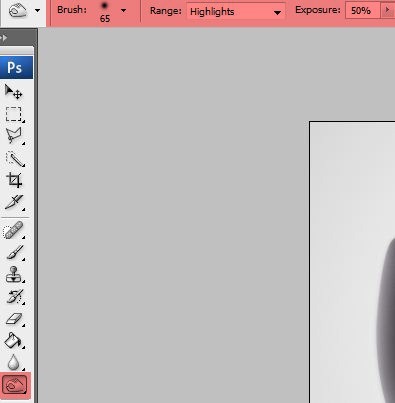
• Master Diameter : 108 px
• Range : Highlights
• Exposure : 69%
Step 6
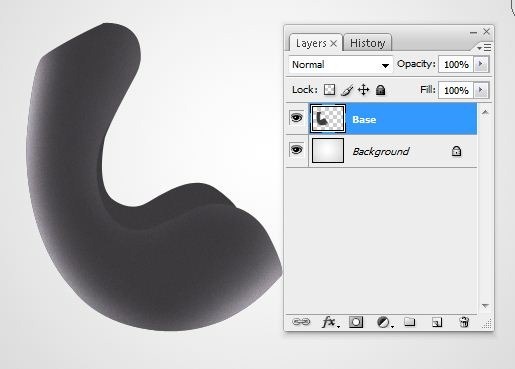
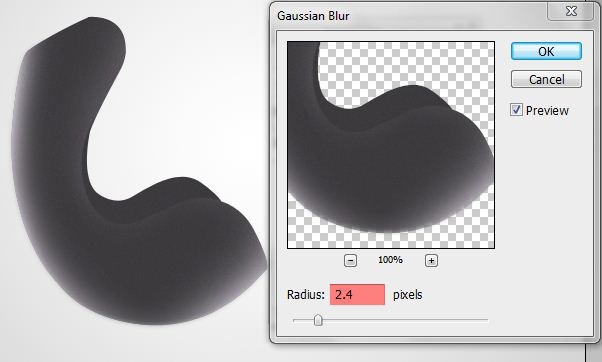
Grab the Lasso Tool (L) and make another selection with similar shape as it´s shown on the picture below. Then go to Select > Modify > Feather ... (it may vary in different versions of Photoshop). Set the Feather Radius on 10 pixels.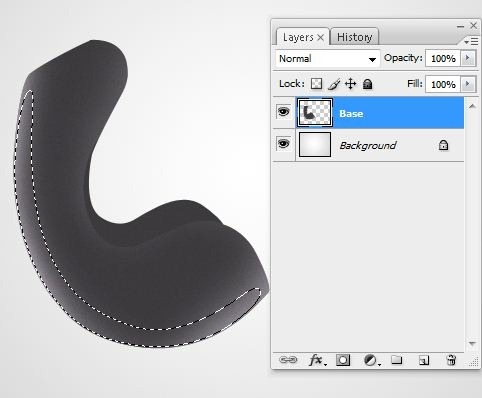
Step 7
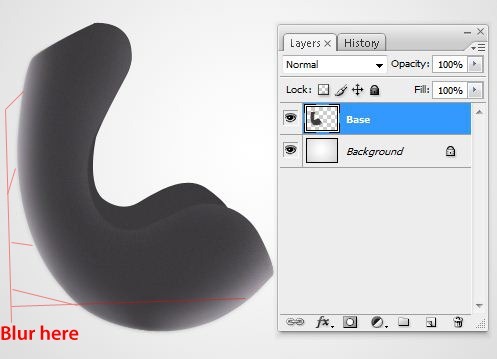
Select the Blur Tool (R) with the settings as shown below.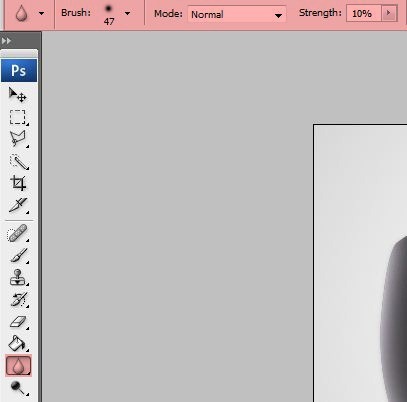
Step 8
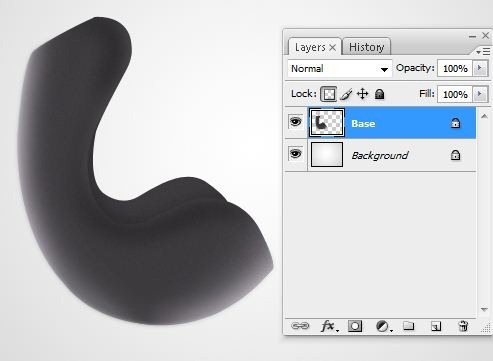
Make another selection using the Lasso Tool (L) and then make the selection smoother with Feather as in the previous step.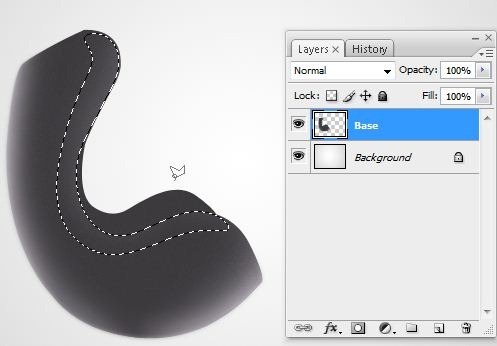
Step 9
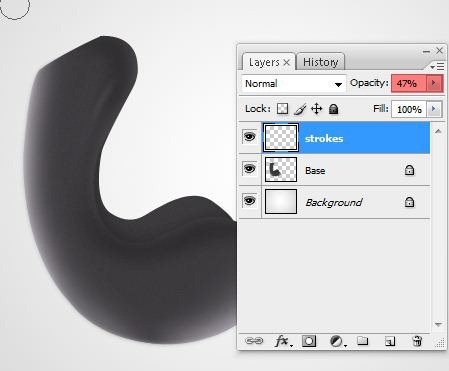
Create a new layer. Rename the layer to "Strokes".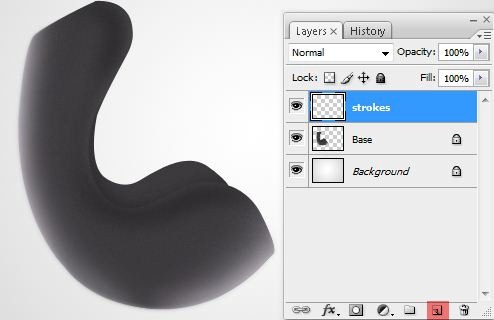
• Master Diameter: 3px
• Mode: Normal
• Opacity: 100%
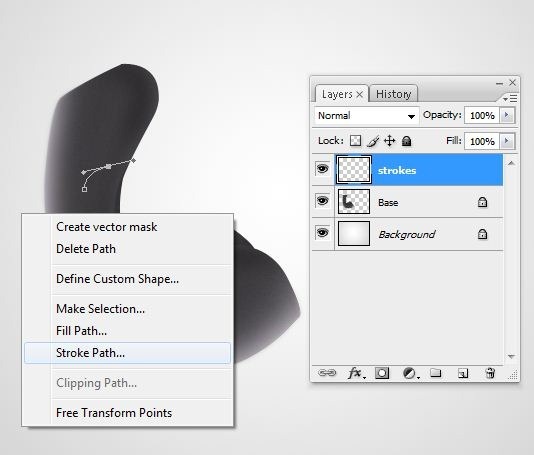
Use the Pen Tool (P) and create a path like in the picture below. Right click on it and select "Stroke Path" option
Step 10
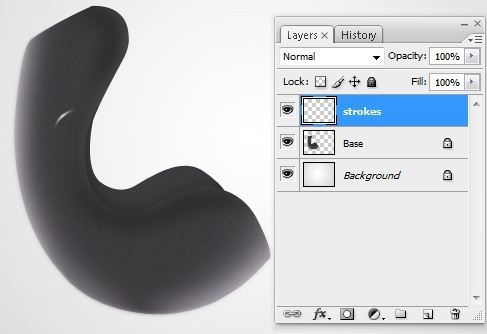
After you’ve pressed Stroke Path, check the "Simulate pressure" box and press OK.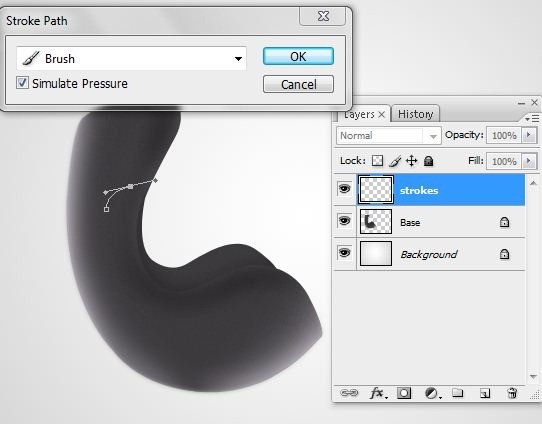
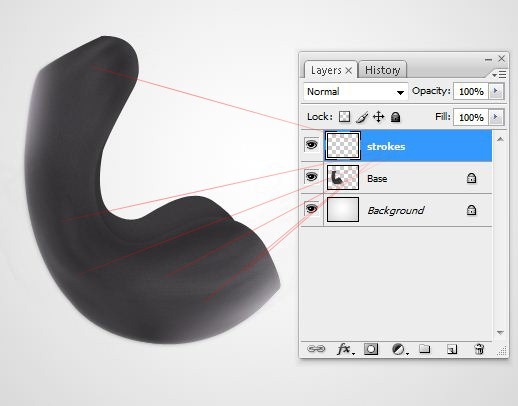
Step 11
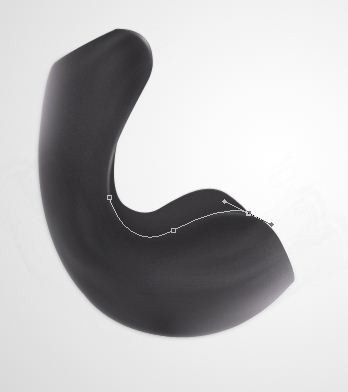
Make a new layer and rename it to "Stroke 2". Select the Pen Tool (P) and make a path like in the picture below.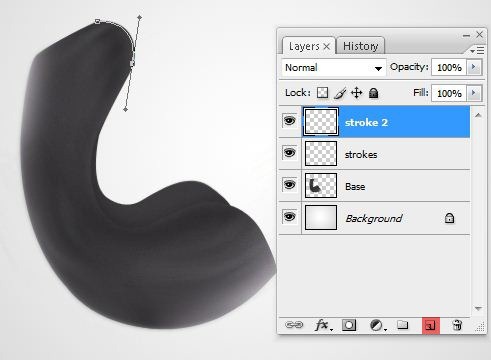
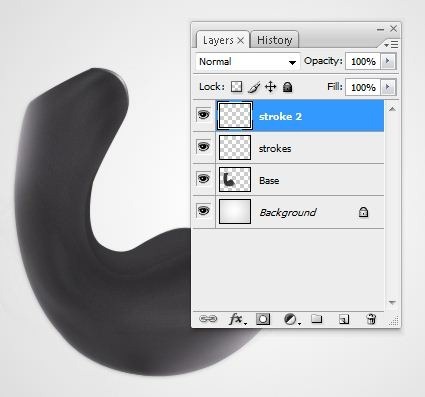
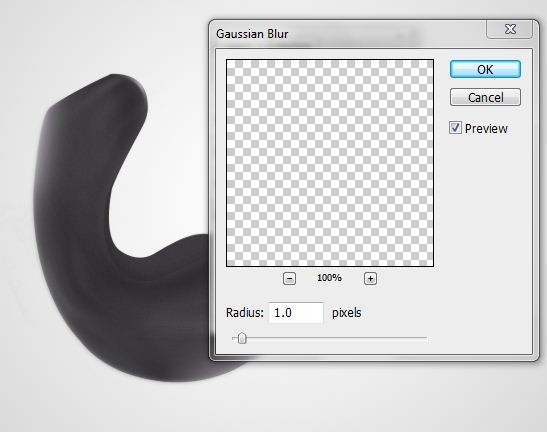
Step 12
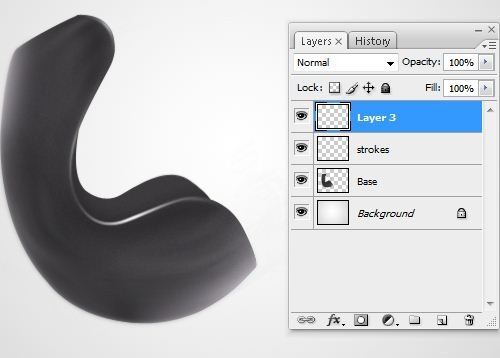
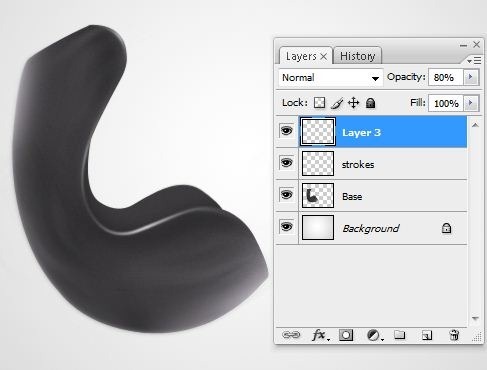
Add more strokes using the same technique as it the step 11.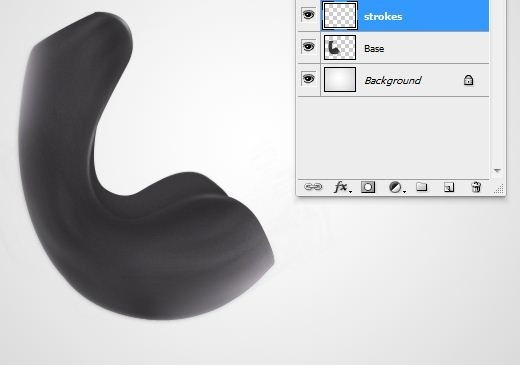
Step 13
Make a new layer and rename it to "interior". Grab the Gradient Tool (G) and fill it like in the picture below with #5C5960 gray color.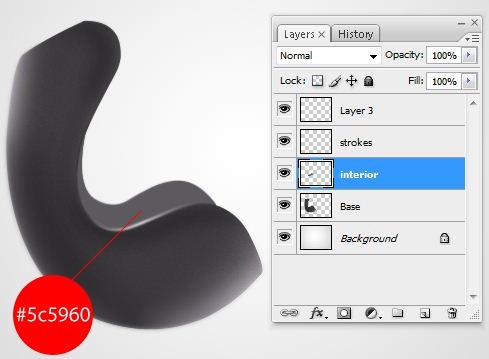
Step 14
From the Tools Menu select the Burn Tool (O). Set the Diameter of the brush on 52 px, Range on Highlights and Exposure on 50%. Add some shadows as it´s circled in the picture below.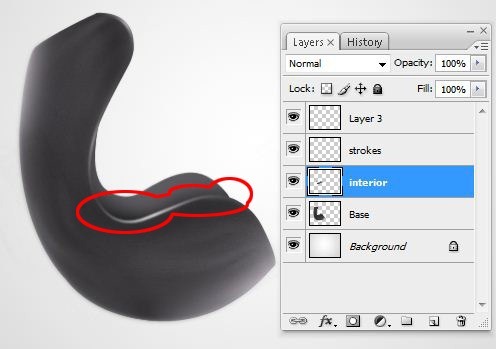
Step 15
Pick up the Dodge Tool (O). Set the Diameter of the brush on 30 px, Range on Highlights and Exposure on 70%. Add some highlights similarly as on the picture below.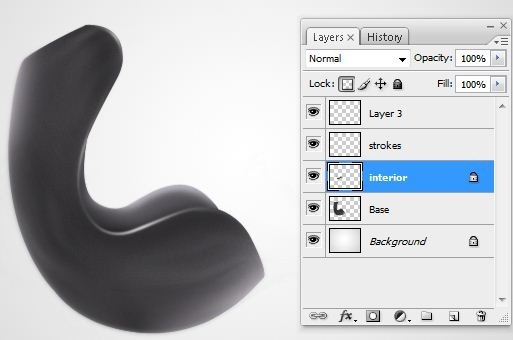
Step 16
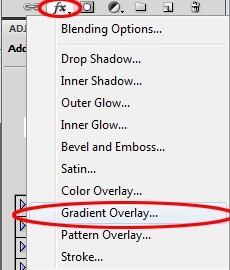
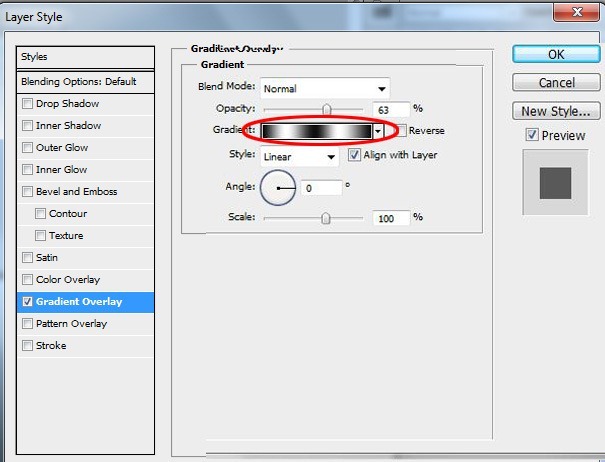
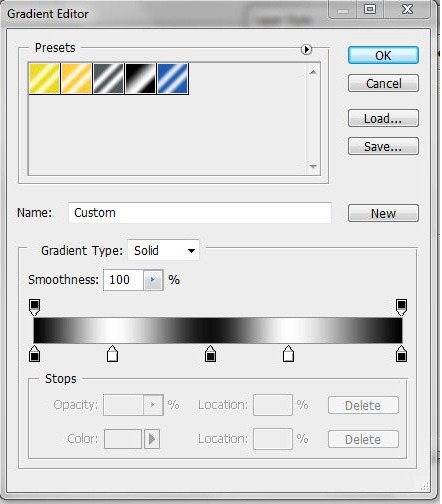
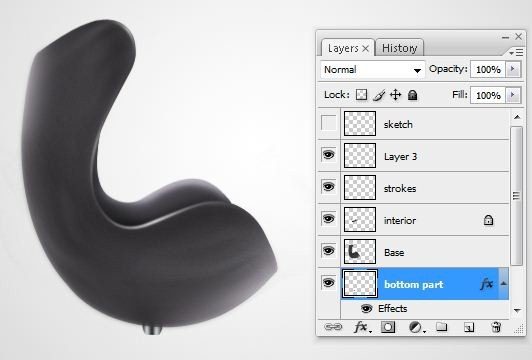
Make a new layer and rename it to "bottom part". Make a selection using the Lasso Tool (L) as on the image below.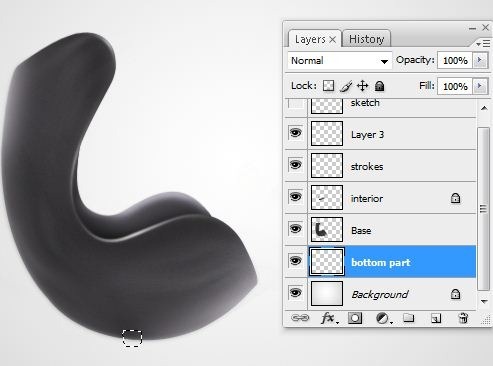
Step 17
Pick up the Dodge Tool (O). Set the Diameter on about 30 px, Range on Highlights and Exposure on 70%. Dodge the "bottom part" of the layer.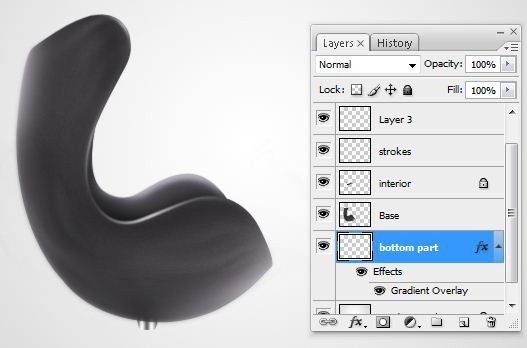
Step 18
Make another new layer and add a shape like in the picture below using the color # 9DA2A6.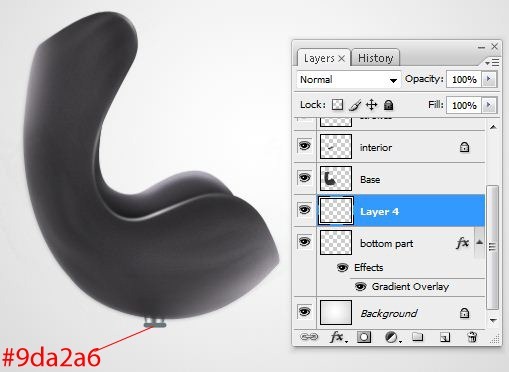
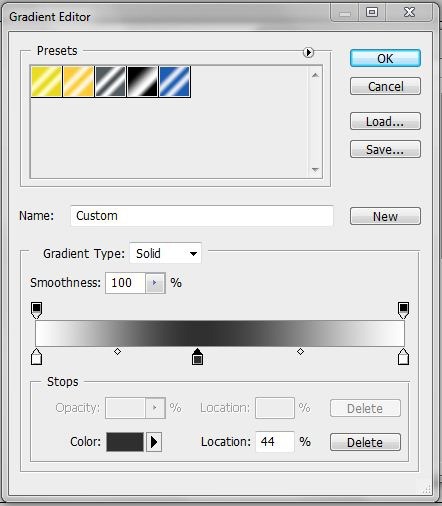
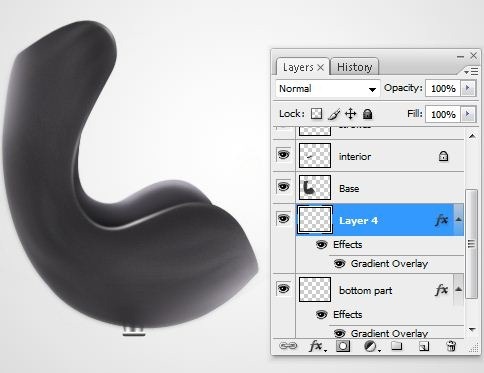
Step 19
Make a new layer above the "Background" layer and using the Pen Tool (P) make a path like in the picture below.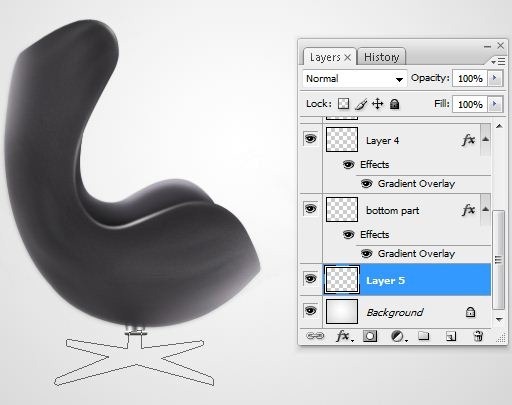
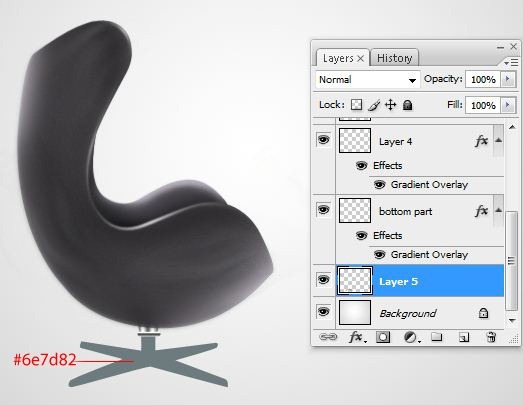
Step 20
Use the Lasso Tool (L) and make a selection like in the picture below.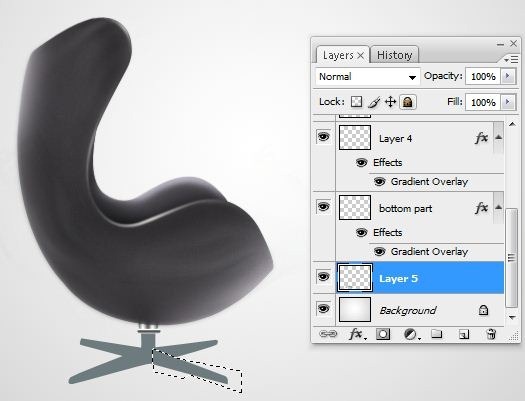
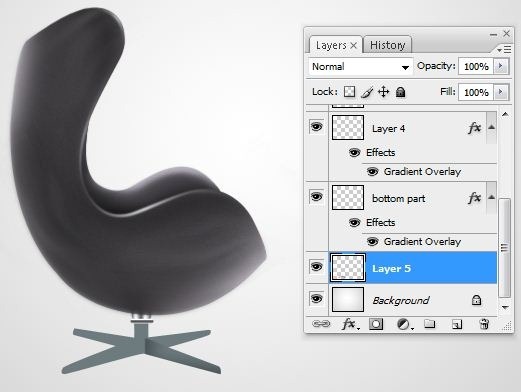
Step 21
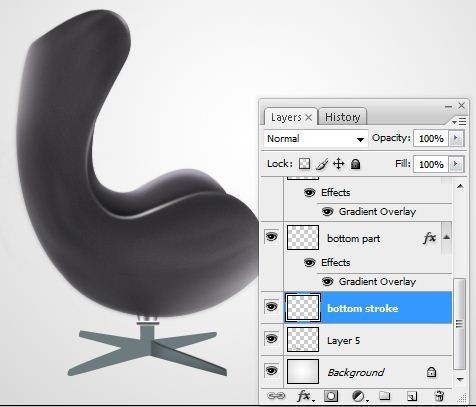
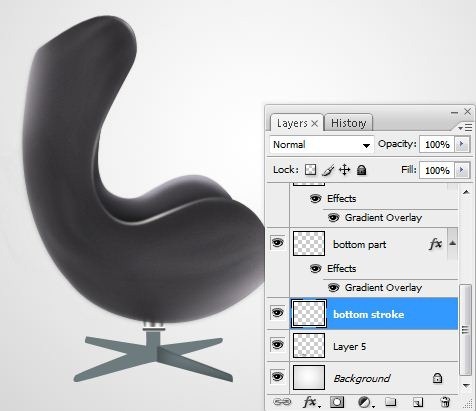
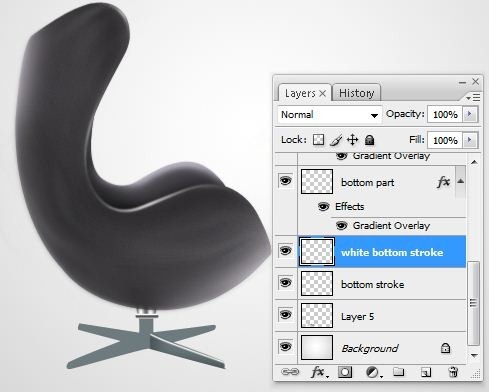
Make a new layer and name it "bottom stroke". Select the Pen Tool (P) and create a path like in the next picture.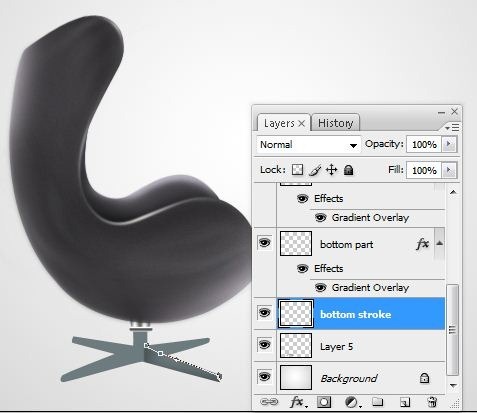
Step 22
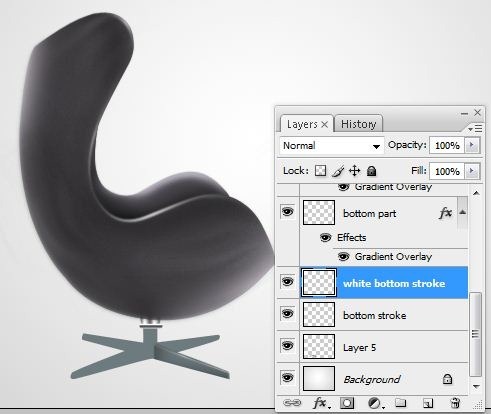
Make a new layer and name it "white bottom stroke". Use the Pen Tool (P) and create a path like in the next picture.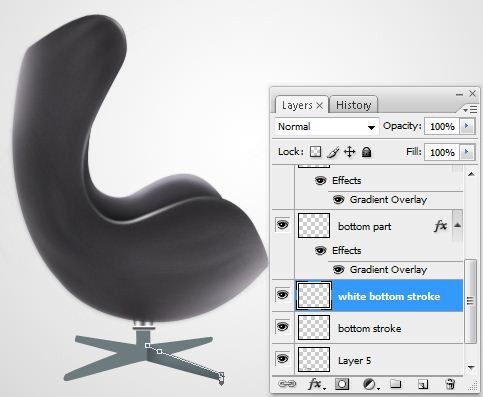
Step 23
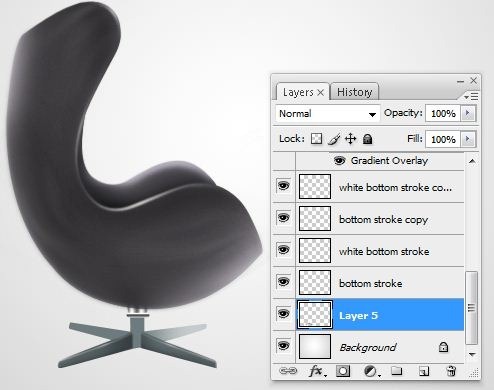
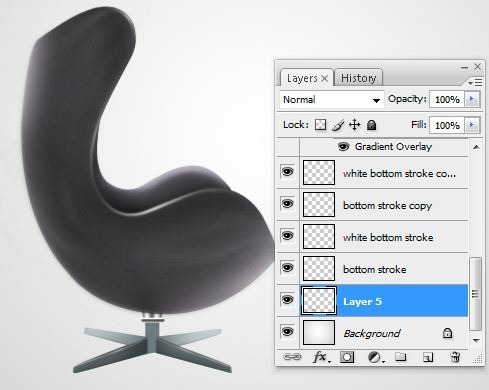
Repeat the steps 21-22 at the left of the bottom part. Then make following selection using the Lasso Tool (L).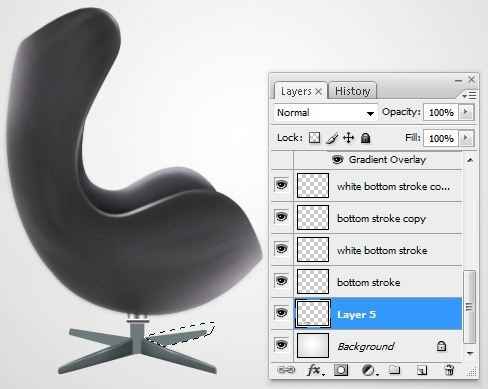
Add some highlights in the selection like in the picture below.
Step 24
Add a small shadow using the Burn Tool (O) in the selection.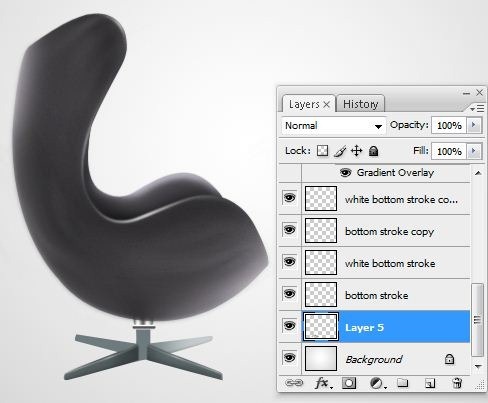
Step 25
Make another selection using the Lasso Tool (L).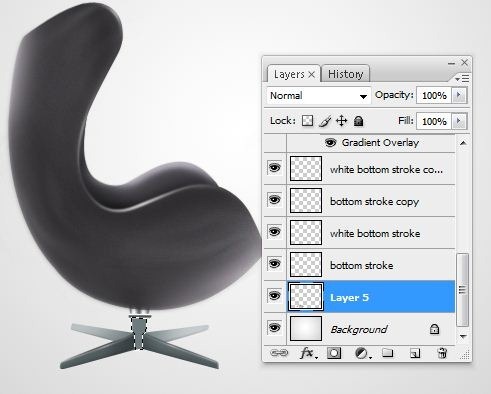
Step 26
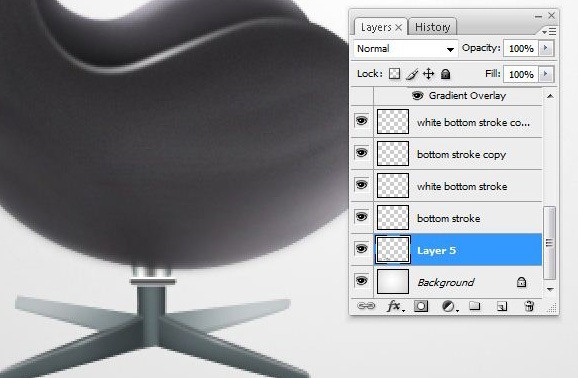
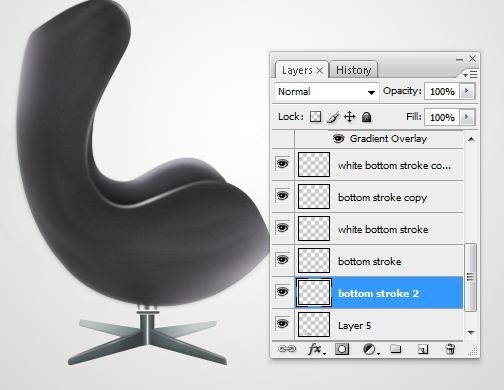
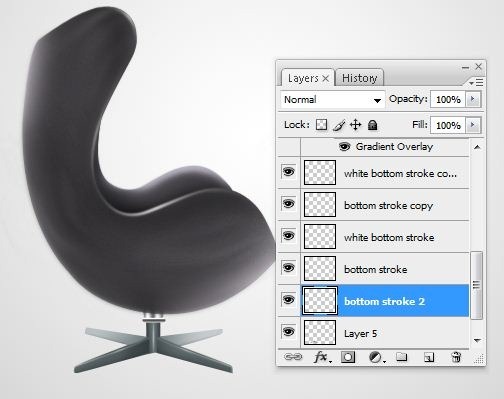
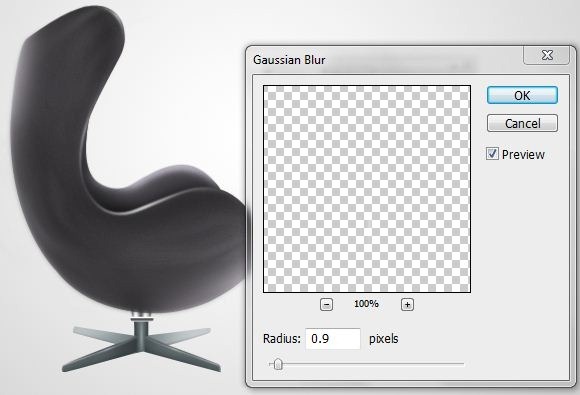
Make a new layer and name the layer "bottom stroke 2 ". Make a path using the Pen Tool (P).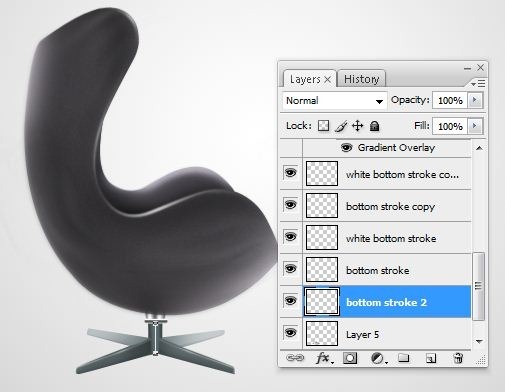
Step 27
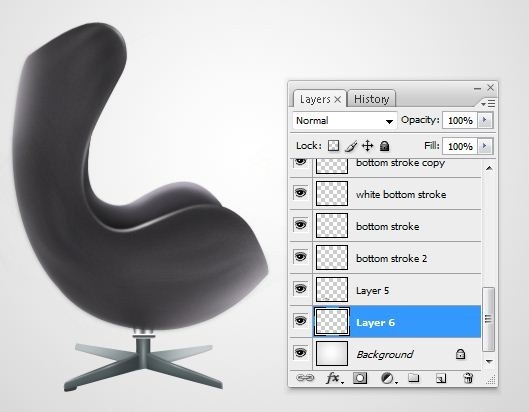
Make a new layer and place it above the "Background" layer. Make a path using the Pen Tool (P) similar as it´s shown in the picture below.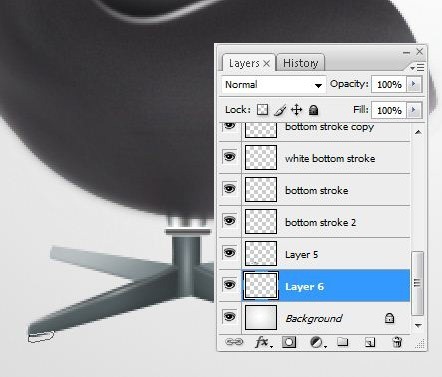
Grab the Gradient Tool (G) and fill the path with a dark gray color.
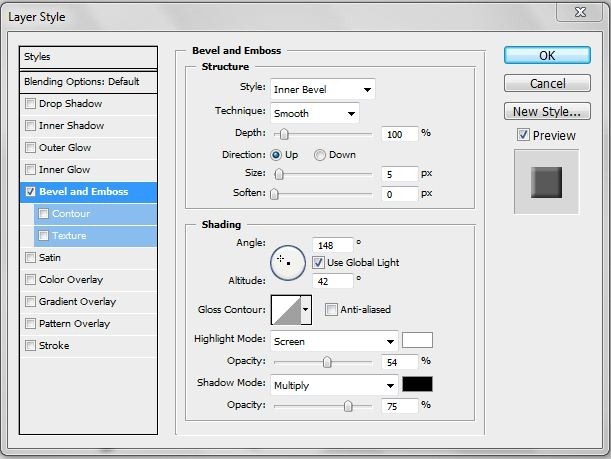
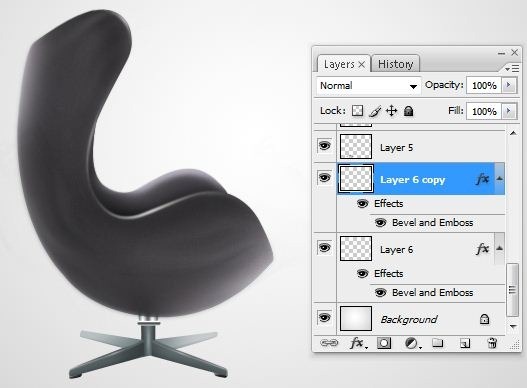
Step 28
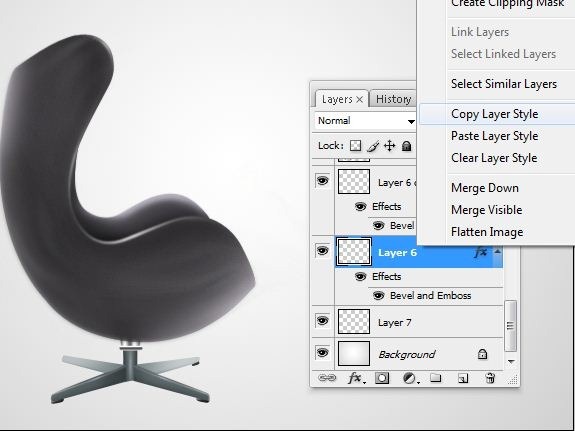
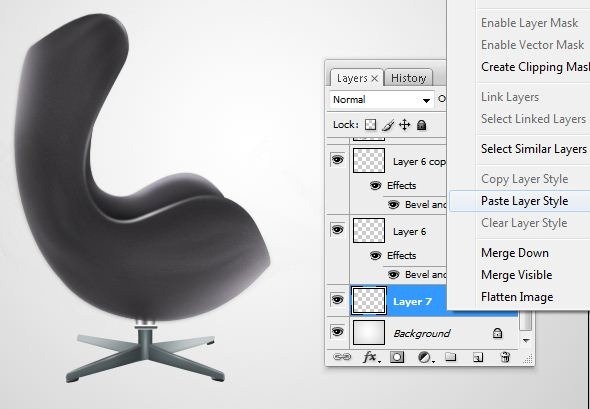
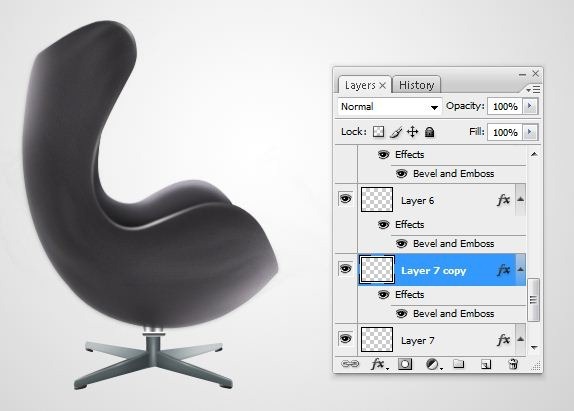
Make another new layer (Ctrl+Shift+N) and create another dark gray shape like in the next picture.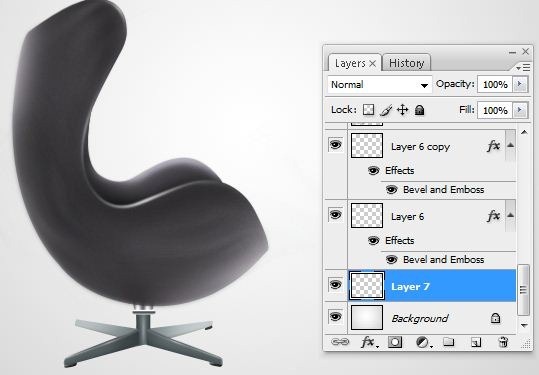
Step 29
Make a new layer and name it "shadow ". With the Pen Tool (P) make a path as seen below.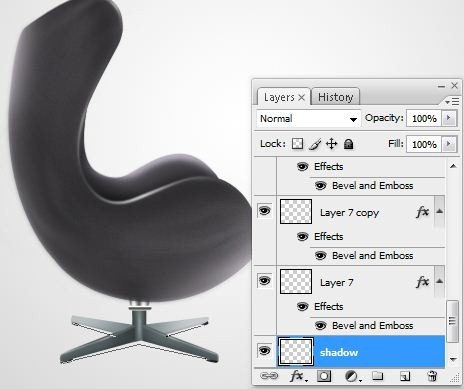
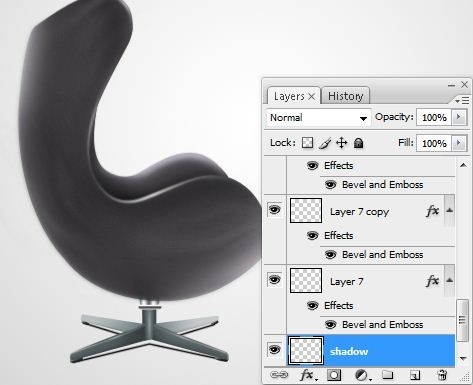
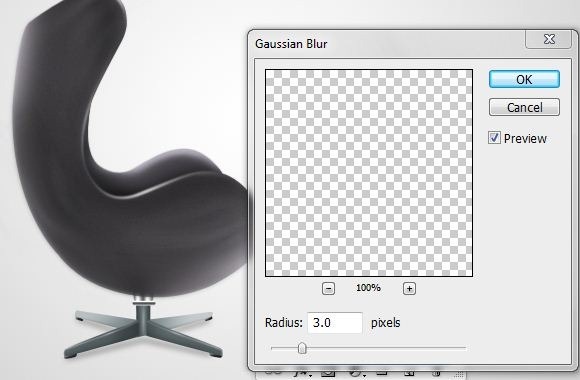
Step 30
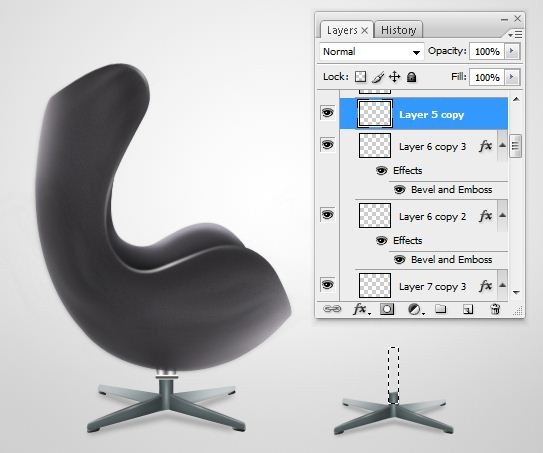
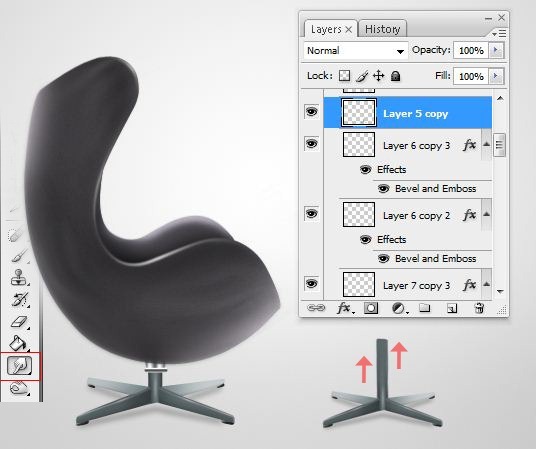
Now duplicate all the layers which create the bottom part of the chair and place them into a new group called "Second chair".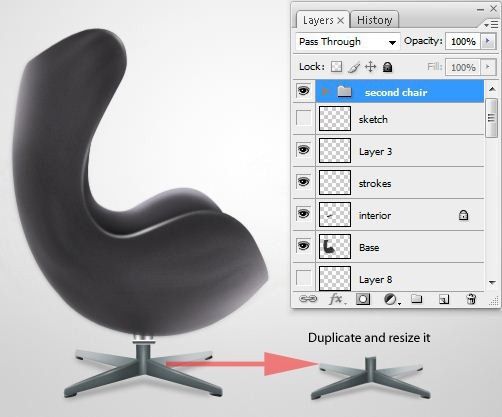
Step 31
Smudge the white stroke too.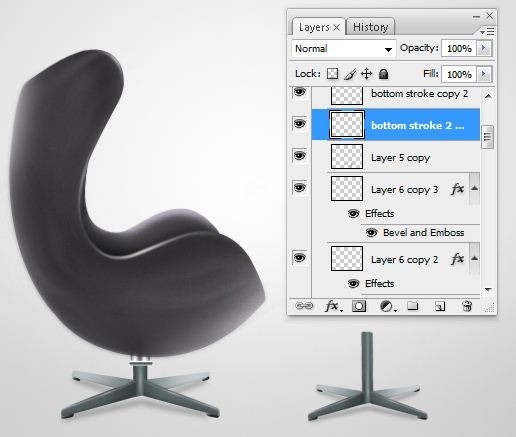
Step 32
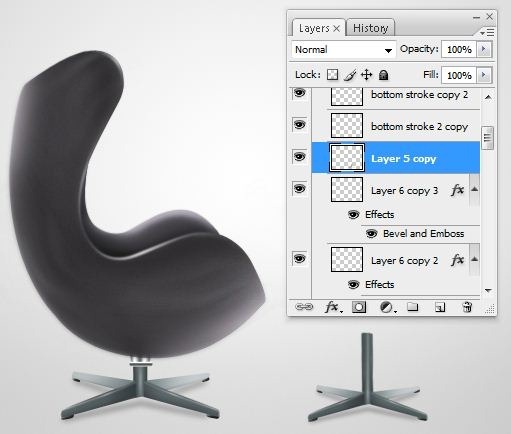
Make a new layer (Ctrl+Shift+N) and name it "Top part".
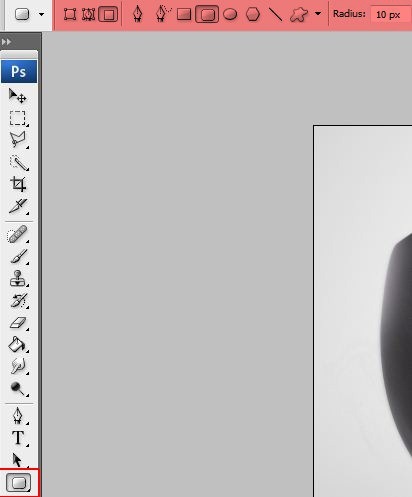
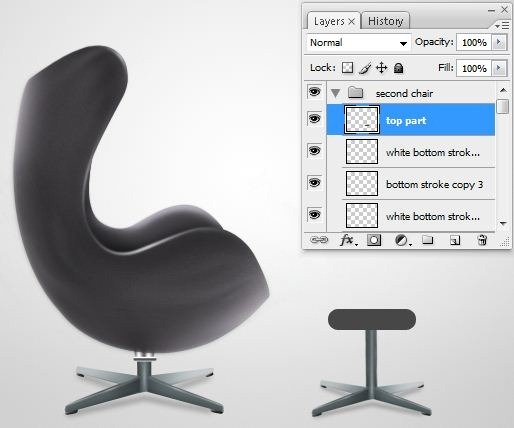
Step 33
From the Tools menu select the Elliptical Marquee Tool (M).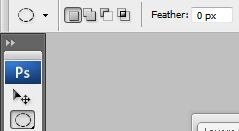
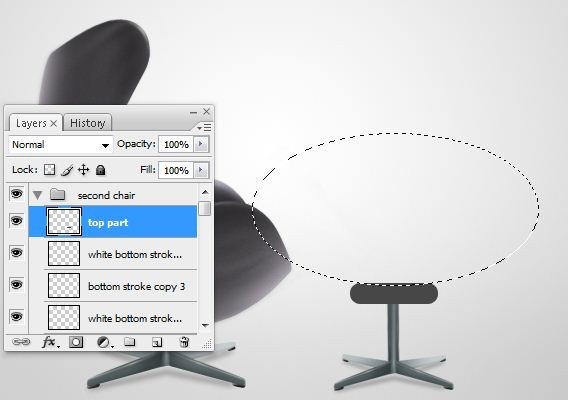
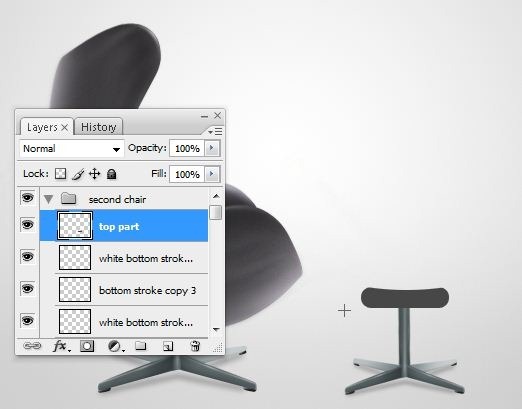
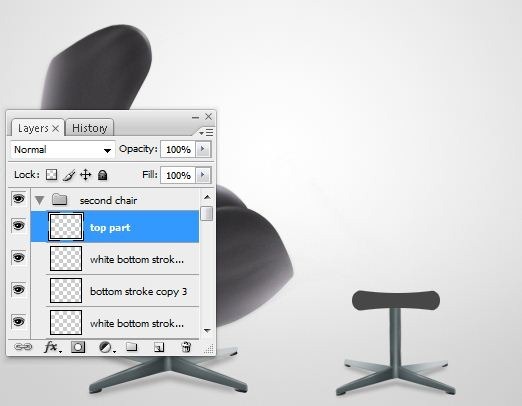
Step 34
Select the Burn Tool (O) and set the Diameter of the brush on 26 pixels, Range on Highlights and Exposure on 36%. Use the Burn Tool (O) to add some shadows at the bottom.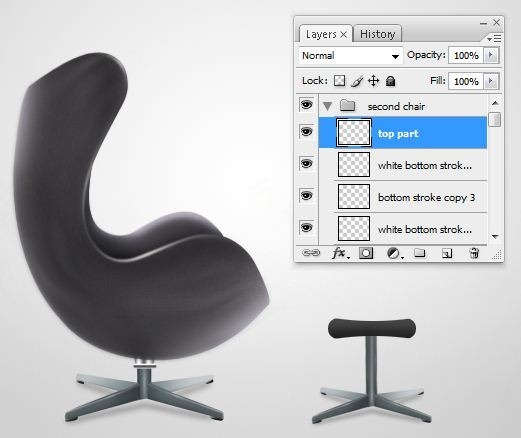
Step 35
Pick up the Dodge Tool (O). Set the Diameter of the brush on 29 pixels, Range on Midtones and Exposure on 30%. Add some highlights at the top part of "top part" layer.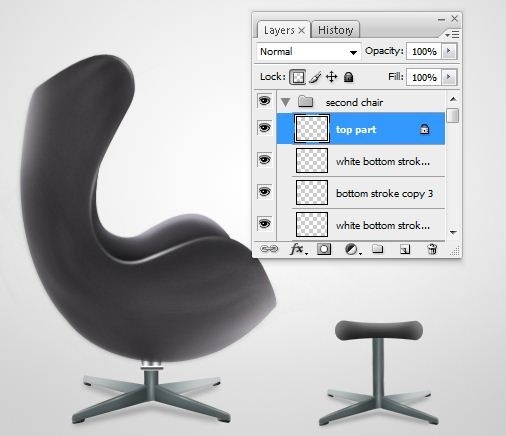
Step 36
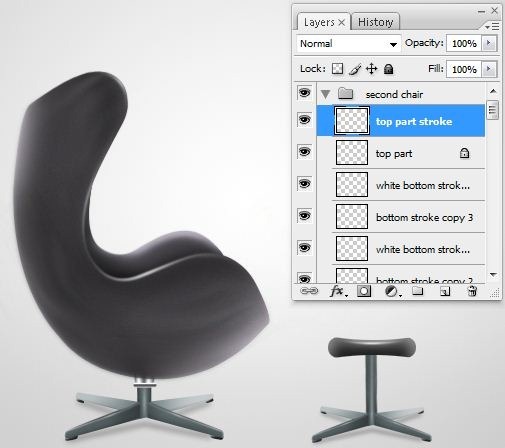
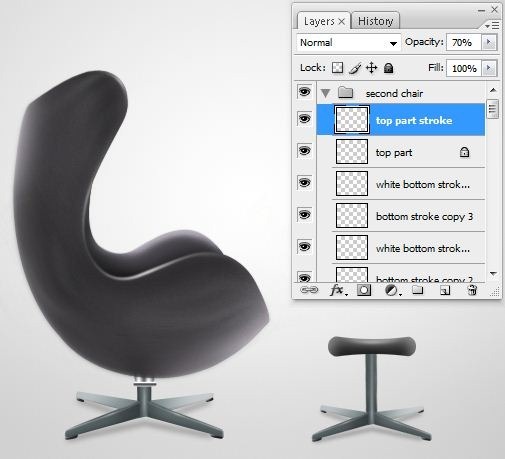
Make a new layer and name it "top part stroke". With the Pen Tool (P) make following path.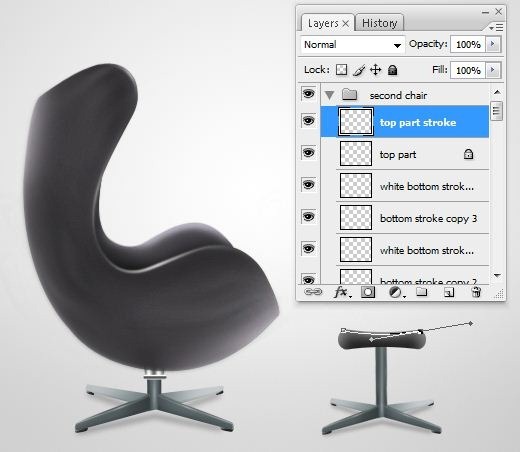
Step 37
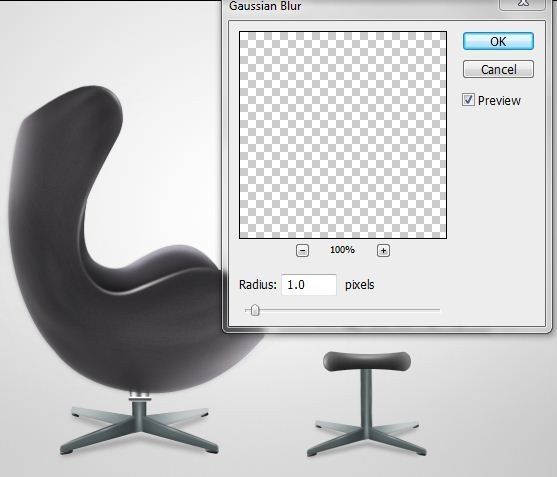
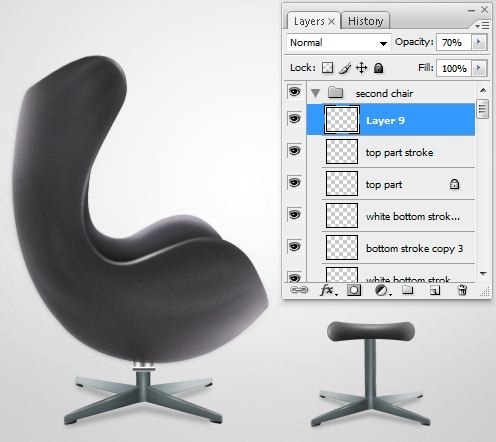
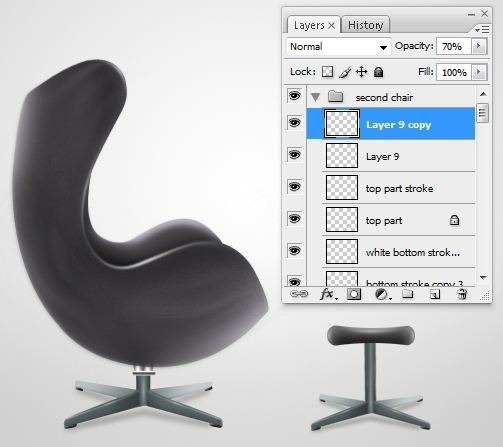
Add another stroke on the side of the little chair.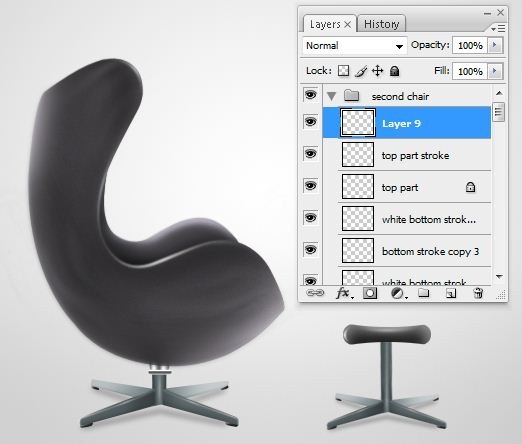
Final Results
![final[1] final[1]](http://photoshoptutorials.ws/images/stories/c4b38e001fe3_E923/final1.jpg)

Tidak ada komentar:
Posting Komentar