Final Image
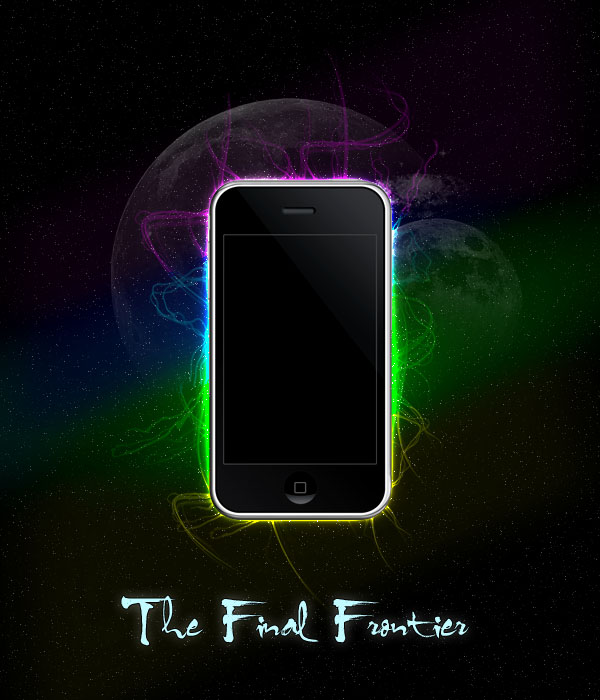
As always, this is the final image that we’ll be creating: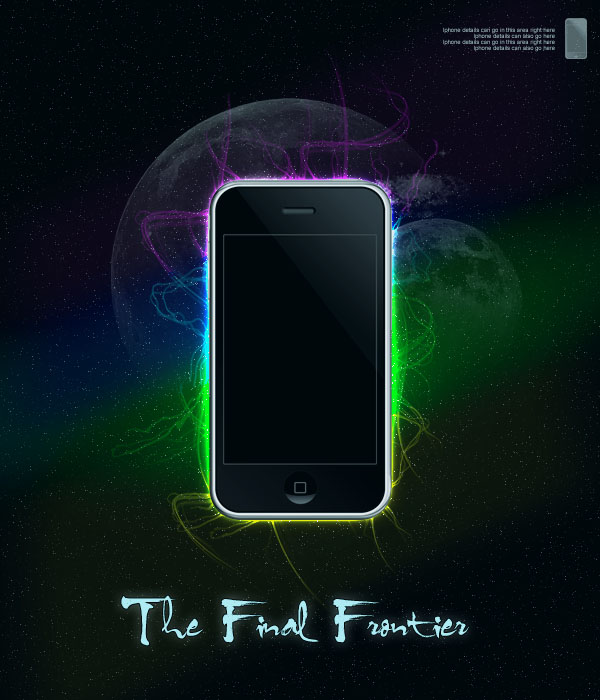
If you want access to the downloadable .PSD file for this, and every other tutorial at PSDFAN, then join our members area for just $4.95 per month.
Step 1
Create a new document (600X700px).Create a new layer called ’stars’ and fill your entire canvas with black:

Step 2
Now go to filter>noise>add noise, and add 10% amount.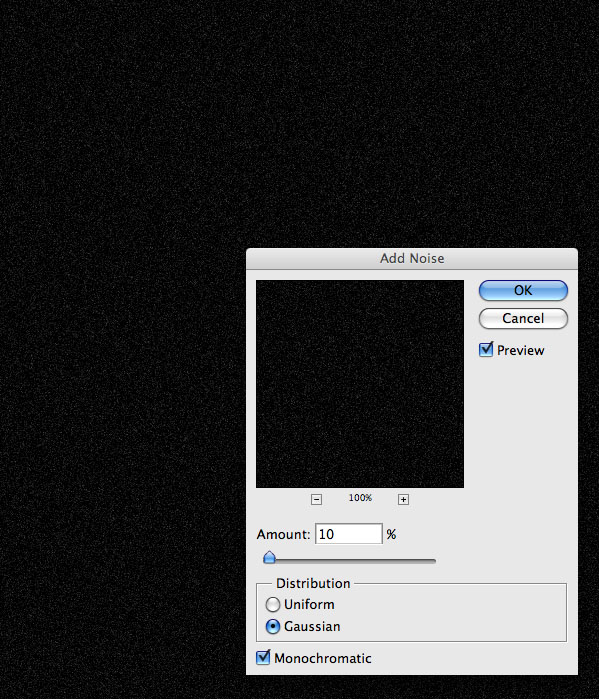
Step 3
Go to image>adjustments>brightness/contrast and reduce your brightness to -40 and increase your contrast to +50. This should leave you with a stars background effect.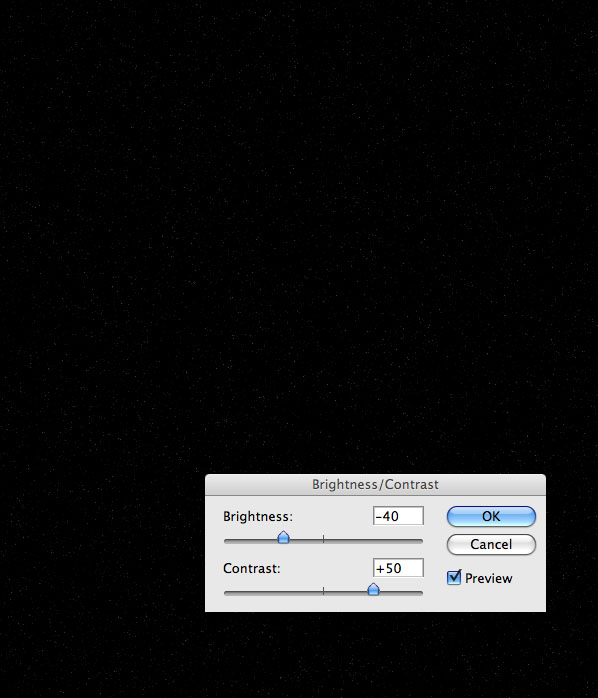
Step 4
Using a large, soft paintbrush draw out a cross, consisting of four lines. Each line should be a different very bright color: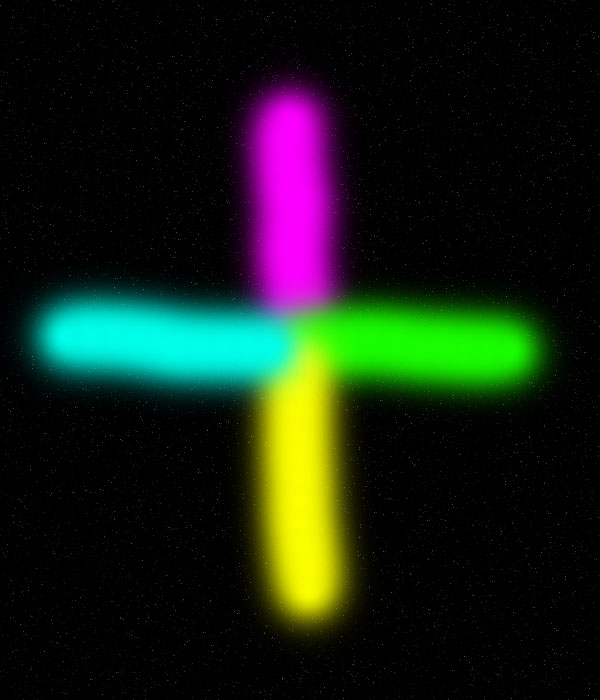
Step 5
Go to filter>blur>motion blur. Apply a motion blur strength: 600, angle: 25 degrees.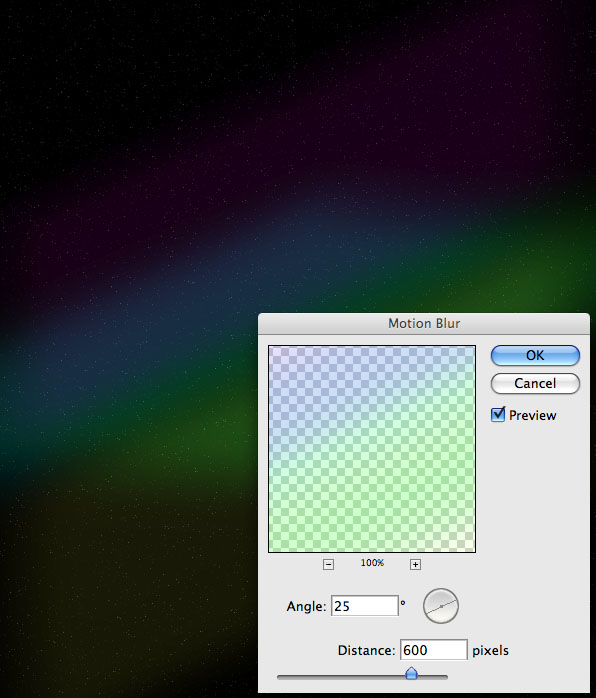
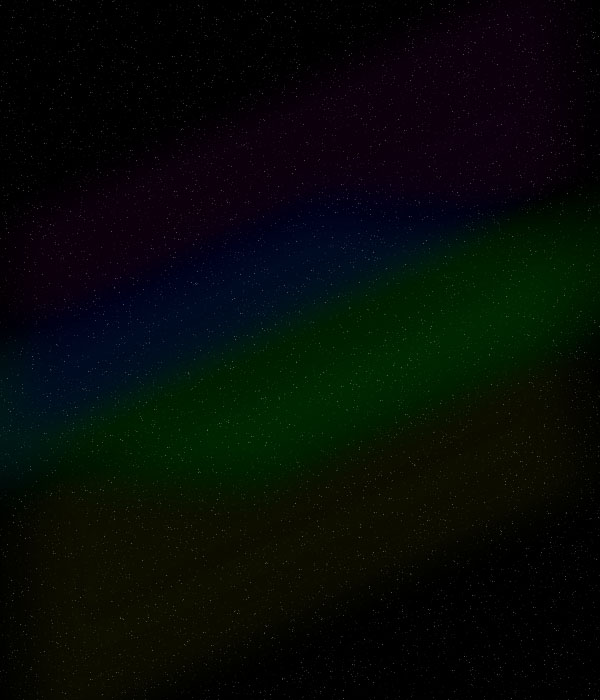
Then change this layer’s blend mode to ‘hard light’ and reduce it’s opacity to 40%.
Step 6
Use your radial gradient tool to create a white to transparent gradient in the center of your canvas. Create this gradient on a new layer called ‘light spot’.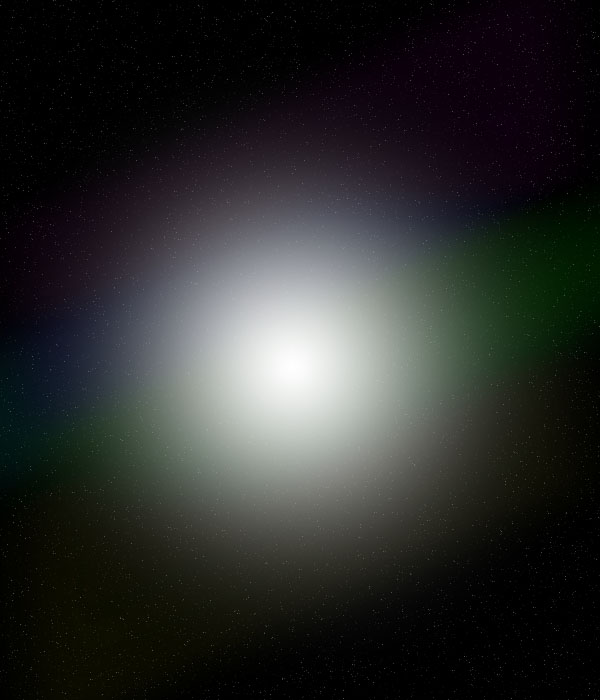
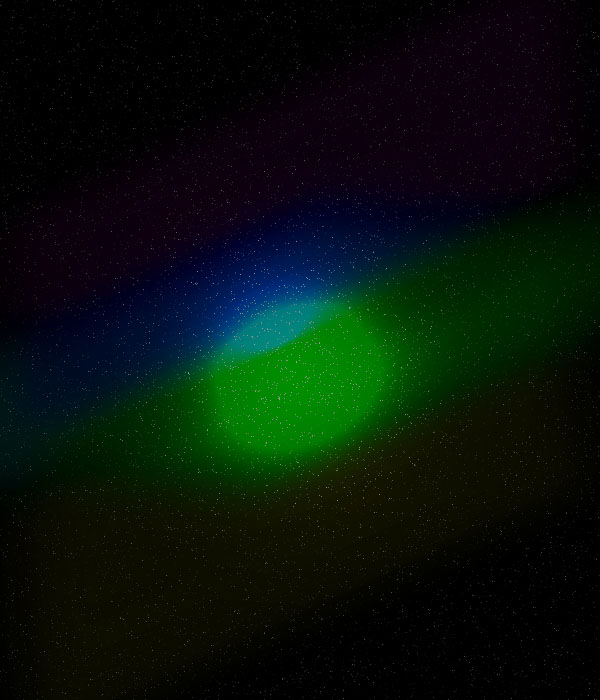
Then change this layer’s blend mode to ‘color dodge’ and reduce it’s opacity to 50%:
Step 7
Paste a picture of an Iphone into the center of your document.You can download the .psd for the Iphone image here: http://joelatlas.deviantart.com/art/iphone-3g-PSD-HD-94206586
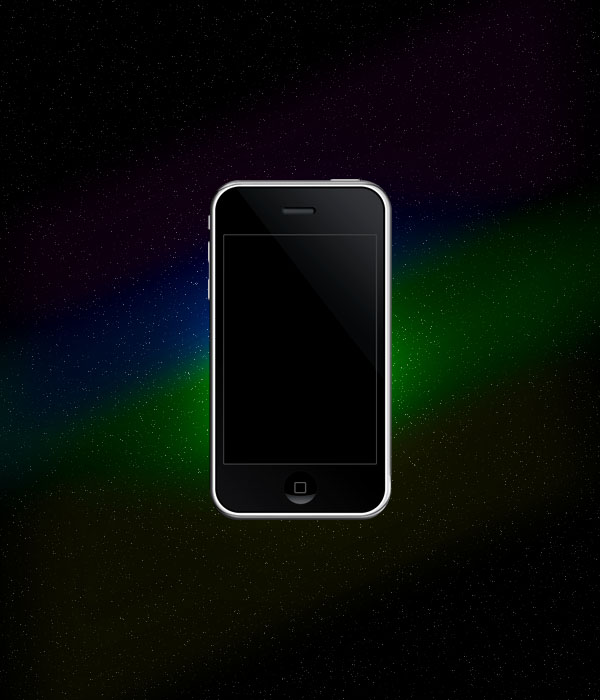
Step 8
Apply an outer glow blending option: mode: color dodge, opacity: 100%, size: 20.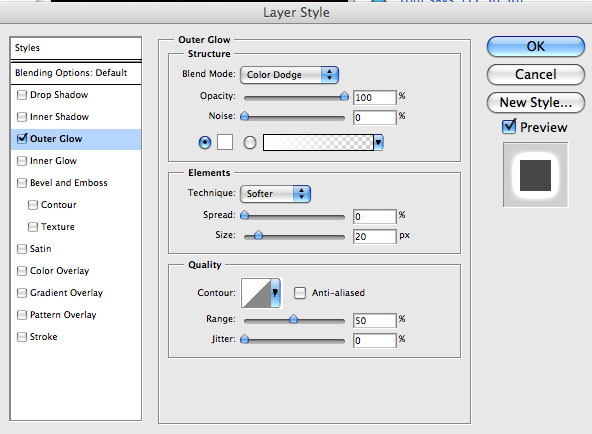
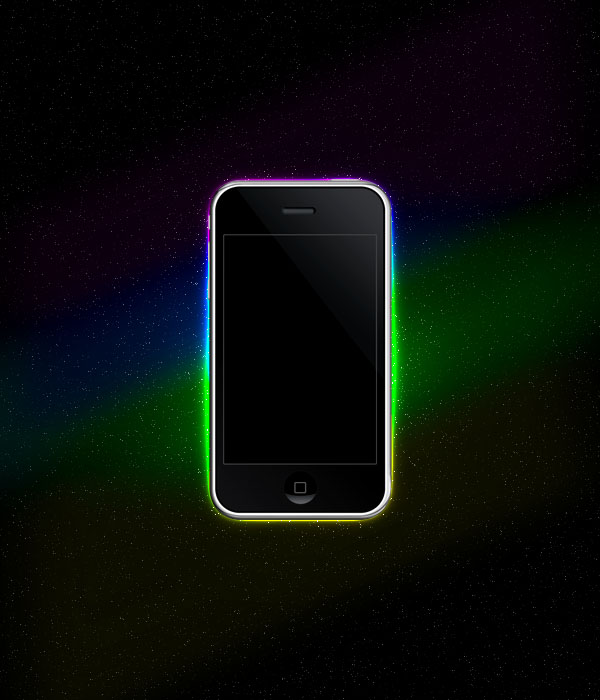
Step 9
Now create a layer beneath your Iphone layer called ‘wavy lines’. Download the brush set: Abstract Lines Vol 1. Apply many white brush strokes around the edges of your Iphone. Then change your layer mode to ‘color dodge’ and reduce your layer opacity to 30%.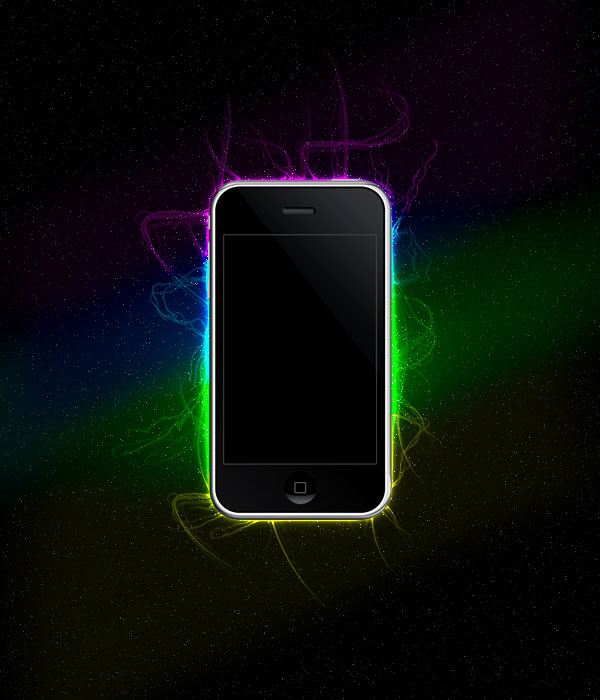
Step 10
Now download this awesome moon brush set:Moon Brush Set
Make your brush color white, and apply several moons to your piece, each on a different layer. Make sure that your layers are below your Iphone layer, but above your ‘wavy lines’ layer.
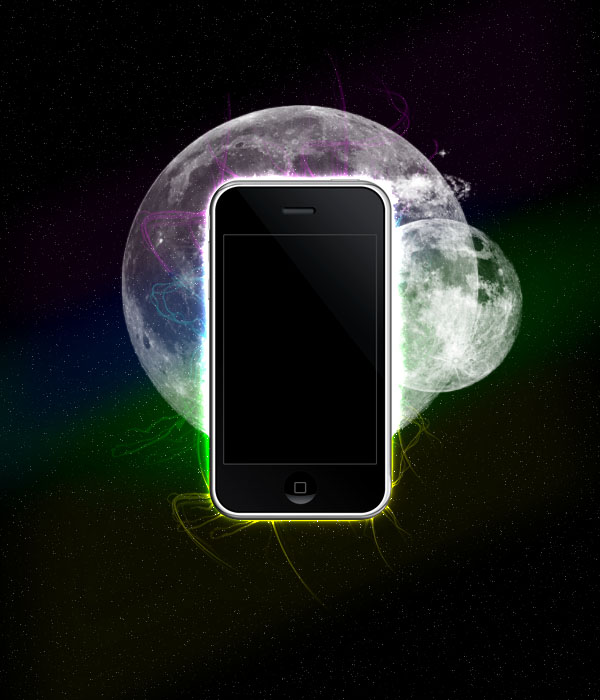
Step 11
Now reduce the opacity of your moon layers. Go to layer>add layer mask>reveal all. On each moon layer add a layer mask, and then drag a black to transparent gradient. This should fade away part of each moon.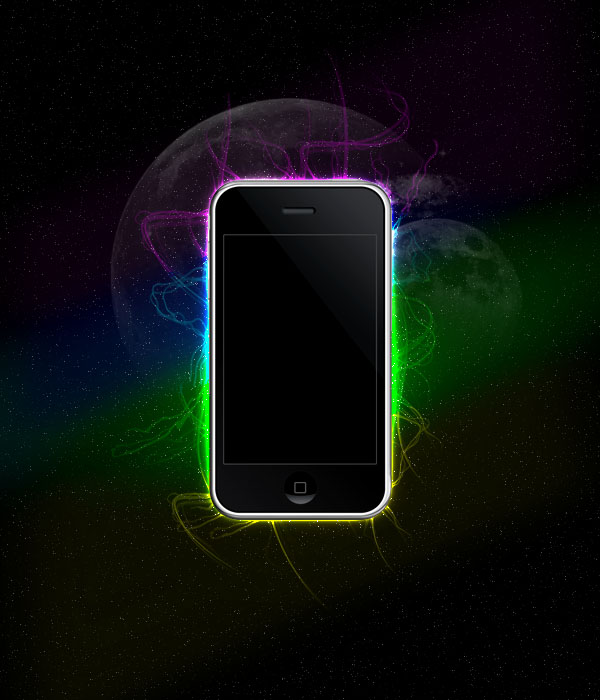
Step 12
Add some text to the bottom center of your document. And apply the outer glow settings shown below: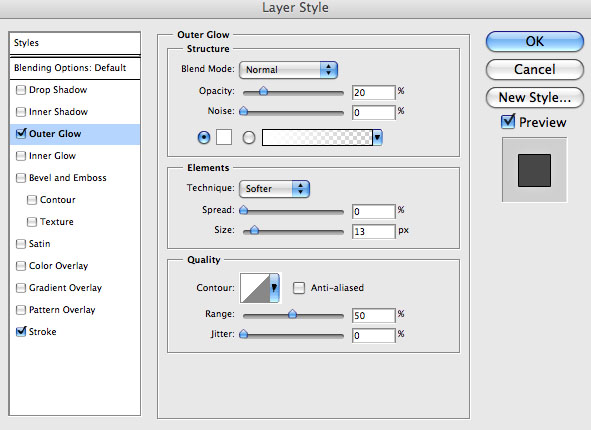
Step 13
Add an Iphone icon and some very small text to the top right of your advert.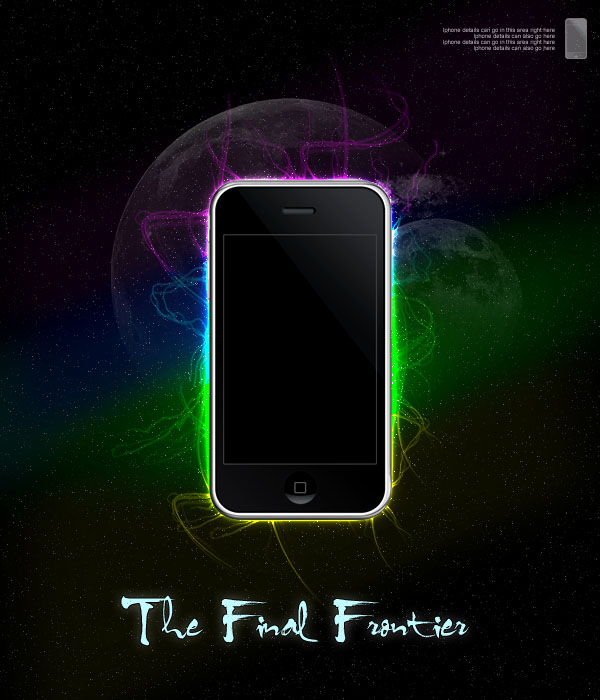
Step 14
Go to layer>new adjustment layer, and apply a new top layer adjustment layer with a gradient map ranging from 004D79 to 00E4FF to 004D79. Reduce this layer’s opacity to 10%. This should give a subtle blue tint to your advert.
And We’re Done!
I really hope that you enjoyed this tutorial and would love to hear your feedback!If you want to view the full sized final image, then click here:


Tidak ada komentar:
Posting Komentar