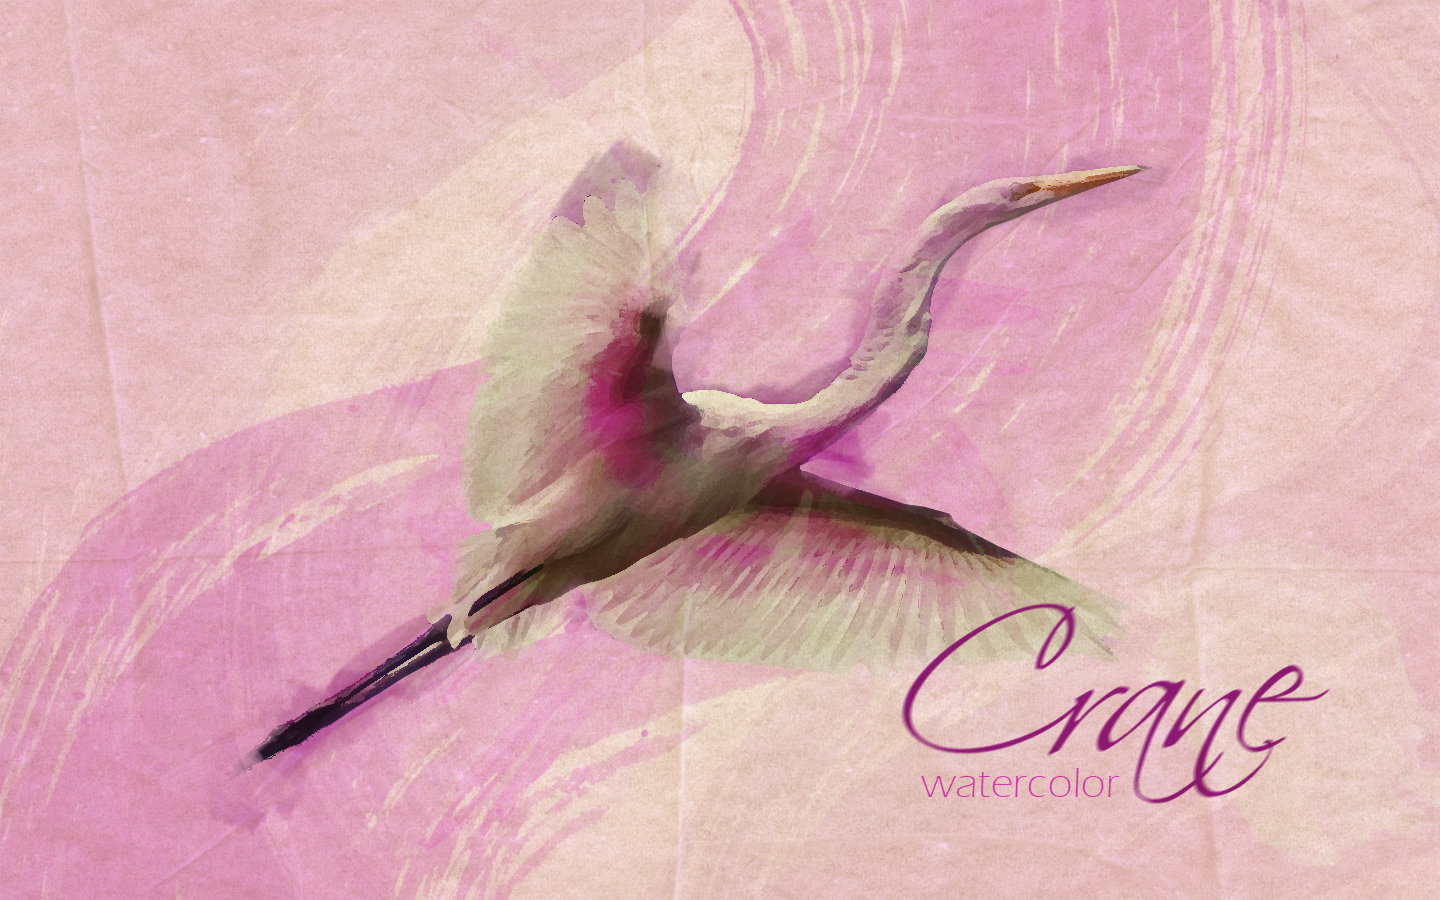
Hi everyone, I’m Alvaro Guzman and this is a short tutorial about creating convincing watercolor effects in Photoshop. We’ll use a picture of a crane, several watercolor brushes and a texture to obtain this particular effect.
Preview
This is a preview of the final effect..
Step 1
Create a new document 1440×900 px and fill the background with a radial gradient white pink (#FFFFFF- #FFE0FC).
Step 2
Paste this picture of a flying crane into a new layer named “Crane”, resize it and extract it from its background.
Step 3
Download macbadshoes’ watercolor brushes. Select one of the brushes of the set and paint a pink or violet shape (#D1A7CD) into a new layer named “Watercolor 1″, then put “Watercolor1″ layer above all the others and change its Blend Mode to Color Burn.
Step 4
Use an “S” shaped brush to paint a large watercolor pink (#EFB9EB) background. Paint this into a new layer named “Watercolor 2″ this time and change its Blend Mode to Multiply.
Step 5
Next, on Brushes palette, select the Dry brushes set, and select any of them. Over Brush options, change the size to 79px, Blend mode to Overlay, and both Opacity and Flow to 30%. Then just paint over “Crane” layer here and there using several colors. Paint the shapes randomly.
Step 6
Select “Crane” layer, then go to Filters > Filter Gallery > Artistic > Dry Brush, set the values shown below and see how it looks.
Step 7
As a final watercolor detail, by using another “S” shaped watercolor brush, draw some soft pink shapes on the background.
Step 8
Add your desired text, I’m using Scriptina and Eras Light ITC.
Step 9
Finally add a texture. I’m using this paper texture form stockxchng. Paste it into a new layer above all the other and change its Blending Mode to Multiply and its Opacity to 75%.
Conclusion
And that’s it, a simple and fun way to turn any picture into watercolor, try your own!.

Tidak ada komentar:
Posting Komentar