Create this metaphoric artwork easily using a selection of stock photos. This Photoshop tutorial will show you how to combine and manipulate photos to create a surreal photo manipulation.

Mazed Mind Photoshop Tutorial
Step 1
Open file
Head_render.tif. Click in Channel palette. As you can see there is another channel with the mask of body. Push CTRL + RKM and you have a selection of body. Click CTRL + J to create a new layer. Ok, so lets back to the background. Use CTRL + A to select all picture and CTRL + Backspace to fill all picture. Make sure the main color is white, because background must be white.
Step 2
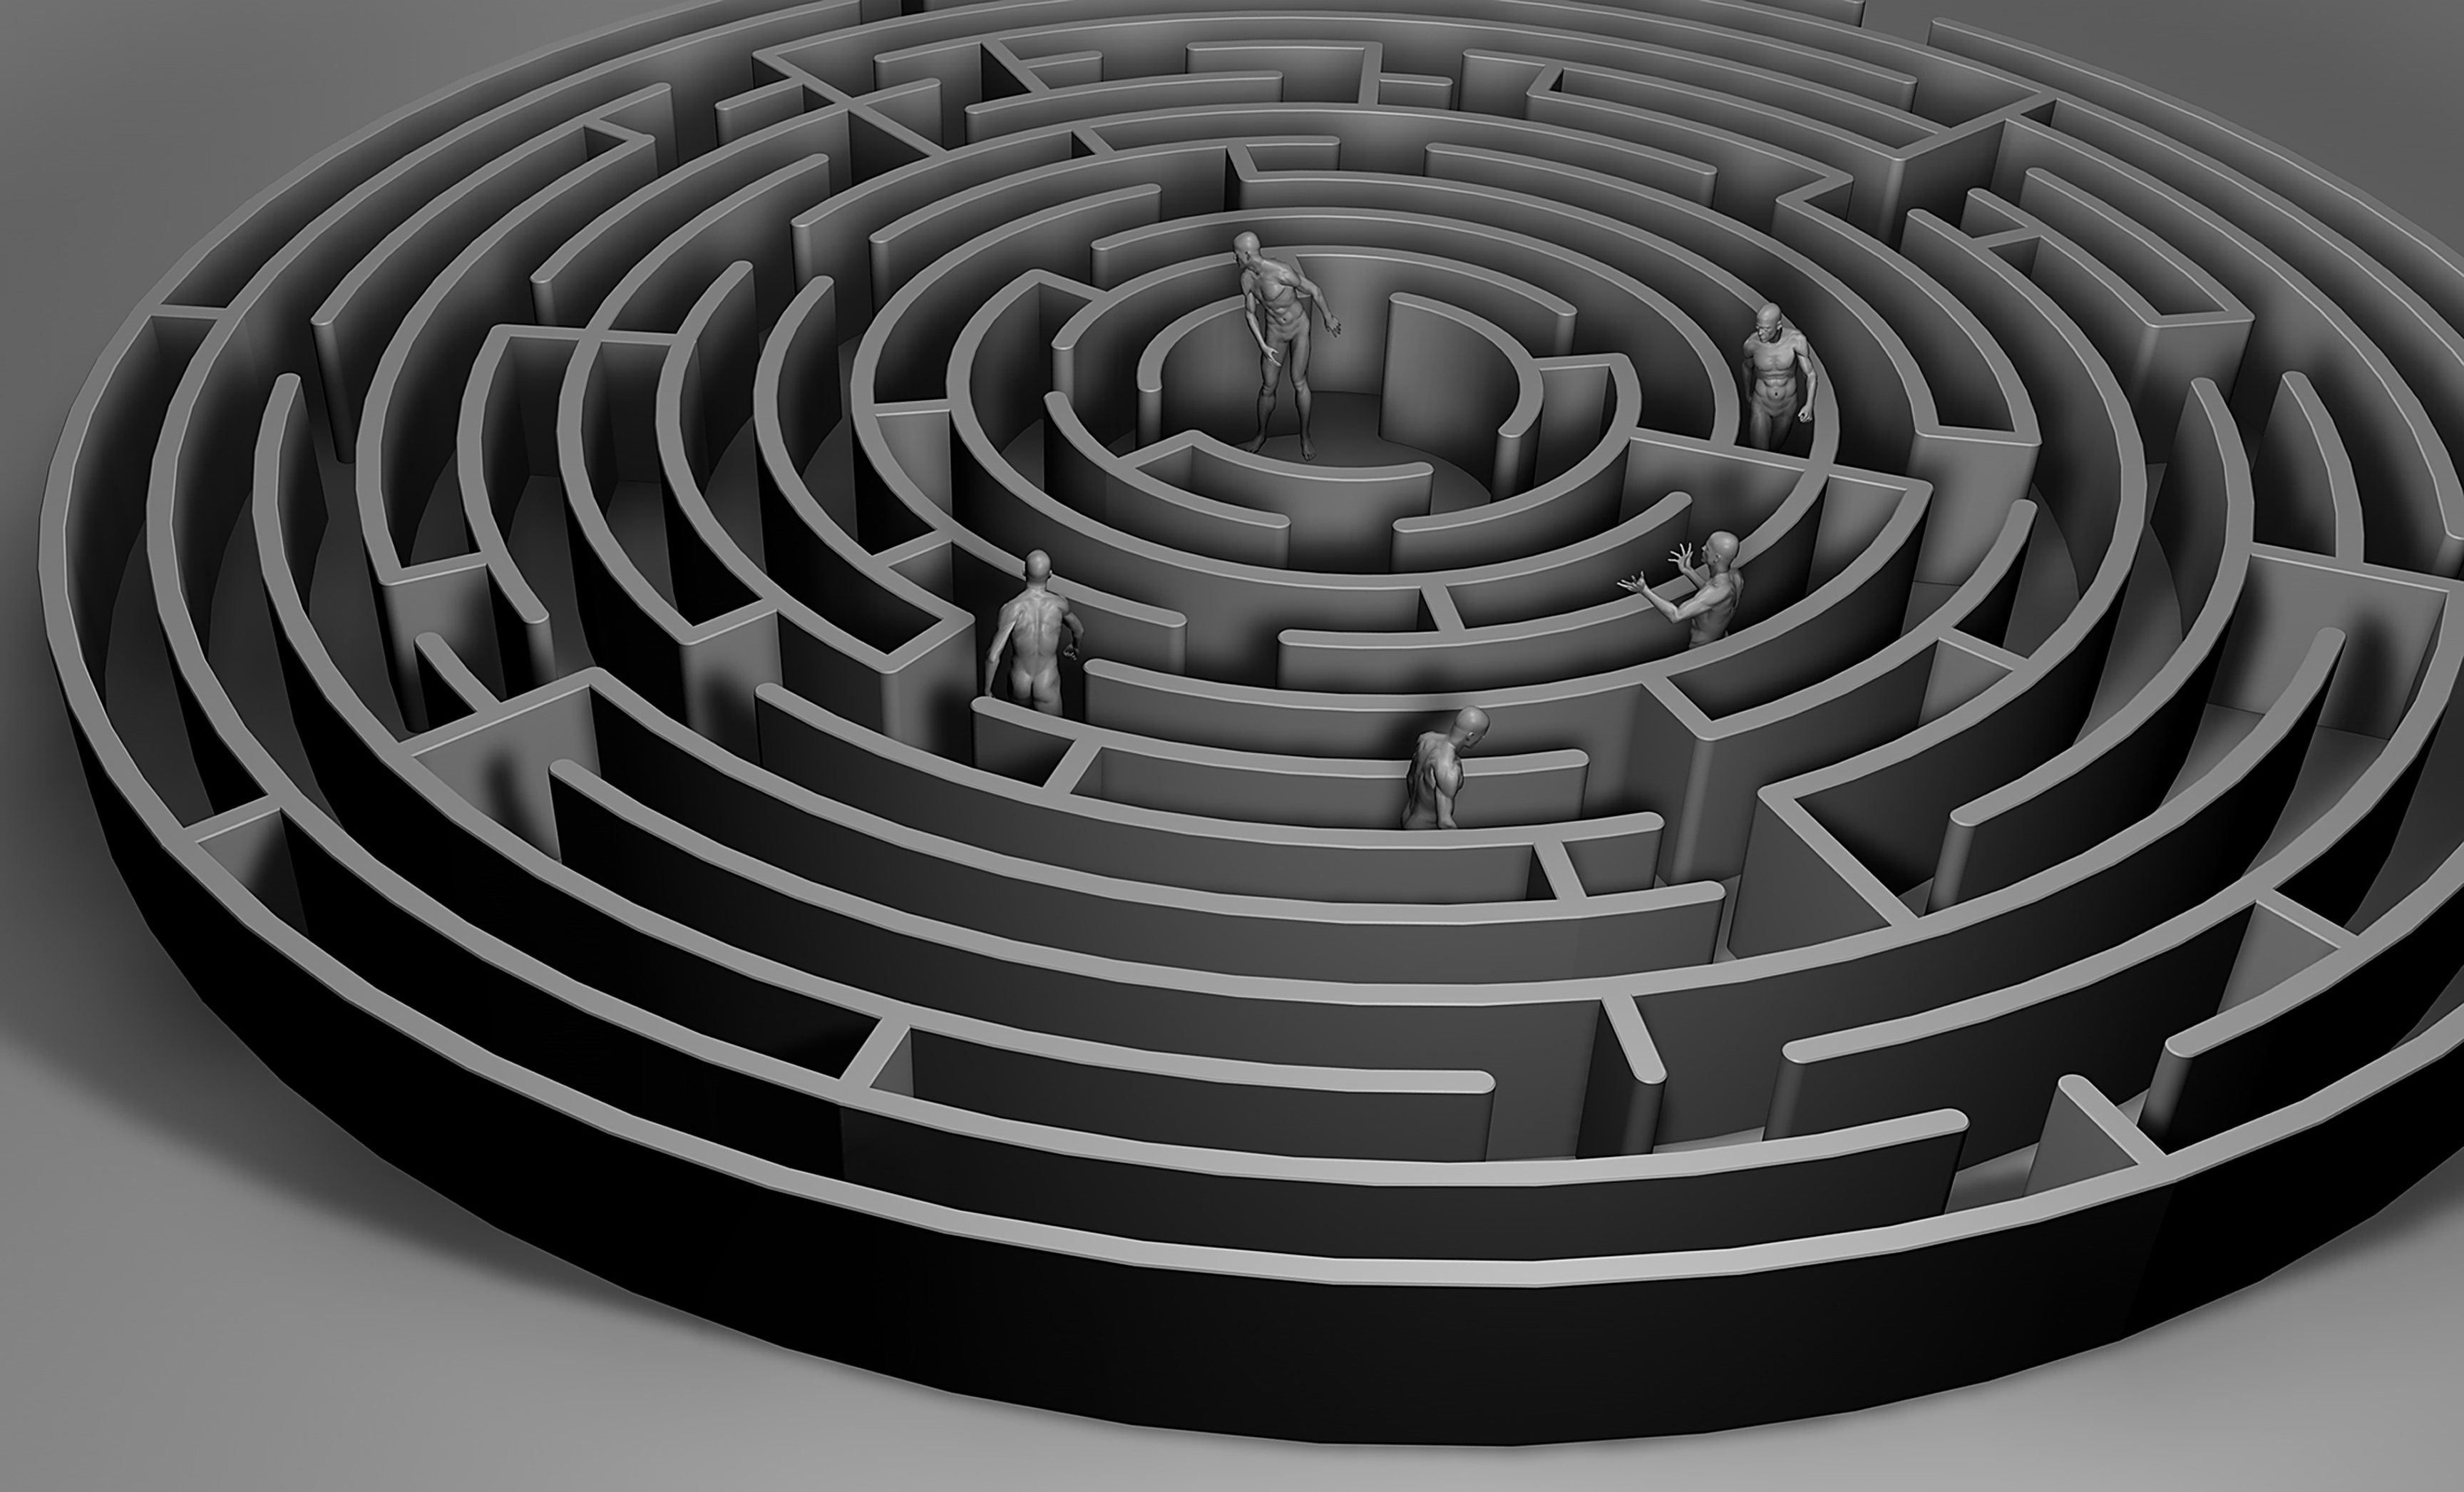
Open file
Maze_render.jpg and put this picture to our picture of body. Make a Opacity to 40%, it’s make your work easier. Press CTRL + T to transfer image. The maze must be well-fitting to the head. Similarly like in the photo.
Step 3
It’s a difficult step and critical point, for our picture. Take a Pen Tool and make a selection of maze in head. Remember, if more points, than better. The selection must be accurate. Select the walls of the maze. If you want, you can save selection, to eventually correct it. But… This step you can make one of two ways. The second option is took Ellipse Tool and make a small circle. Next you press CTRL+T to transform it to size what you want. This way is better and easier.
Step 4
With pushed CTRL click on the layer with maze. Press Select > Feather… and set on 4px, next press Select > Modify > Smooth and set on 3px. Click SHIFT+CTRL+I to inverse selection and delete it. Should disappear round a maze in addition to the marked circle. Activate head layer and make a layer mask. To do this, press click second button in layers. With pushed CTRL click on the layer with head, and clear tip of head. If you do this, click on layer with maze and change blending mode to Hard Light.
Step 5
Make selection of maze. To do that, click with CTRL on layer with maze. Next press Ellipse Tool and make a selection of inside edge. Now you have 2 selections: inside and outside edge of maze. Now you can make a last wall of maze perfectly circle without anyone gateway. The best way to do this is take Clone Stamp Tool.
Step 6
Now you must improve the connections on last wall of maze and make a wall inside have a on color. All you need is Clone Stamp Tool, Smudge Tool and Blur Tool. Don’t do that so hurry. Everything must be fine-tuned.
Step 7
All right. All the more difficult things you have done. These steps make a background of your picture, and add more colors for them. Open file
Brass_plate.jpg and place it above the white background. Make a new layer, it must be third from bottom. Make sure your main color is black. Press Gradient Tool and set it from color to transparent. It’s make a “shadow” behind our body. Set Opacity to 80% and set blending mode to Multiply.
Step 8
Open
3D_Plane.jpg. Place it to your picture over layer with gradient. Set blending mode to Overlay. You can experiment with other modes but this is the best. Next open file
Sky_1.jpg place it at the top. Press Image>Adjustment>Hue/Saturation set edit on Cyans and Saturation on -60. Change Opacity to 80% and blending mode to Overlay. Open
Sky_2.jpg place it above Sky 1, blending mode at Darken and Opacity to 60%. Of course you need to transform pictures to size you want, make a layers mask and erase clouds on face. Remember, you can place the clouds on the picture wherever you like.
Step 9
Open
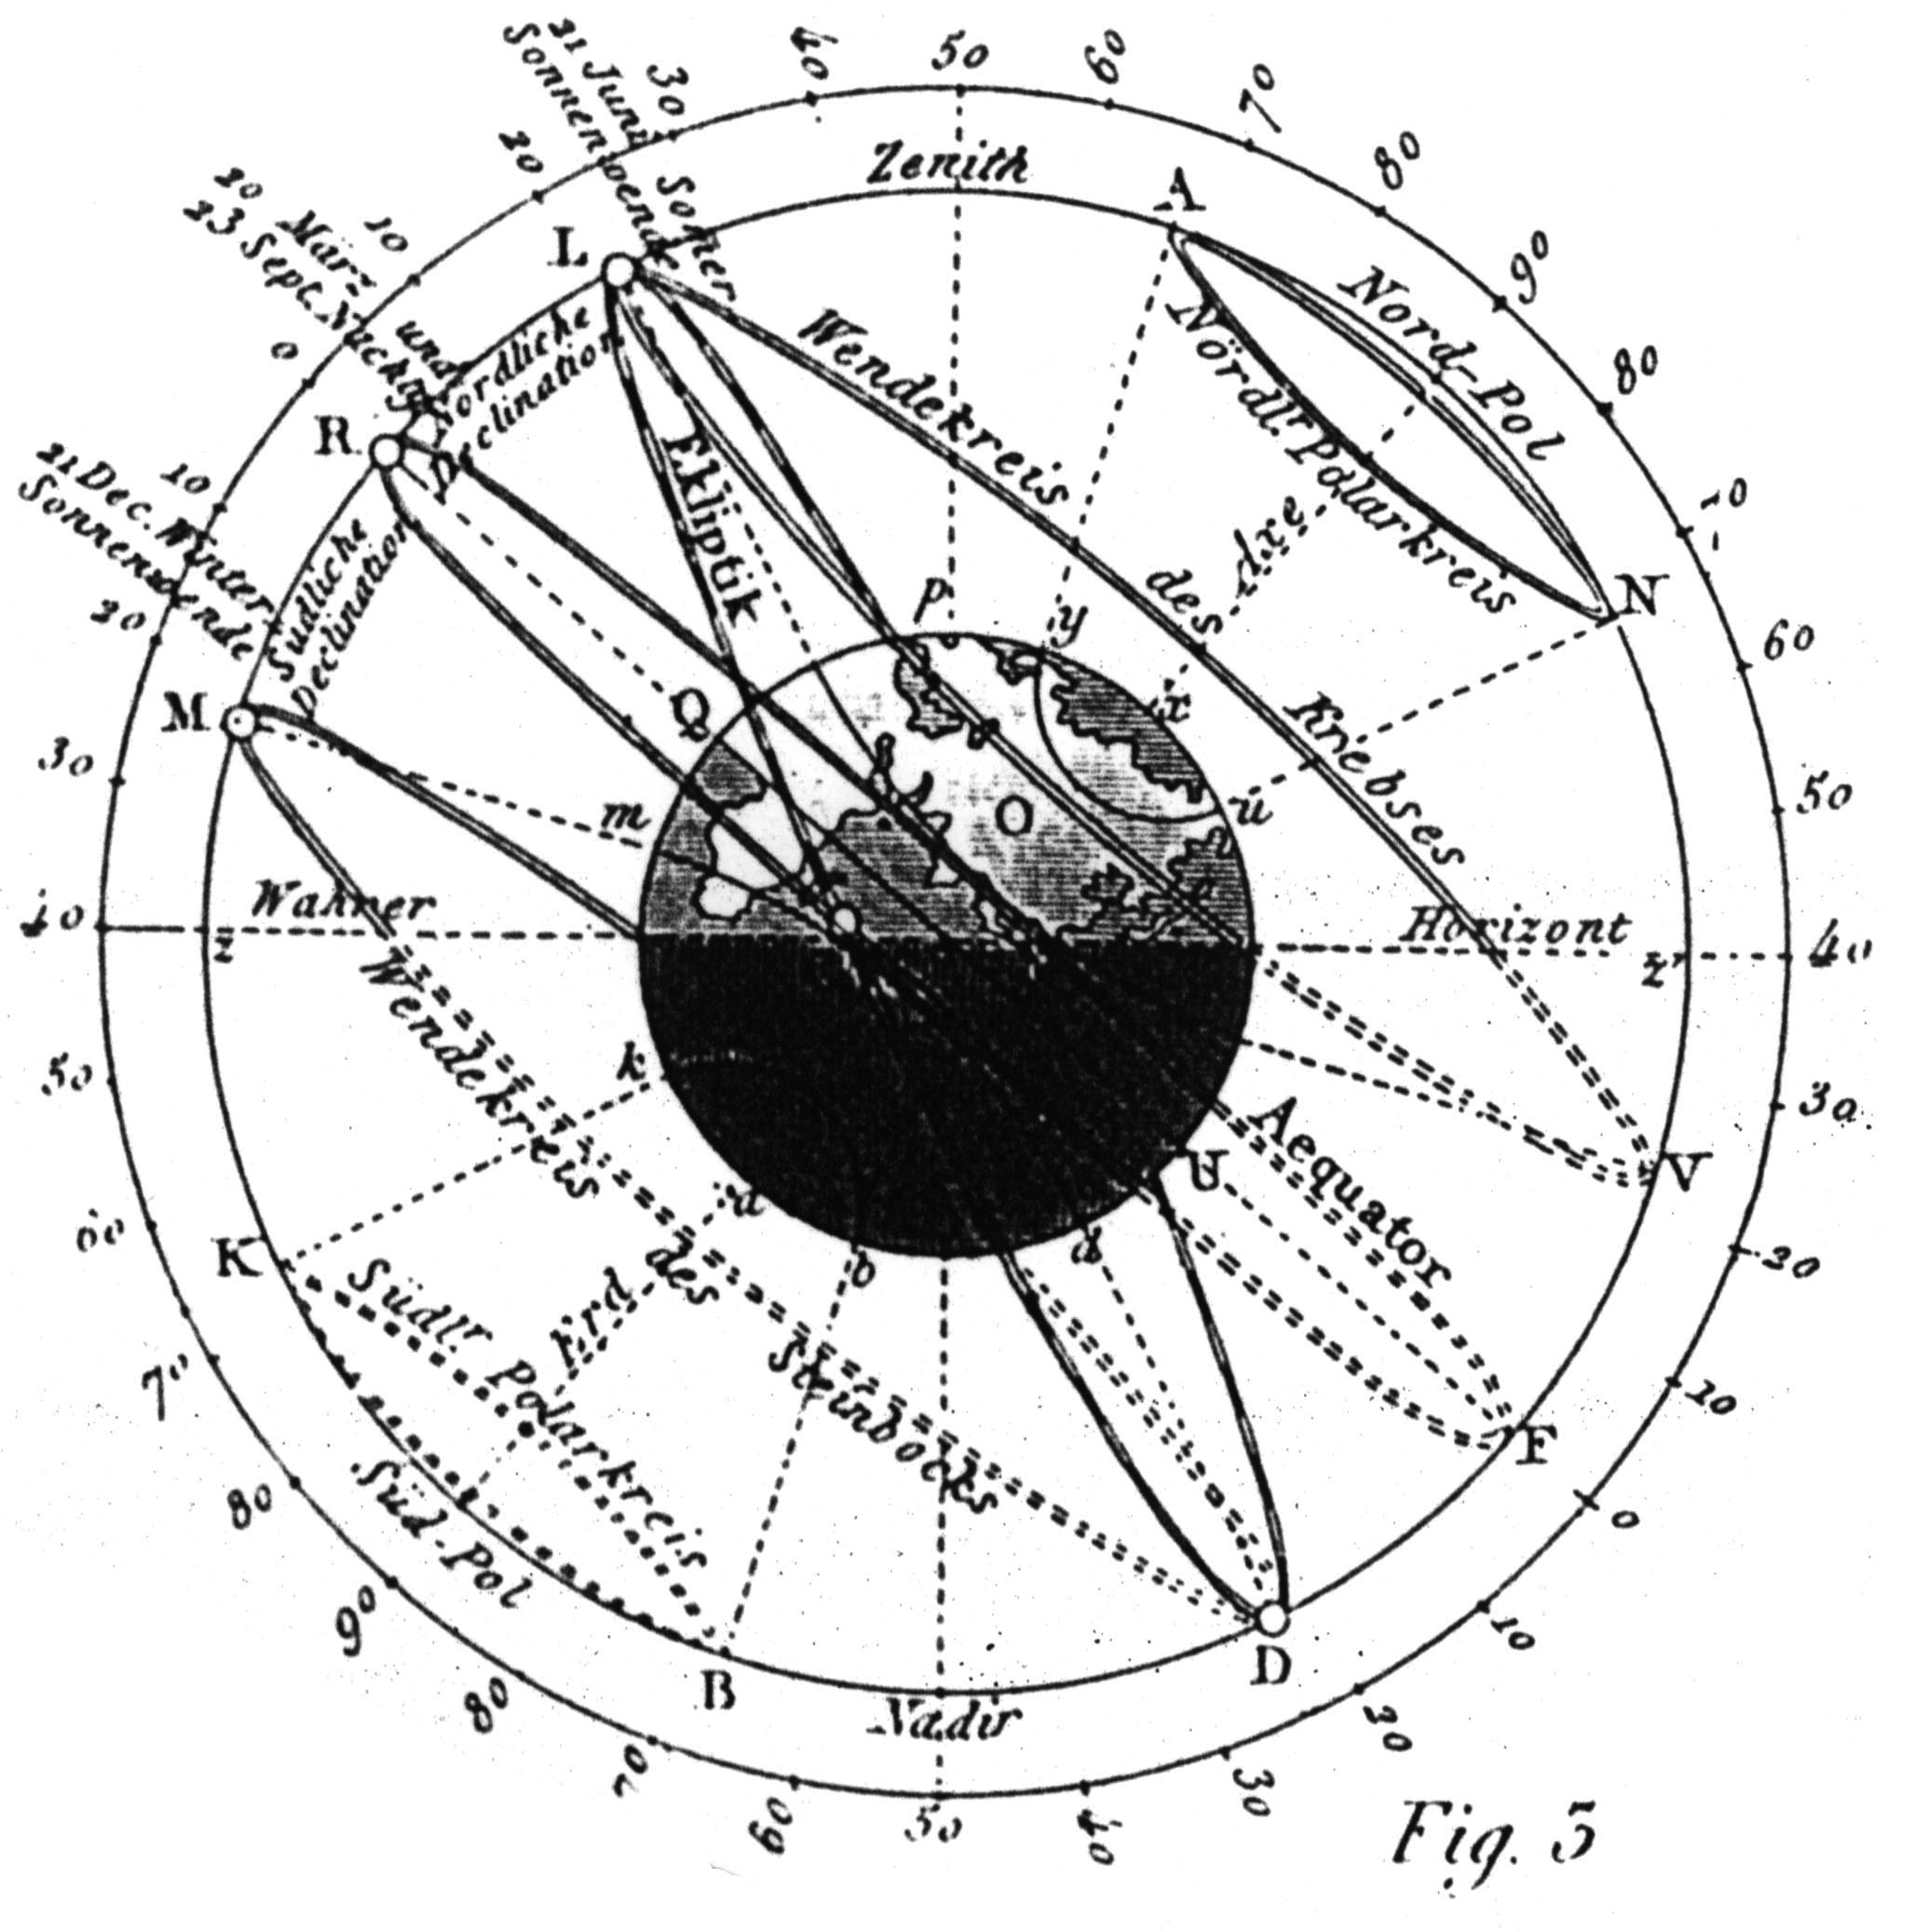
Book_Cover.jpg. Press Image > Adjustment > Hue/Saturation. Set Hue and Saturation on 58 and Lightness on 7. Next press Image > Adjustment > Levels and set third input on 236. Change blending mode to Soft Light. Open
Solar_diagram.jpg. Press Image > Mode > RGB Color. In the color palette select yellow color. Press Magic Wand Tool and select some darker color. Next press Select > Similar and press CTRL + Backspace to fill everything yellow. Took select to our picture and place it above the maze. Press CTRL + T to transform it to size you want to have. Next click CTRL in the layer with maze and press Layer > Add Layer Mask > Hide Selection. Change blending mode to Overlay.
Step 10
Correct last details and give the depths to picture. Click Create new fill or adjustment layer below Layers and click on Hue/Saturation. Set Hue on 12, Saturation on -28 and Lightness on -2. Change blending mode to Hard Light.


Tidak ada komentar:
Posting Komentar