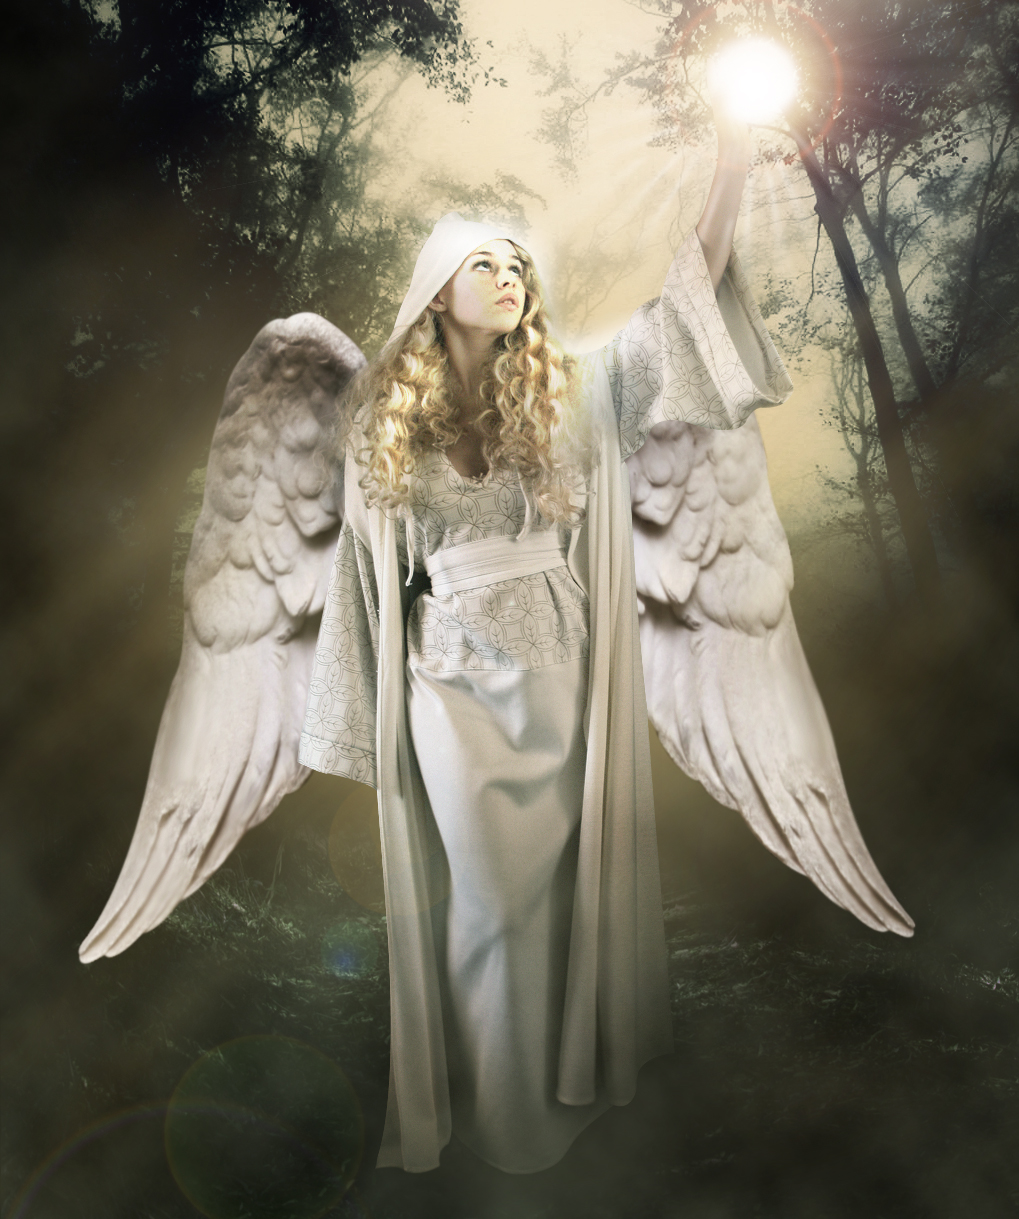
First of all I would like to thank Cucu Tudor for collaborating with me in creating this tutorial. The final image is an Angel that lights his way in the dark forest. You will create this photo manipulation using stock images provided by some really great artists, which I would also like to thank a lot.
Materials Needed:
Step 1: Create a new document
First of all open a new document in Photoshop (Dimensions: 1019×1219 px).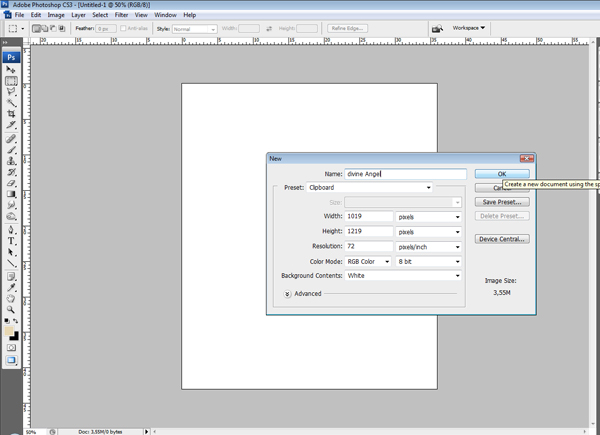
Step 2: Apply Vegetation
Now import the first image “Vegetation1″ that we’ll use to create the background. Resize it and than place it to the top of the page.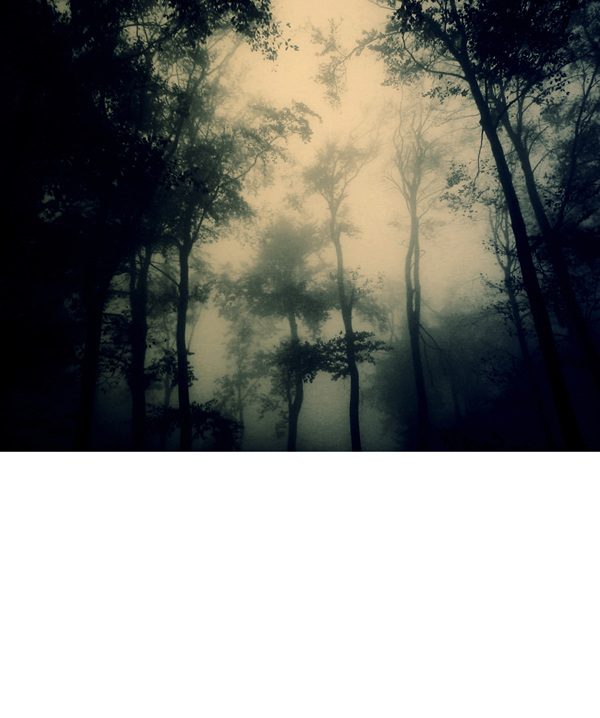
Step 3: Reduce Saturation
Go to Image > Adjustments > Hue/Saturation and reduce the yellow saturation and grow up a little bit the yellow lightness.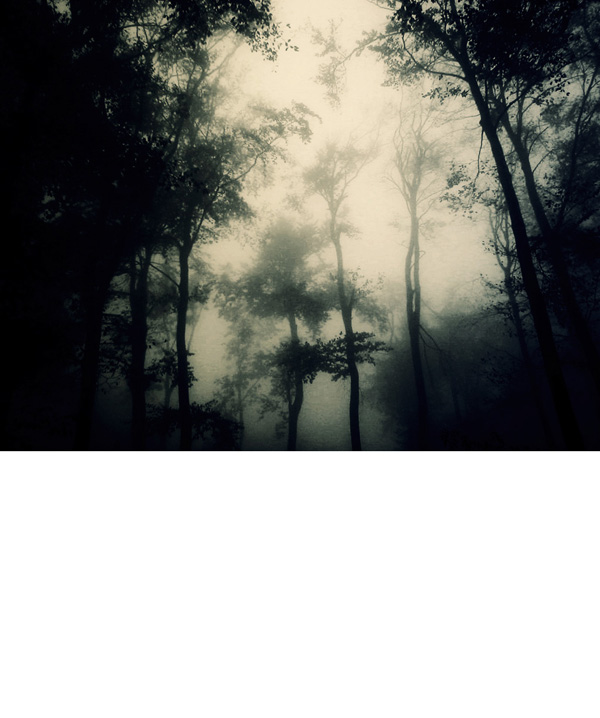
Step 4: Complete the background
Fill the background with black color and erase slowly the bottom part of the image you added so that it will blend in with the black.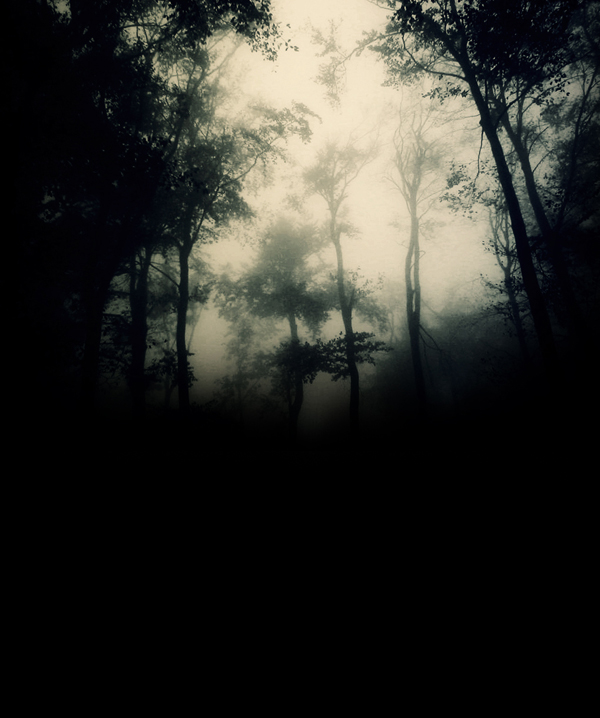
Step 5: Add the main character
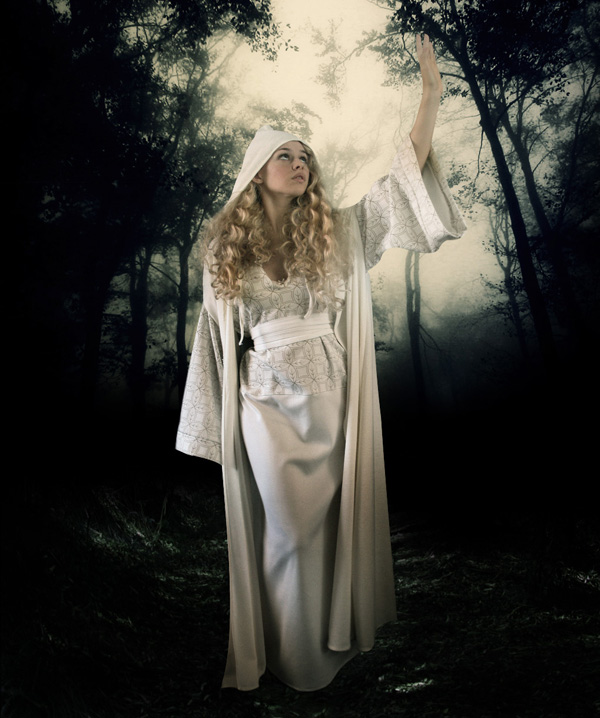
Import the second image “Female” resize it and fit it in the centre of the image like below. Change the name of the layer to angel.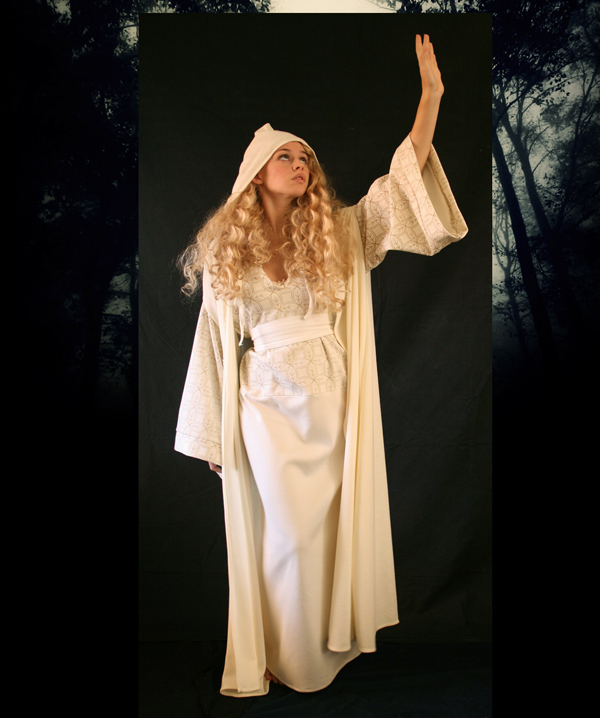
Step 6: Selecting the model
Using the Pen Tool (P) you need to trace the female model and erase the background behind her.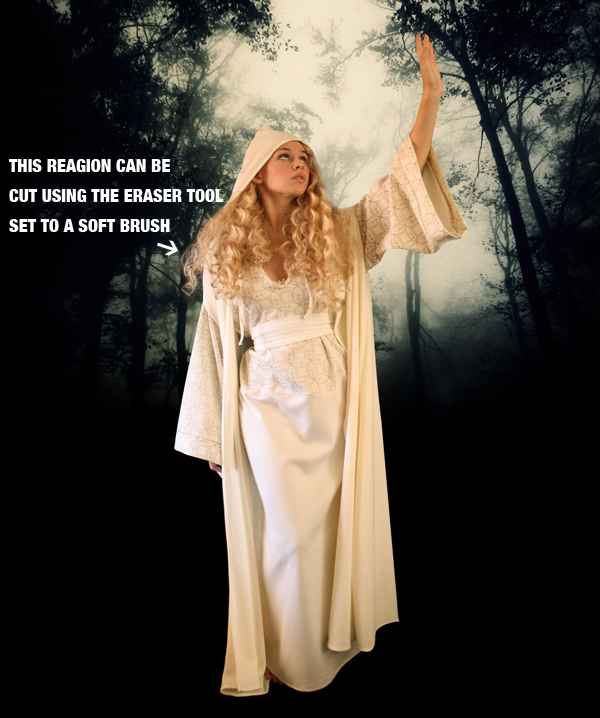
Step 7: Correcting the colors
Go again to Image > Adjustments > Hue/Saturation and reduce the yellow saturation. Than select the Burn Tool (O) and try to make the females dress a bit darker, till you reach a result like the picture below.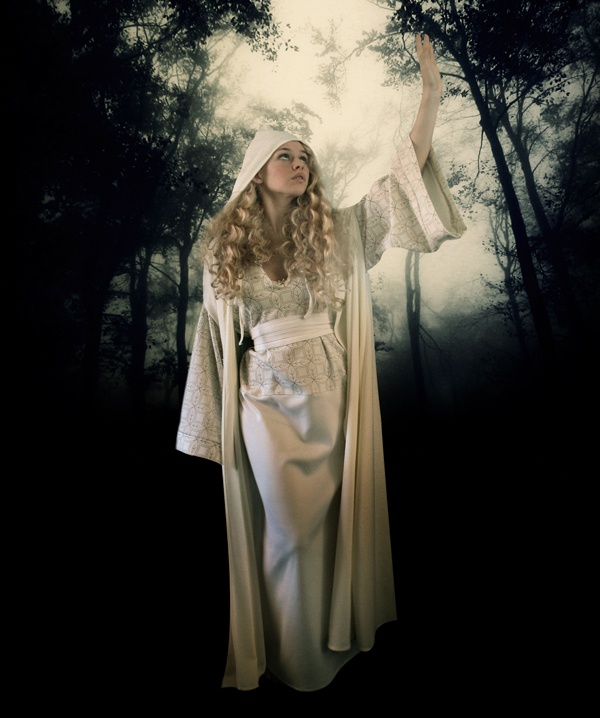

Step 8: Add more detail to the background
Copy and paste the next image we used for the ground Vegetation2 and place it below the angel layer.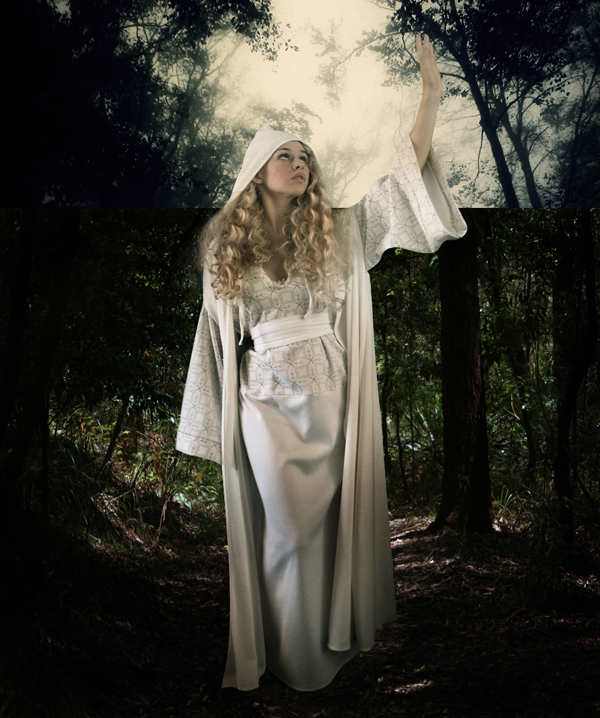
Step 9
Erase the trees from the top of the image, make sure you use a soft brush for this and that you will only have the ground visible and than change the Hue/Saturation and the Color Balance from Image > Adjustments.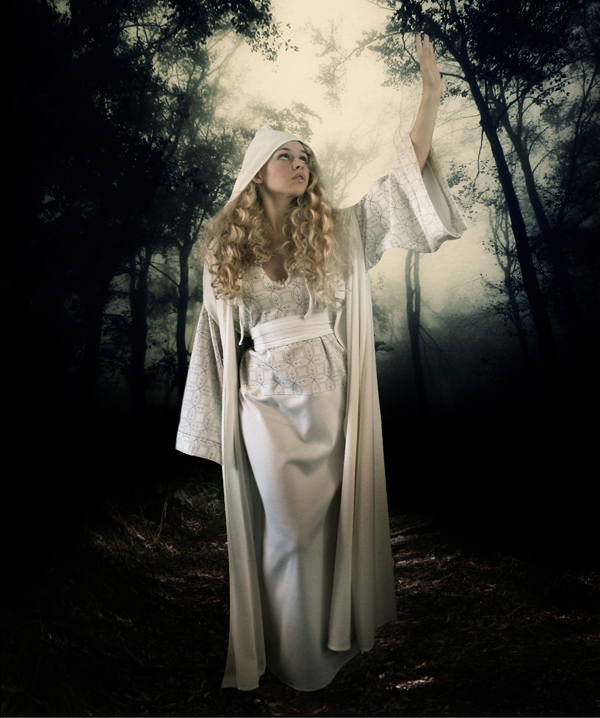
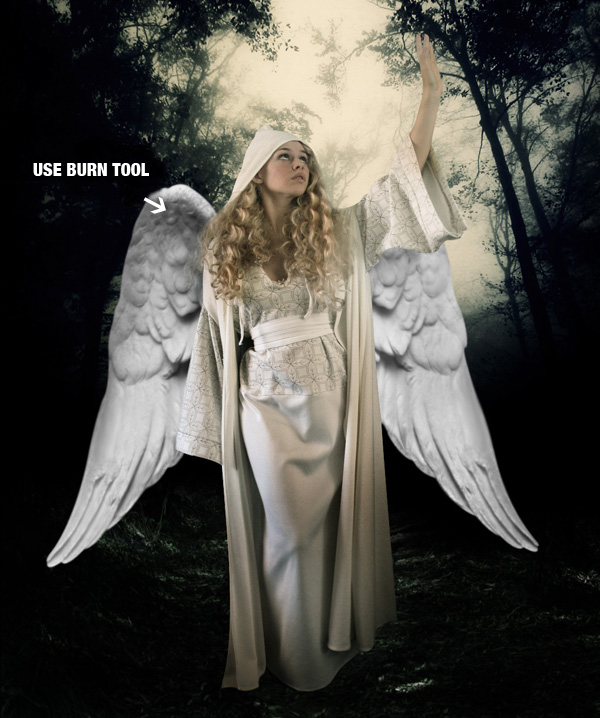
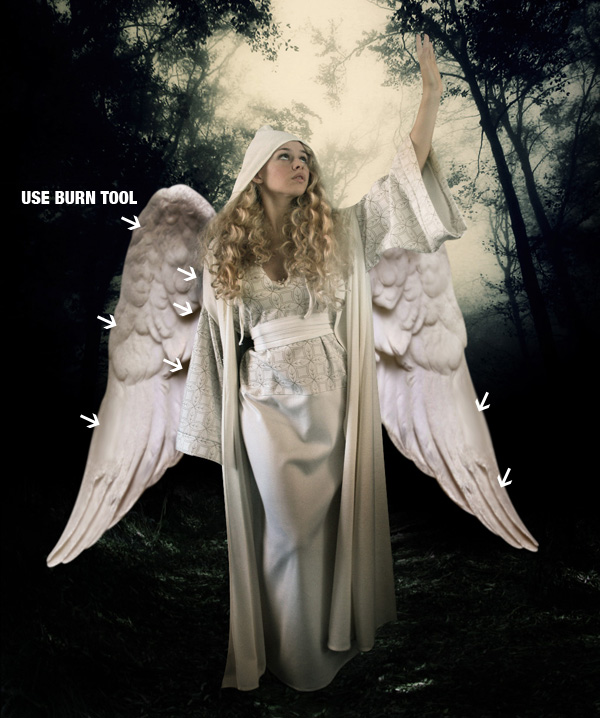
Step 10: Create the angel
Import the image, which contains the wings. Select the contour with the Pen Tool (P) and get rid of the black part of the image. Than use the Burn Tool (O) on the pointed area.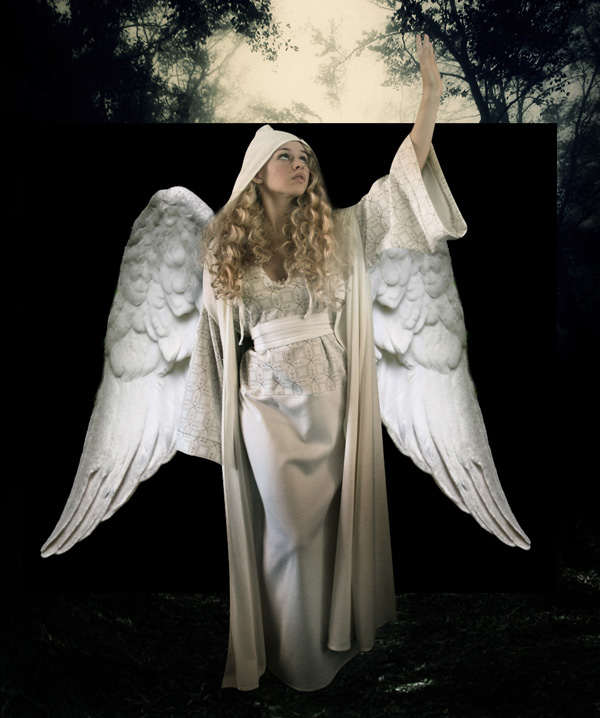
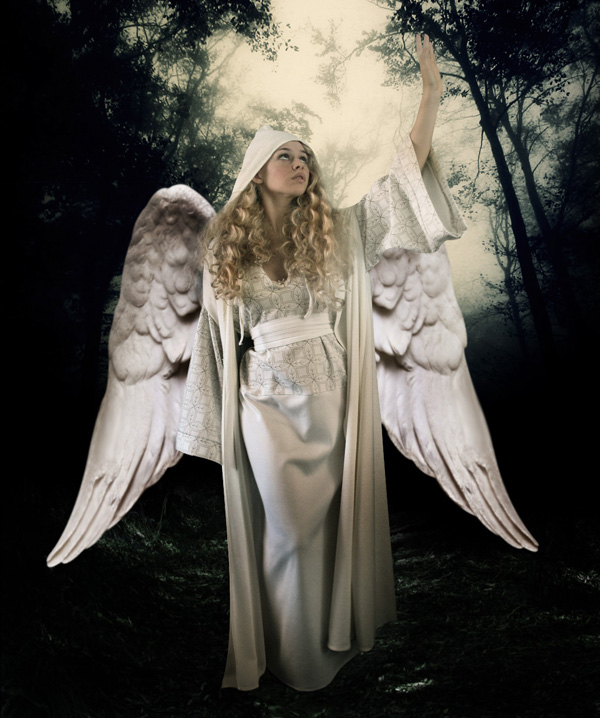
Step 11: Add some color to the wings
Go to Image > Adjustments > Color Balance and use the settings below. Than you can change the contrast from Image > Adjustments > Brightness/Contrast.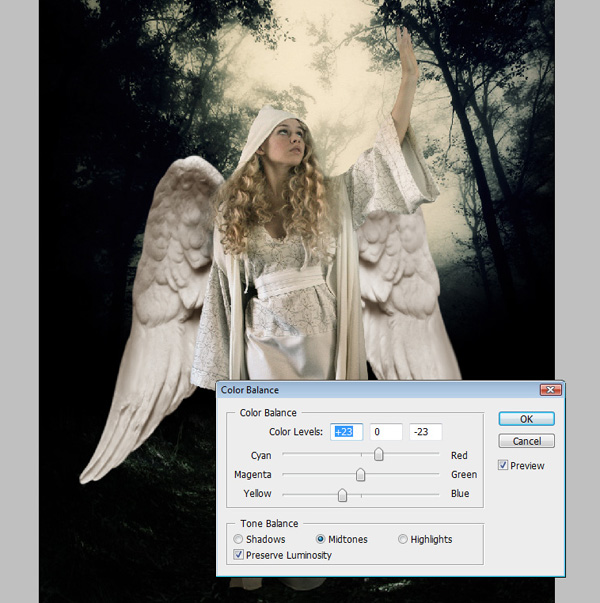
Step 12: Building the star
Create a circle with the Ellipse Tool (U) (Shape Layers). Than go to Filter > Blur > Gaussian Blur, set the radius around 4%.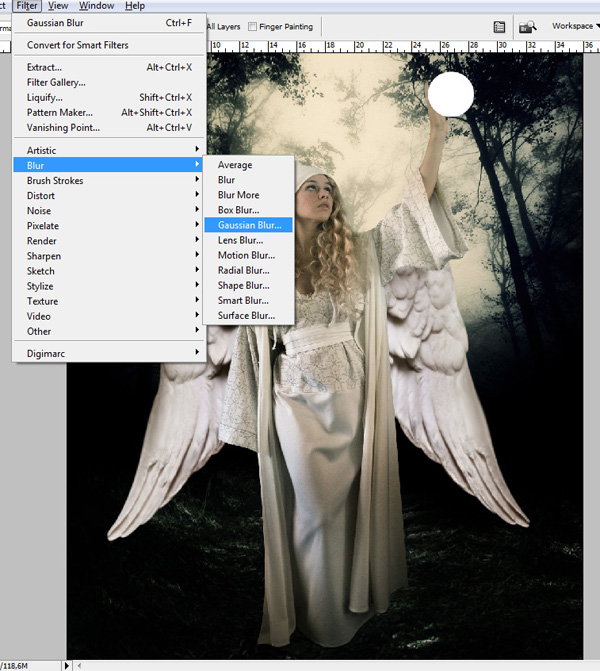
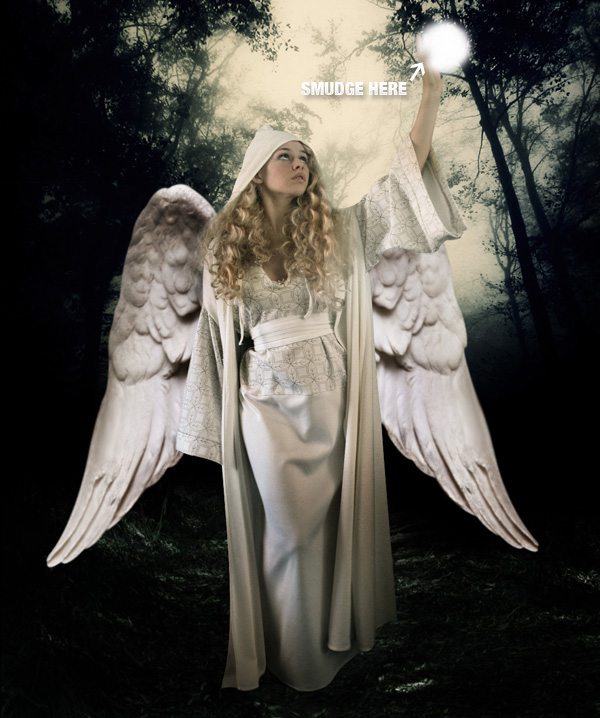
Step 13
Now you should smudge the circle from outside to inside, which will allow the finger be seen. To make it glow, right-click on the layer with the white sphere and go to blending options and use the options from the Outer Glow like below.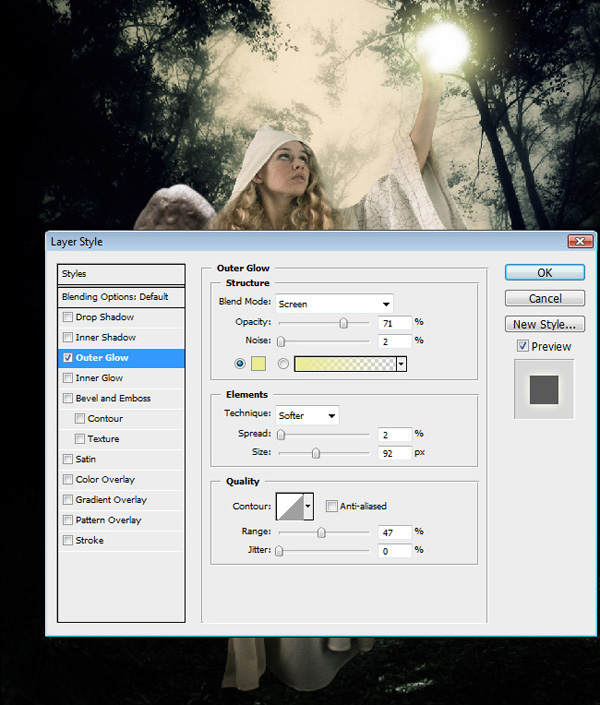
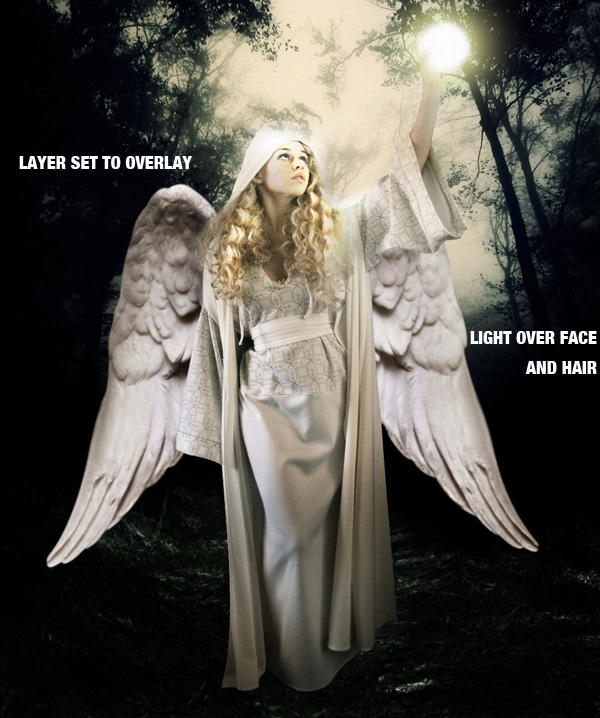
Step 14
The light should go over the face. So you must brush and smudge a white color over the face and the hair then set the layer to Overlay.
Step 15: Creating the star rays
Draw some lines like below and then select with the Elliptical Marquee Tool (M) a circle.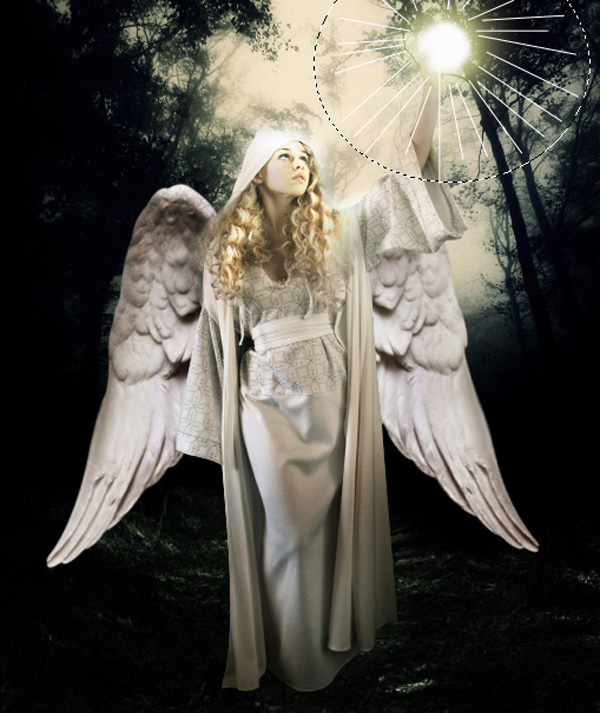
Step 16
Go to Filter > Blur > Radial Blur set to around 15.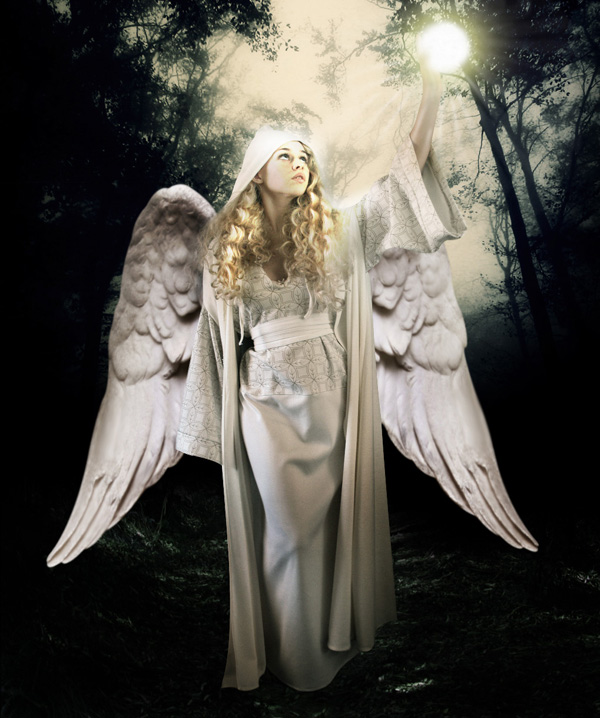
Step 17: Add mist
Create a new layer and fill it with black. Then go to Filter > Render > Clouds. For the colors use these codes: #bfb499 and #000000.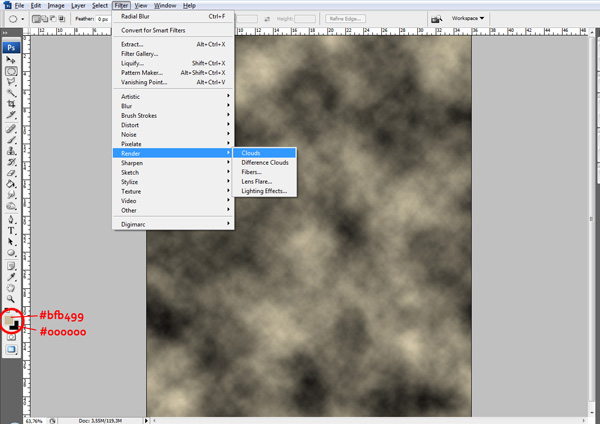
Step 18
Set the mist layer to Screen and Opacity 75%.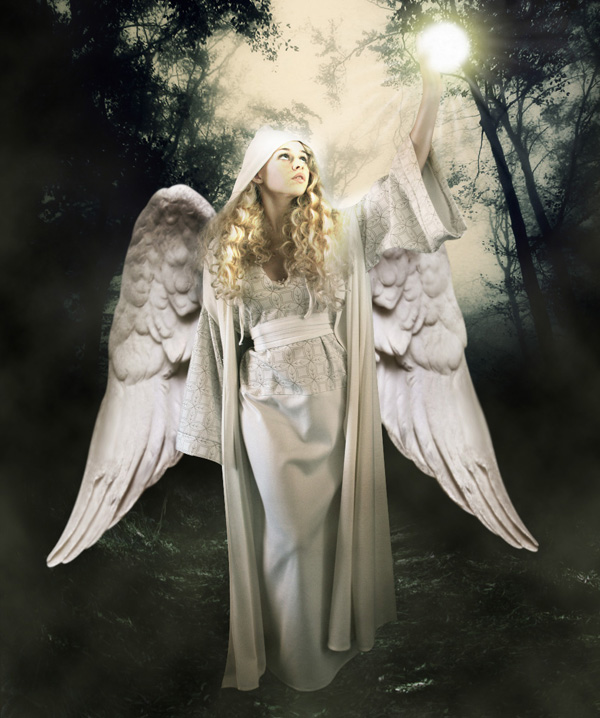
Step 19
Now create a new layer and move it below the clouds layer and add some shadow. Brush with black and then smudge a little bit to cover the legs and the dress.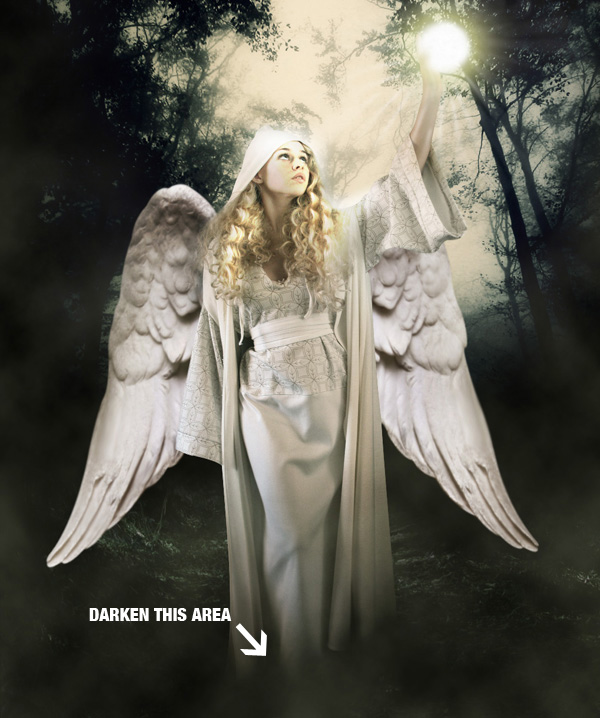
Step 20
In this step you must create some more mist at the female’s feet. Make a selection with the Elliptical Marquee Tool (M) and go to Filter > Render > Clouds. Use the same colors like before.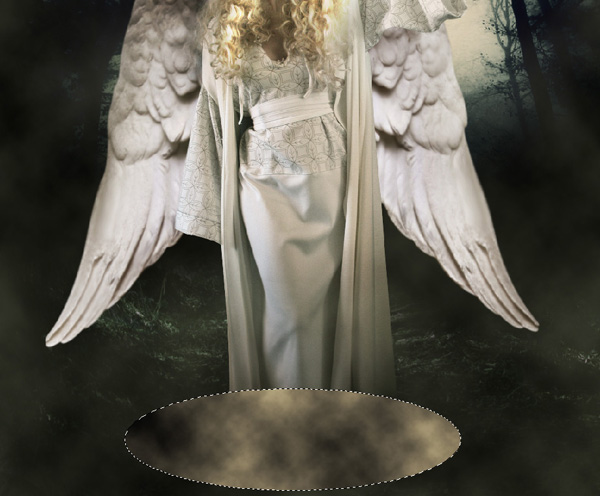
Step 21: Light behind angel
To create the light behind the angel create a new layer below the angel layer and brush it with #dbbe79. Set the layer to screen in the end.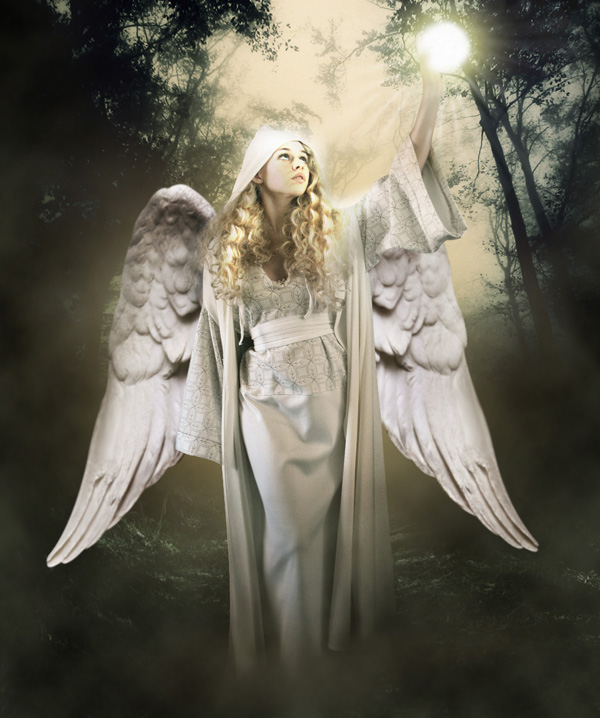
Step 22: Rays of light
Create a new layer then create some straight lines using the Line Tool (U) set to 2px and color #dbbe79.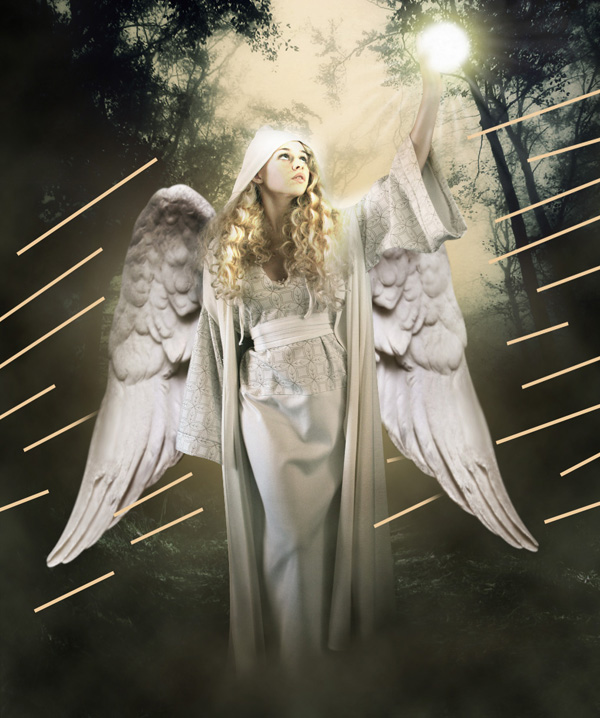
Step 23
Wile still on the rays layer go to Filter > Blur > Gaussian Blur and than Filter > Blur > Motion Blur effect till you get the same result like below.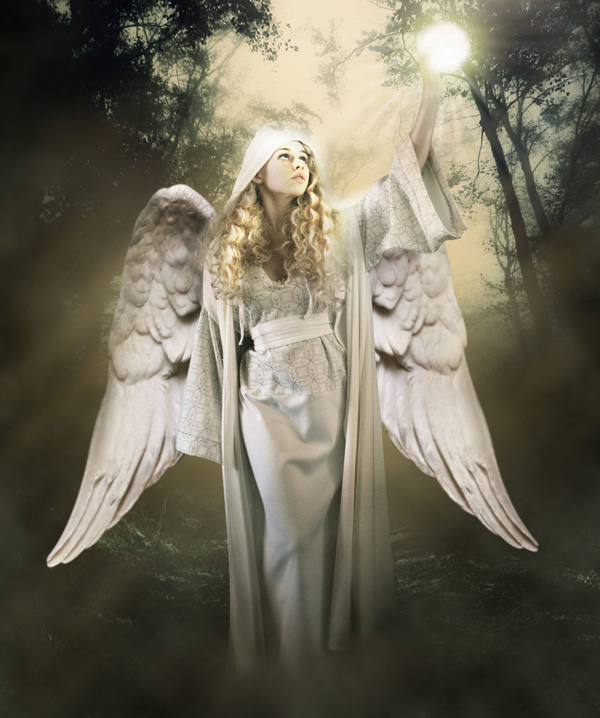
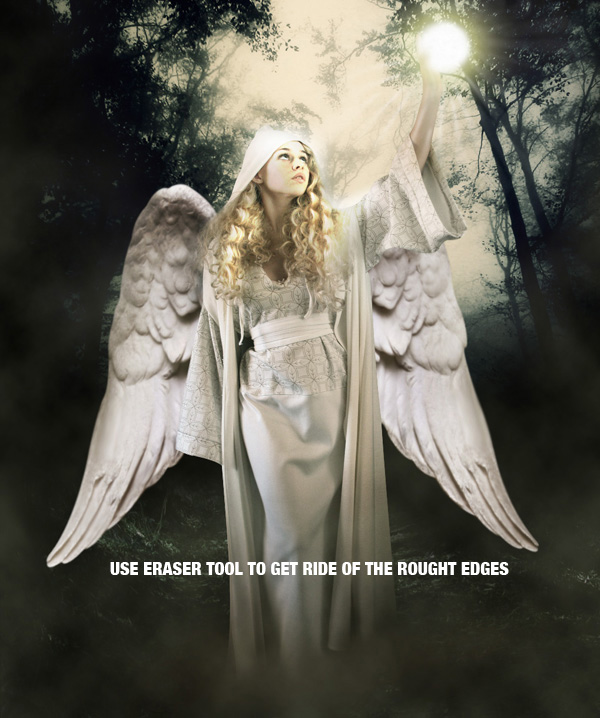
Step 24: Add final light
This is the final step. Select all the layers (Ctrl + A) and copy merged (Shift + Ctrl + C) and paste (Ctrl + P). Then go to Filter > Render > Lens Flare. Using the Erase Tool (E) set to Opacity 70%, you need to slowly erase the lower part of the flare.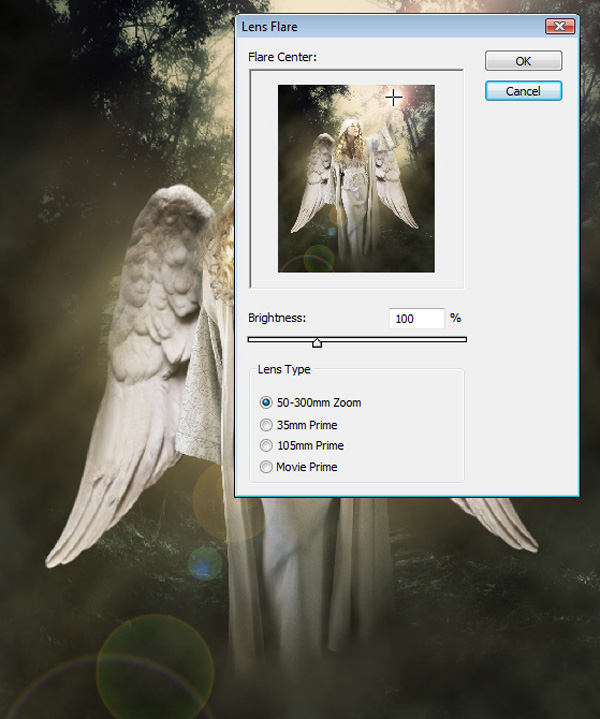
Final Result

Tidak ada komentar:
Posting Komentar